 AIF Alert Configuration
In heterogeneous environment, one message reached AIF, the message process can be successful /error. In case of error it requires immediate action from responsible person . In such a case, alert management really helps, to send a mail or sms to the responsible person.
This post shows the detailed AIF configuration, that sends mail to the person when AIF message processed with error.
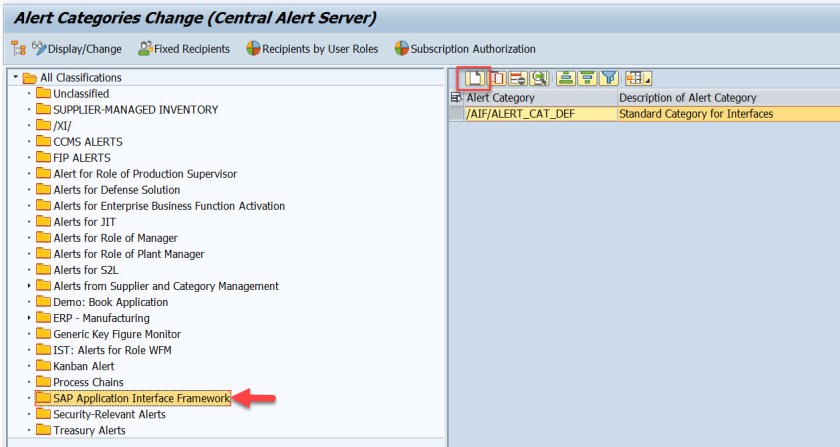
Step-1: Define Alert Category. Execute Tx- ALRTCATDEF

Choose Classification as- SAP Application Interface Framework . From right section, select CREATE button to create alert category.
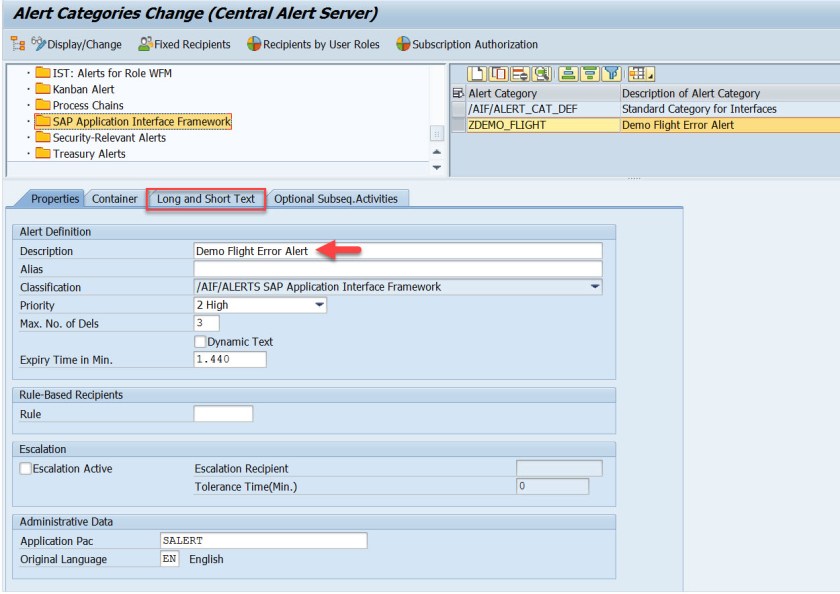
Under Properties tab, provide description and choose Long and Short Text
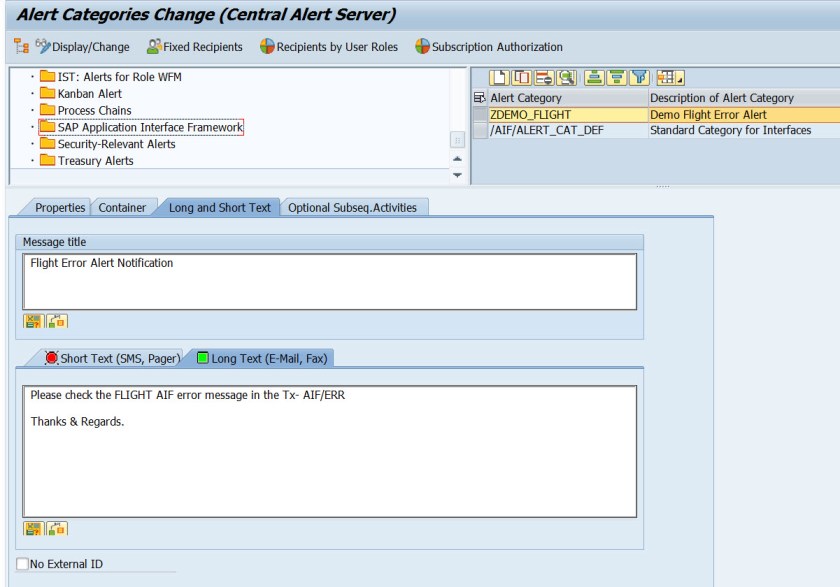
Provide a suitable message title and under Long Text tab which is for EMAIL provide suitable text. Finally Save it.
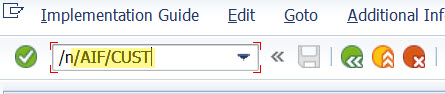
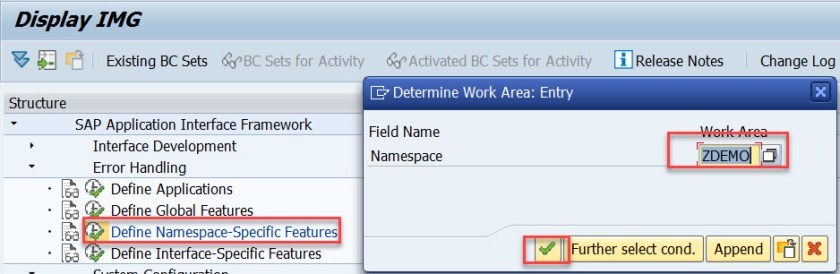
Execute Tx- /AIF/CUST
Choose option: Define Namespace Specific Features and provide Namespace.
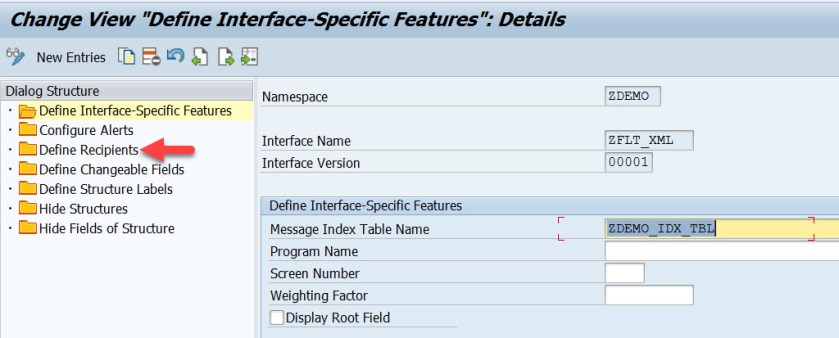
Choose option: Define Recipients.
Choose New Entries.
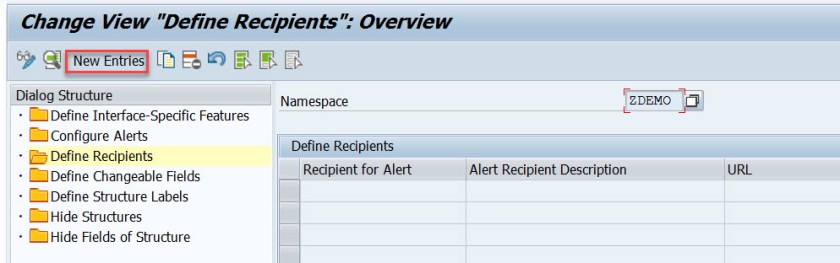
Below screen appears.
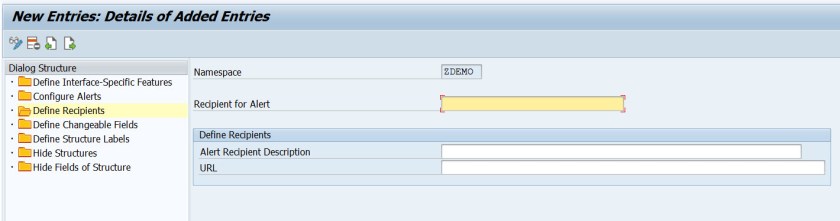
Just provide – Recipients for Alert and a description . Save it.

Now choose Configure Alerts and choose New Entries.

Below screen appears.
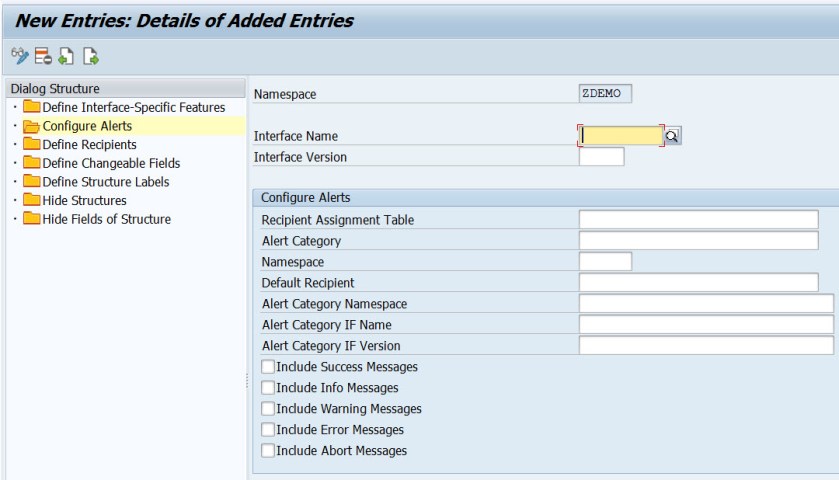
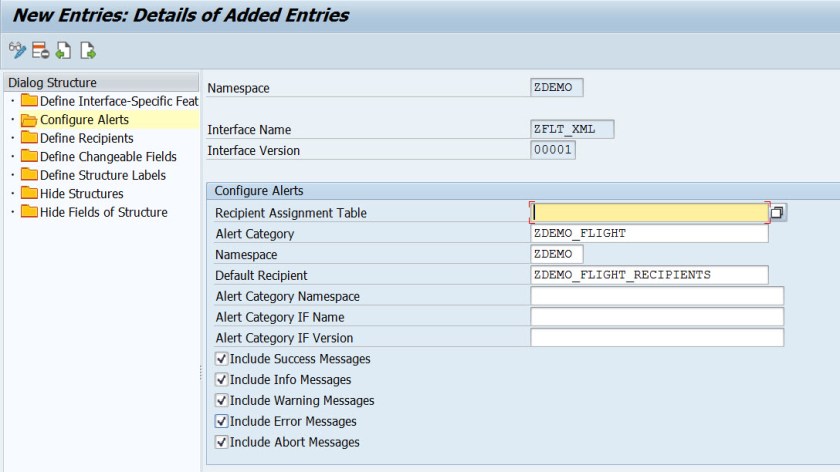
Provide Interface name and version.
Provide alert category name defined in the Tx-ALRTCATDEF , namespace and Default recipient as Recipient for Alert define in the previous step and choose all message types.
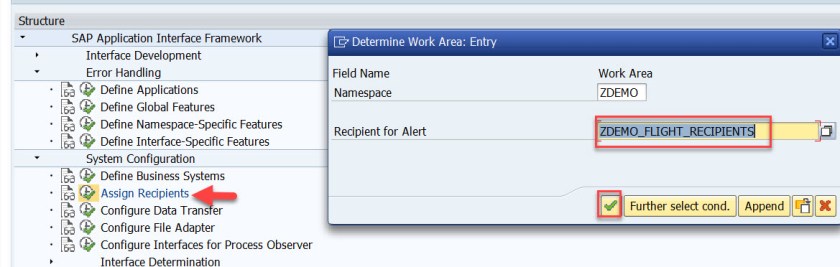
Now choose option: Assign Recipients. Provide Namespace and the recipient for alert created in previous step.
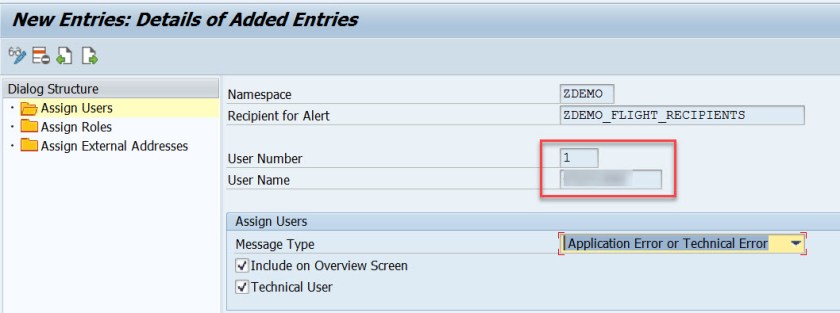
Choose New Entries.
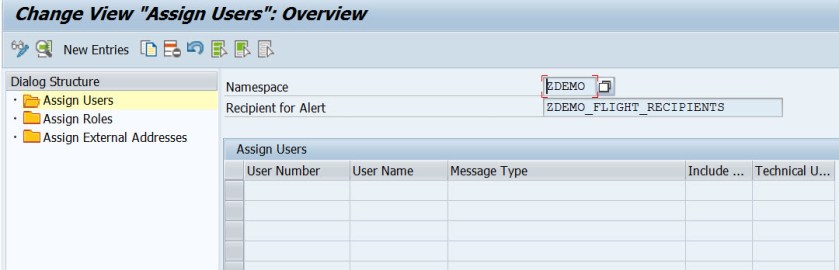
Provide user number and user name(sap system user name) and choose message type and other details as provided below.
Open the view- /AIF/V_ALRT_DEF in Tx- SM30
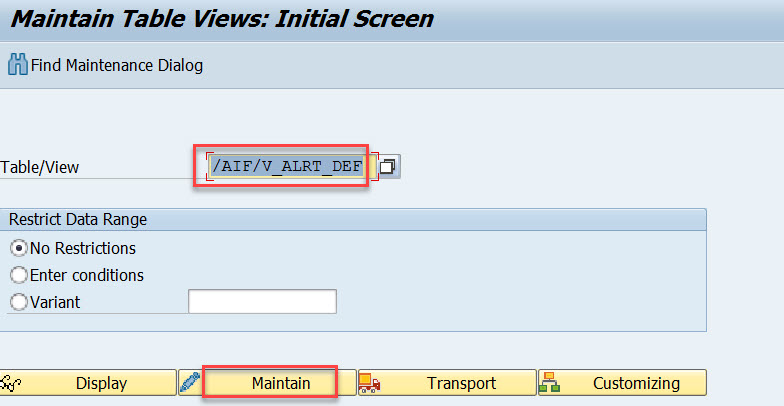
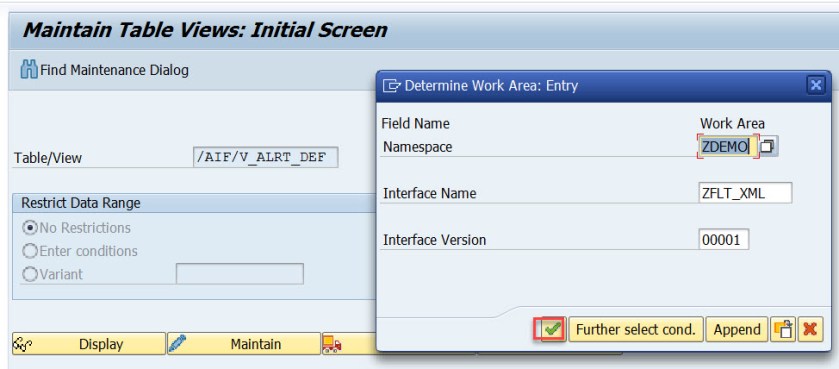
Provide Namespace and interface details.
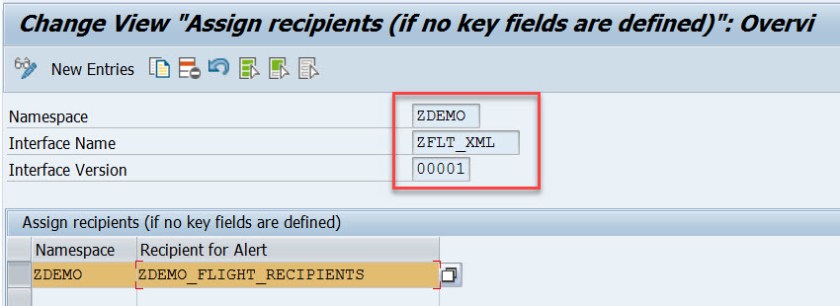
Here provide the namespace and Recipient for Alert and save.
Now in Tx- /AIF/ERR we have below messages. Here select button- Alert Inbox
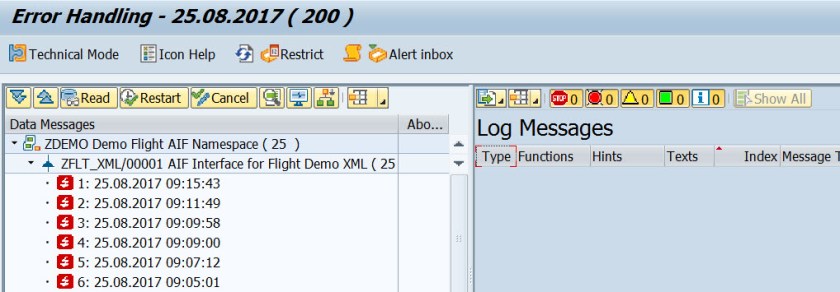
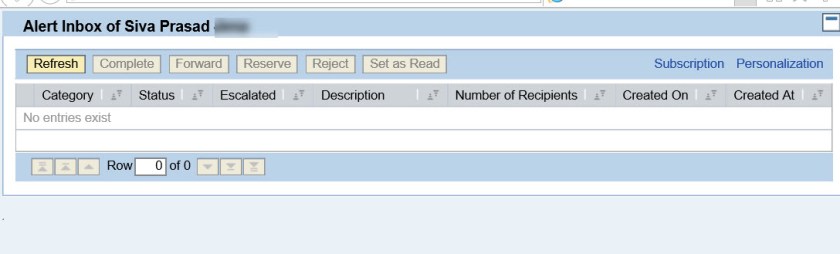
The Alert Inbox for the user opes up and currently there is no alert message.
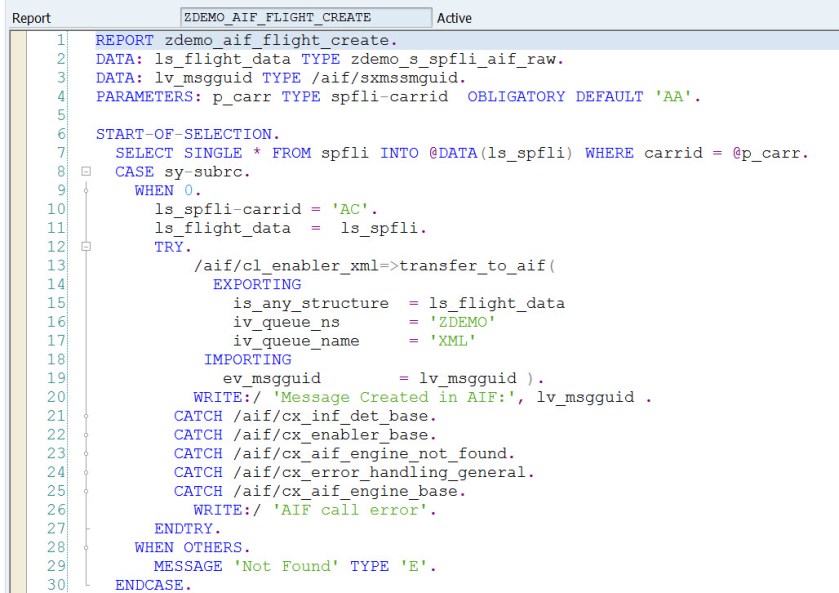
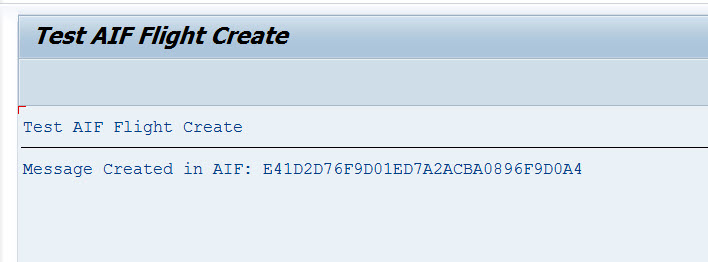
Execute the test report to send a message to AIF and which in turn will turn into Error status.
Now refresh the Tx- /AIF/ERR and choose Alert Inbox button.

Now here is alert message with content what is provided in Alert category. Choose Long Text.
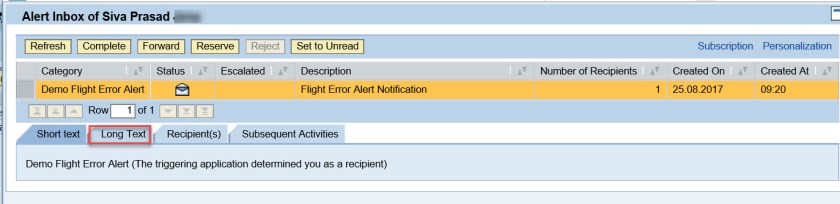
The alert message appears.

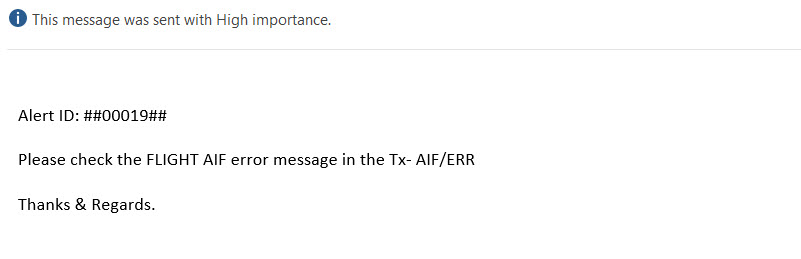
In assign Recipients step, user is assigned and if user have an email( can be checked in Tx- SU01), then user receives an email with below details.
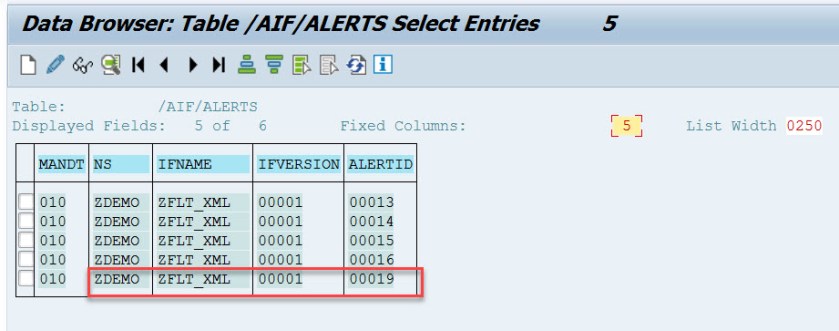
The alert ID normally present in table- /AIF/ALERTS
More importantly- FM – /AIF/CREATE_ALERT is responsible to create and send a alert. This FM can be debugged to check if something is not working.

