Create Attribute View in SAP HANA Modeling
As the first step towards HANA Modeling, this post shows how to create a simple attribute view on the flight table- SPFLI.
Open your HANA studio and open Modeler perspective. Under content folder select the package under which want to create an attribute view.

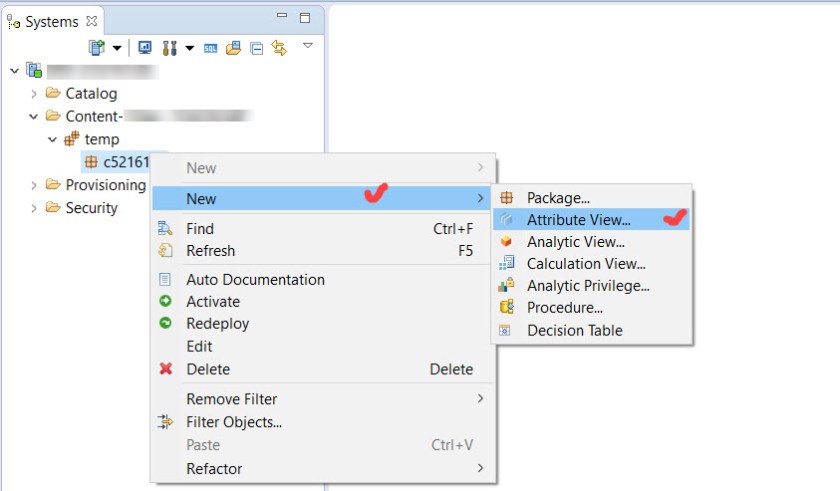
Right click on the package and select, New->Attribute view.
Provide attribute view Name, Label & subtype as Standard and finally select Finish.

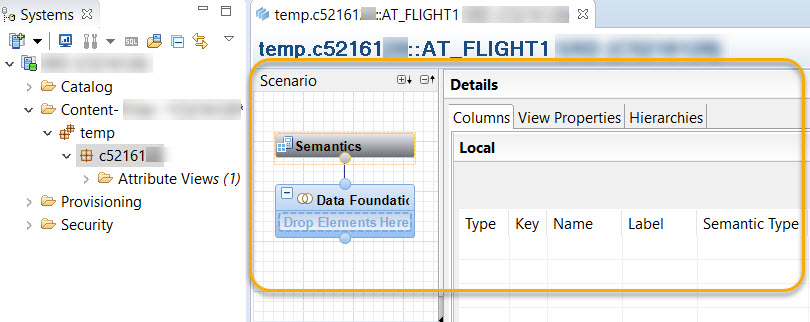
The below screen appears. Now we have to add the data foundation table first.
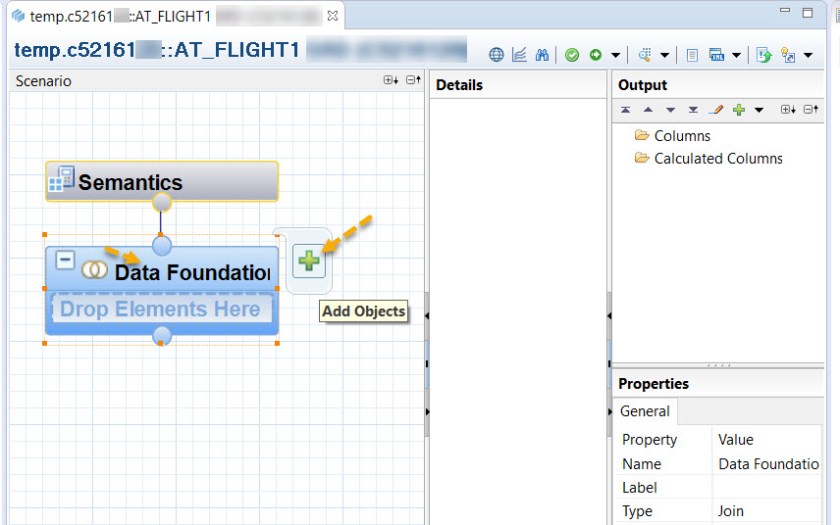
Now, under Scenario section, select Data Foundation & a “+” symbol would appears. Click on the “+” button.( it is also possible to drag the table from the left side & drop under Data Foundation).
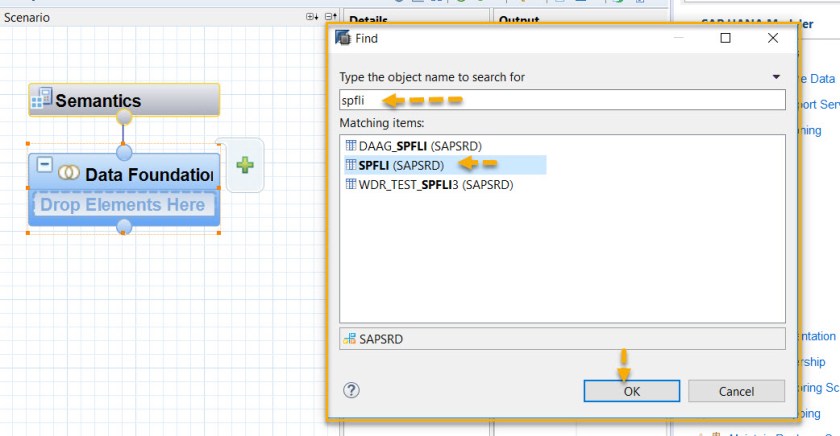
A search popup window appears provide the table name and form the matching items, select the correct one and then select “OK”
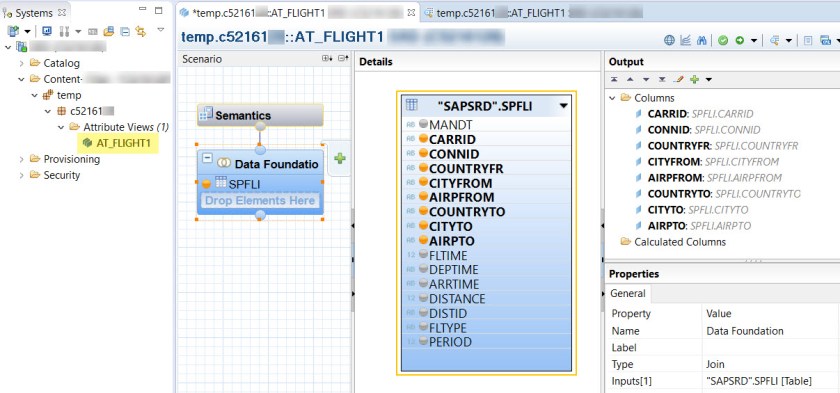
So the table “SPFLI” added under data foundation section. Now we can see all the fields of the table in the Details Section. Now we have to select the needed fields for our view.

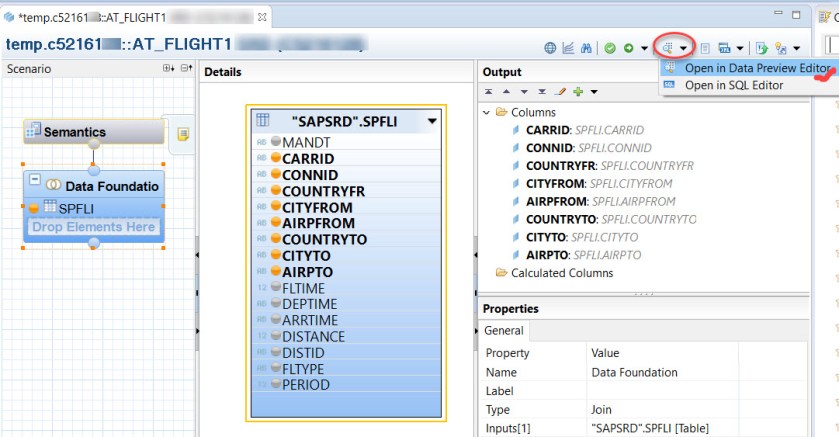
Just click on the circle mark on the left side of each field,to make it enable to add under the output section. Also you can drag the field from the details section and drop it Columns part of the output section.

Now we have to define a key for the attribute view. So choose the Semantics from the Scenario section. We can now see all the selected fields in the details section.
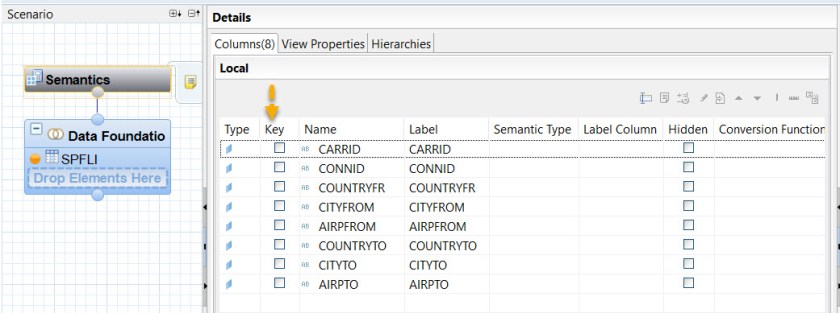
Mark CARRID & CONNID field as key fields.

Choose Data Foundation and activate the view.

Now the view is activated without any error. To see the data preview, select the dropdown option form the right side of the header section.
Choose Raw Data button.

And here we have all the records for the selected fields of the view. 🙂