Price Plan, Charge & Charge Plan in CC (convergent charging)
A charge plan defines the charging conditions of a customer service sold by the service provider. A charge plan consists of of one or more charges.
A charging business consists of two processes: rating process and charging process. When a customer receives/consumes a service, the rating process is used to determine the amount whereas the charging process determines prepaid/postpaid account will be charged with the amount.
So a charge consists of the two parts:
- Price Plan that models the rating process
- Charging Plan that models the charging process
So in short- A CHARGE PLAN contains CHARGE[S], and a CHARGE contains the CHARGING PLAN & PRICE PLAN. In an integrated scenario, the CHARGE PLAN is assigned to the PRODUCT via the CROSS CATALOG MAPPING in CRM / any other provisioning system. When a provider contract is created in CRM system along with a product which is assigned to the CC charge plan, when the provider contract is created in CC it is already assigned with a charge plan and then when usage is recorded for that provider contract, using the assigned charge plan the price amount is calculated.
This post shows how to model a charge plan and charge in CC. The last post Chargeable & Charged Item Class , explains how to model a chargeable item class and charged item class in CC, This chargeable item class and charged item class will be used while designing the charge plan and charge.
First the CHARGE is created with Charging Plan and Price Plan and then CHARGE PLAN is modeled which can be assigned to one or more CHARGE[S].
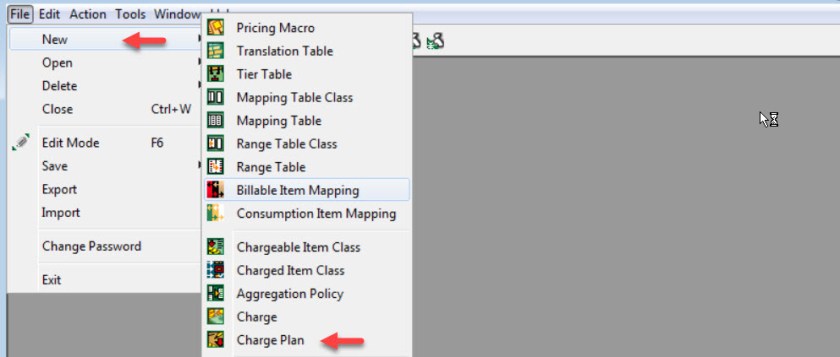
Lets first create the CHARGE first.
Choose as highlighted below:
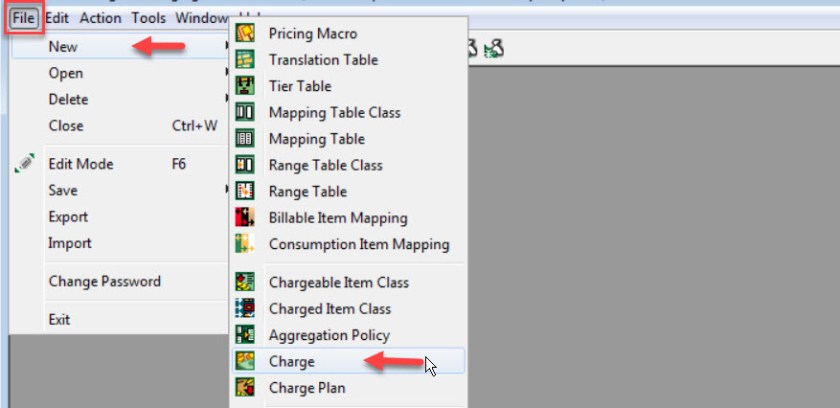
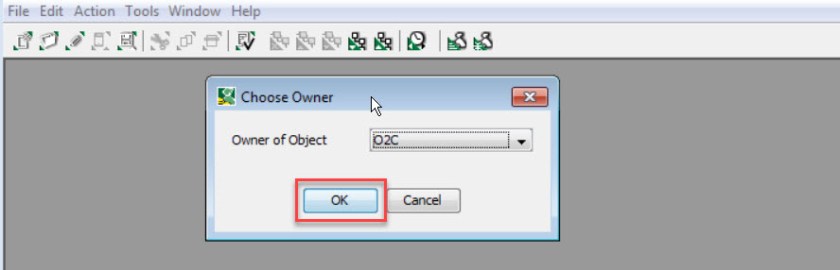
Choose the Owner.

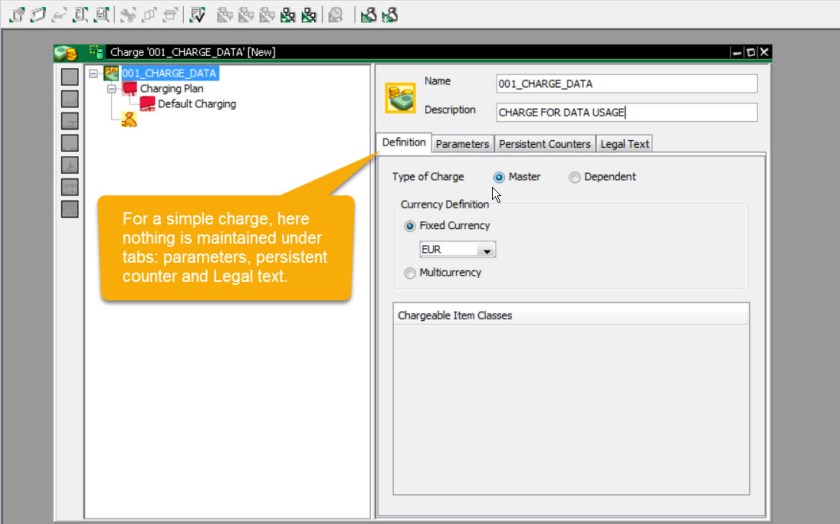
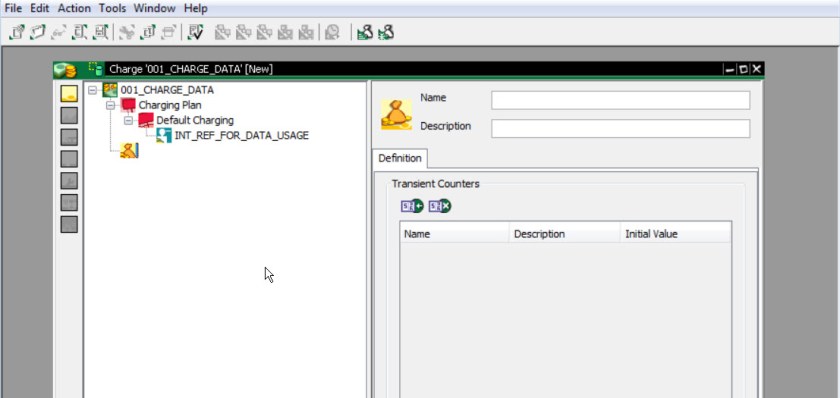
The CHARGE is created with a default CHARGING PLAN. Provide the CHARGE name and description.
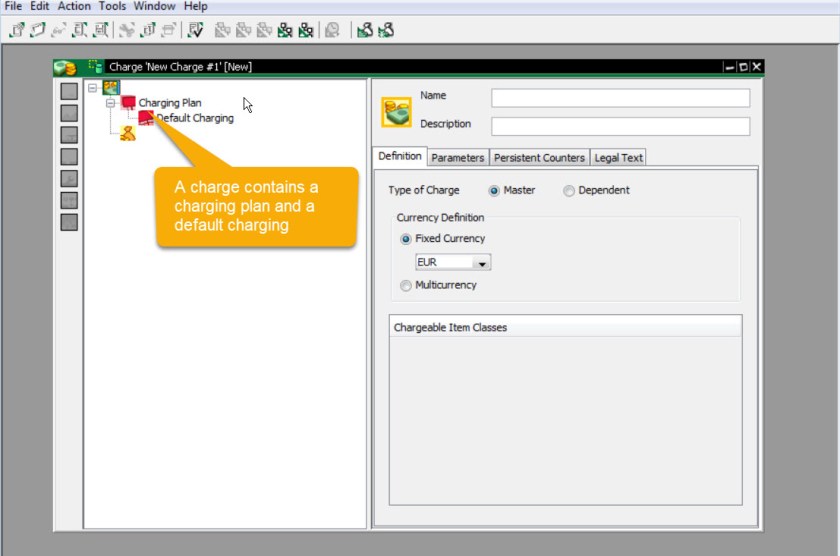
Provide the Charge Name and description and choose charge as Master charge and provide a currency.
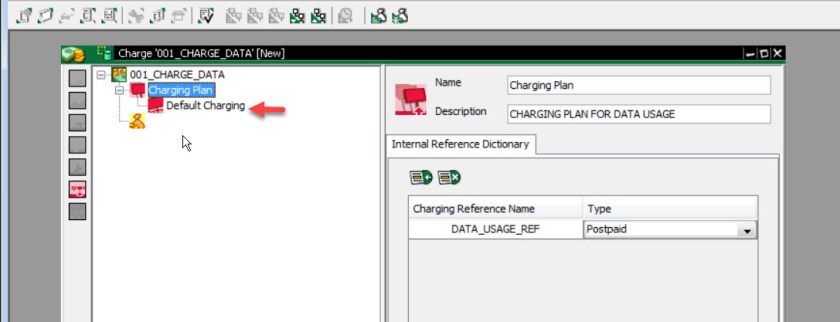
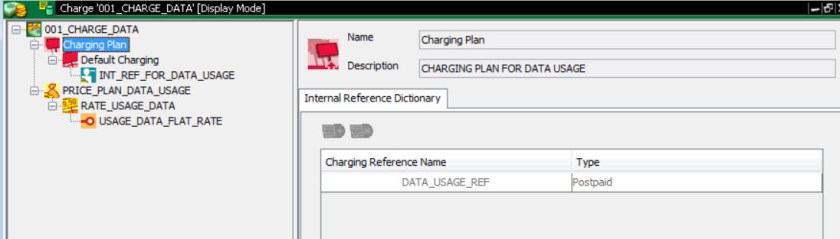
The system by default creates a charging plan. Select the Charging Plan node from left side and provide a description.
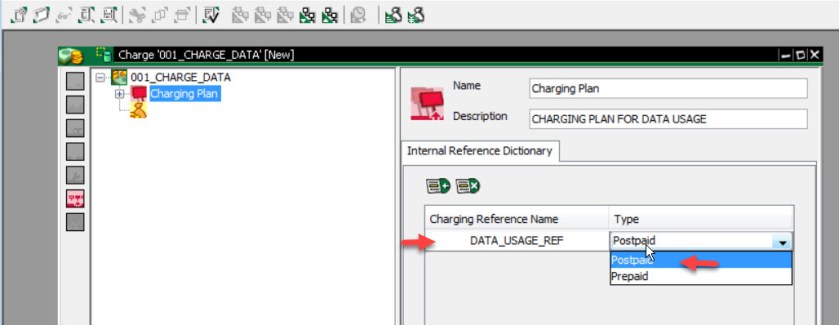
As charging plan is responsible to identify the ACCOUNT to be charged with the amount, here add a parameter under Internal Reference Directory.
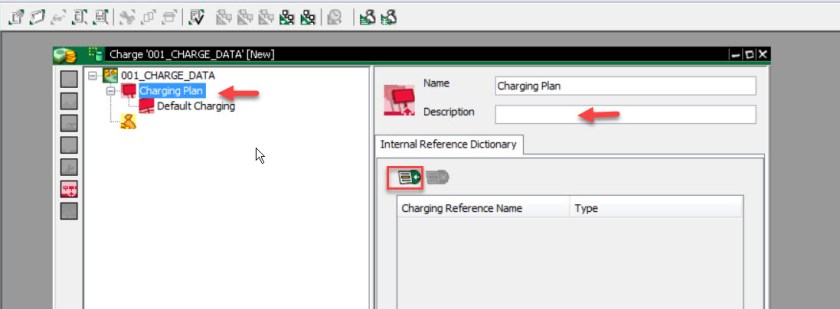
Provide Internal Reference Directory attribute as DATA_USAGE_REF and choose prepaid or post paid.
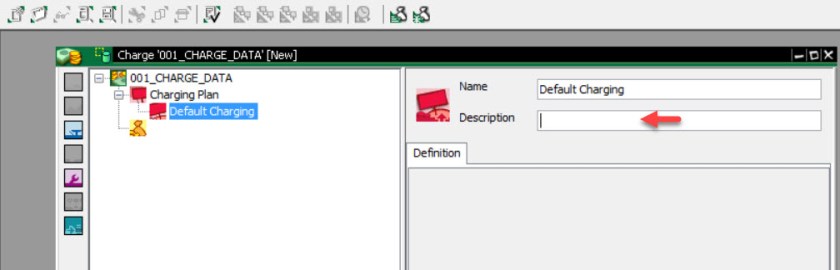
Select Default Charging Node from left side.
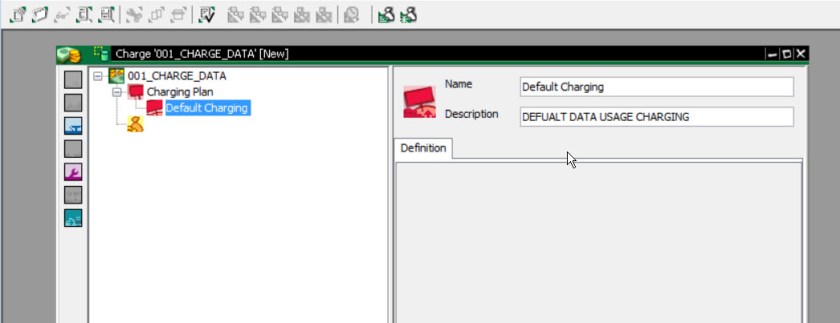
Provide a description.
Now right click on the Default Charging Node from left side and add a Internal Reference.
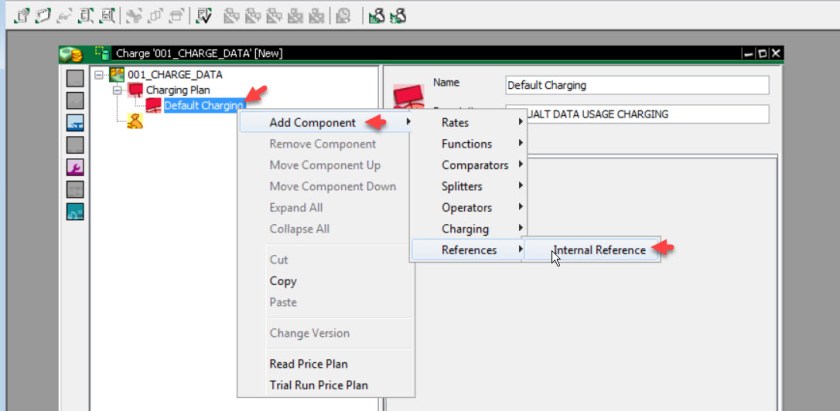
The below screen appears.
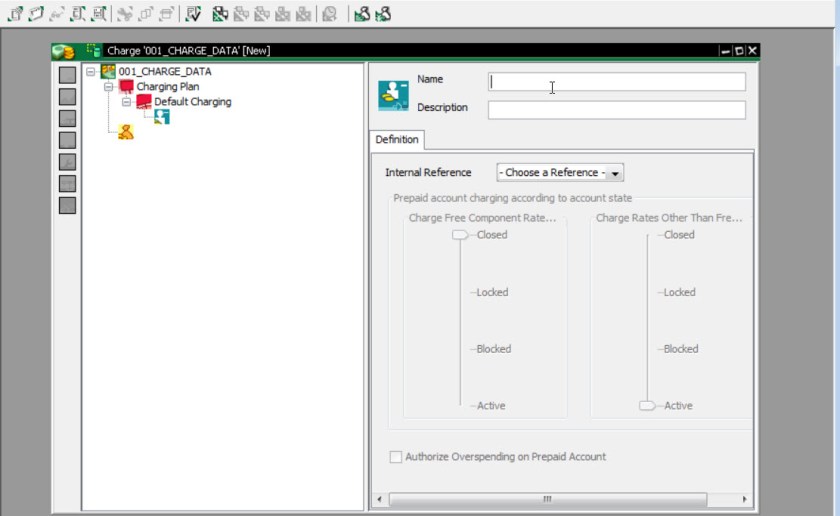
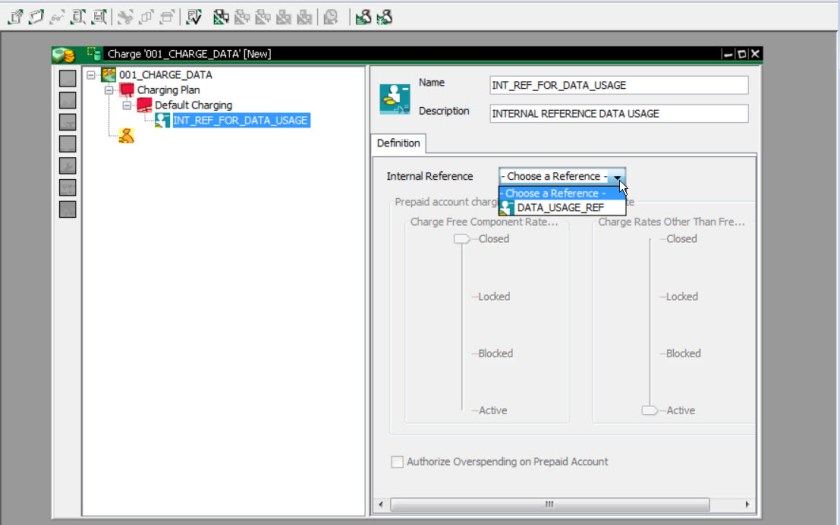
Select the Internal Reference which was created earlier in the Charging Plan and Provide a name and description.
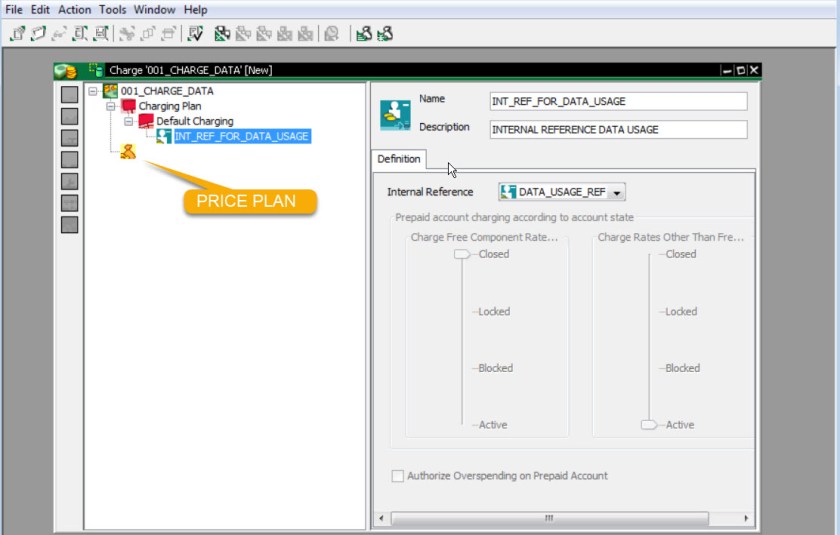
With this the Charging Plan model of the charge is complete. Now lets model the Price Plan part of the charge.
Indicator shows which is the Price plan node.
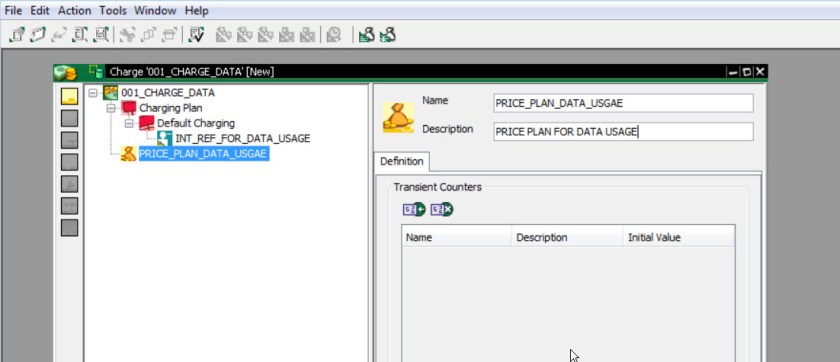
Double click on the price plan node.
Provide price plan name & description.
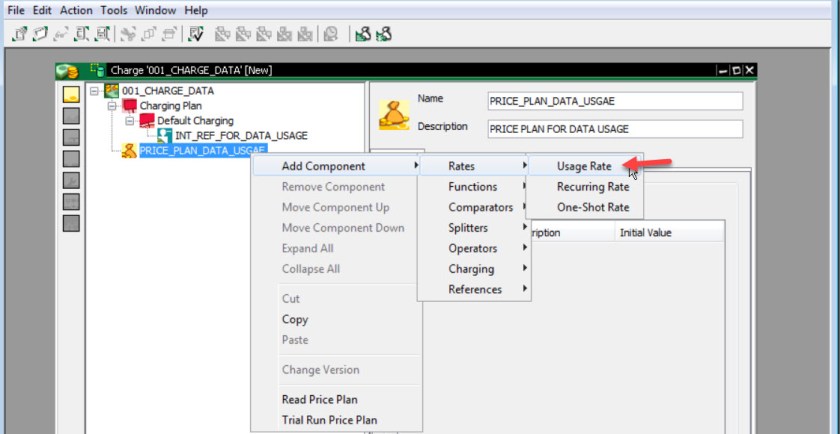
A price plan can calculate – Usage Based rate, recurring rate or one time rate. Here we will work with usage based rate lets say.
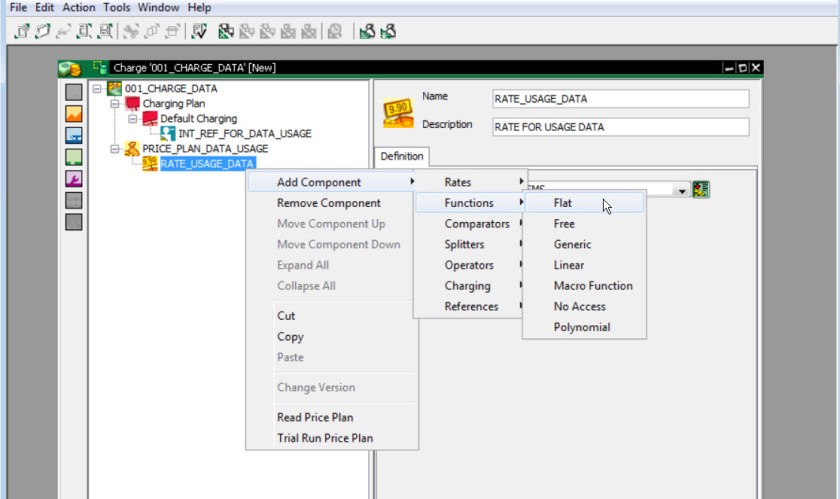
So right click on the price plan node and choose Usage Rate.
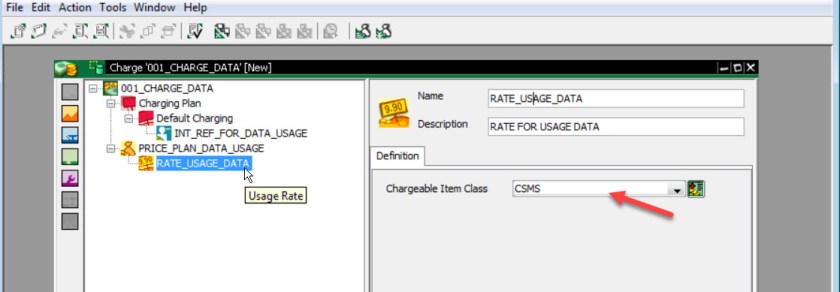
So provide a name and description to the Usage Rate and here we have to mention the name of the Chargeable Item Class name [ see link Chargeable & Charged Item Class] .
Now here a formula needs to be defined how the price amount has to be calculated for the usage consumption . So choose the Usage Rate and for simplicity choose a FLAT function. Here different Function types can be selected to achieve a complex amount determination logic.
So provide a name and description to the function type.
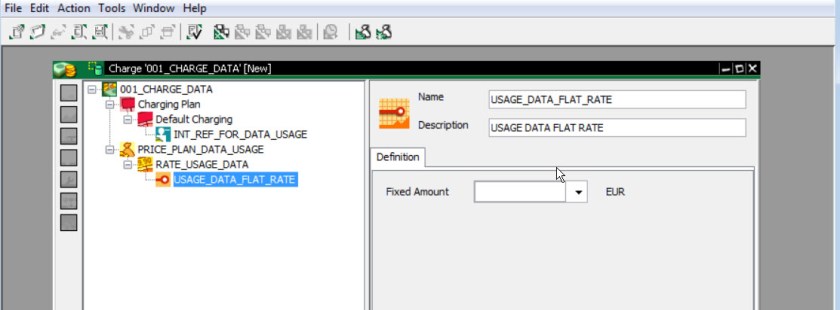
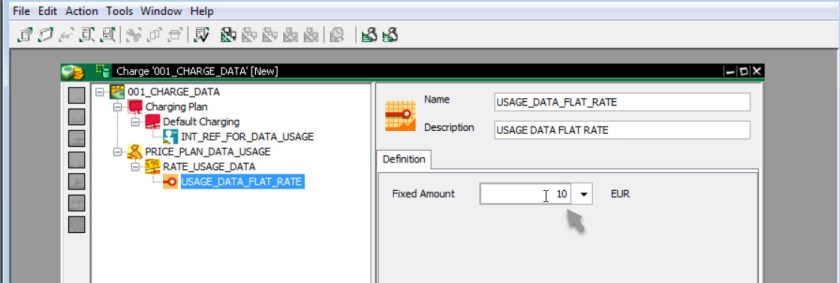
So here lets say we have Fixed amount of 10 EURs.
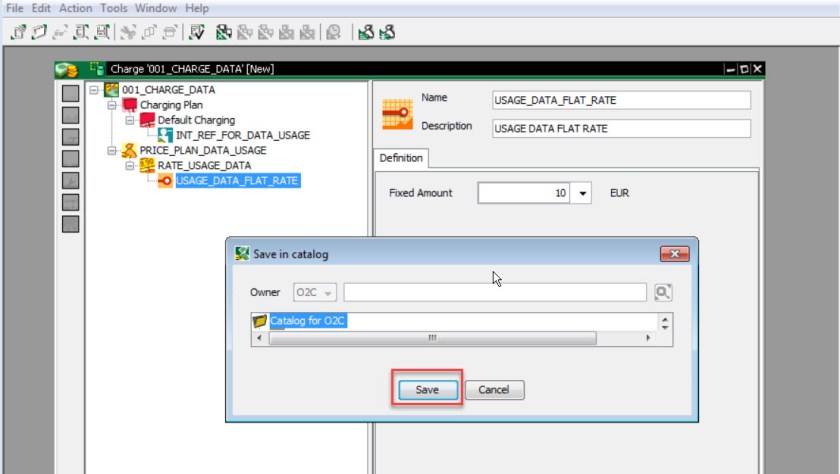
Now the design of the price plan of the CHARGE is complete now. Do CTRL+S to save the charge. Choose the catalog under which the charge has to be assigned.
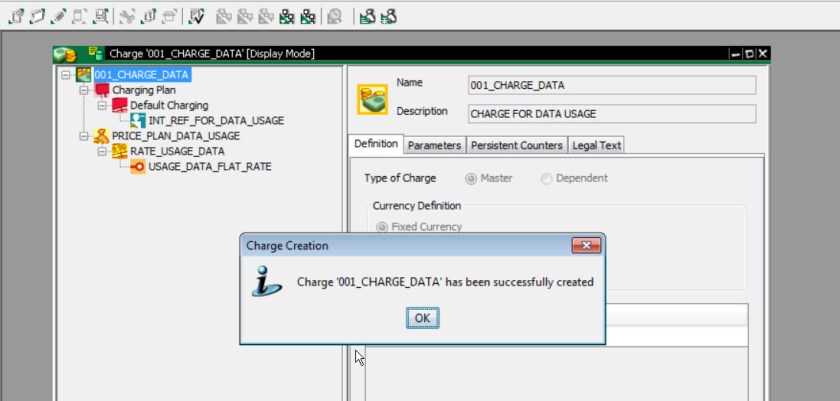
Here we have the confirmation popup.
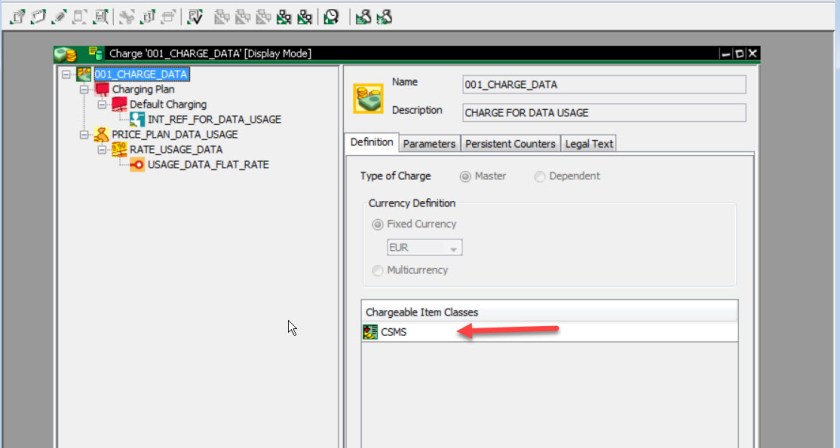
The chargeable item class is assigned in the Price Plan.
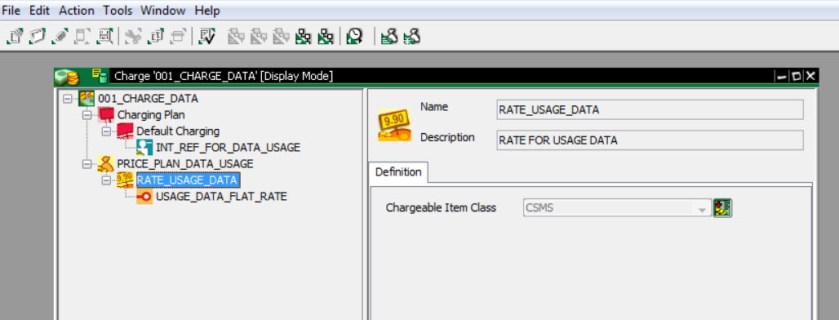
Now when you see the CHARGE it appears here.
Now the time to model a CHARGE PLAN and assign the already modeled CHARGE to it.
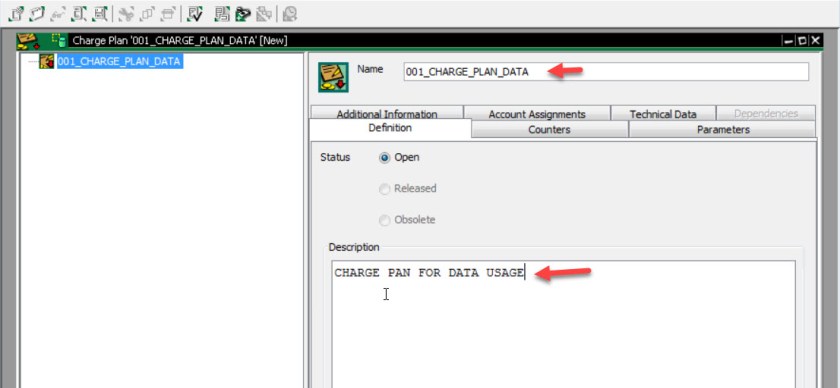
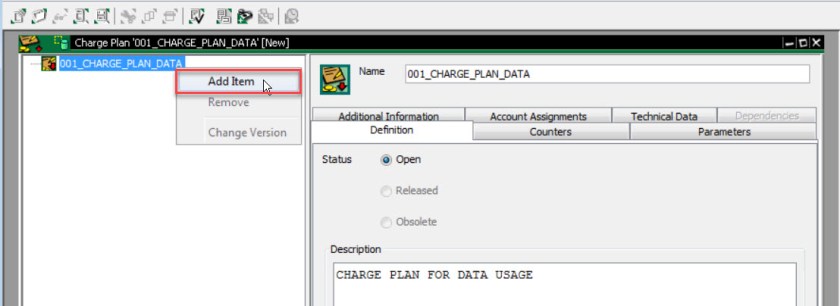
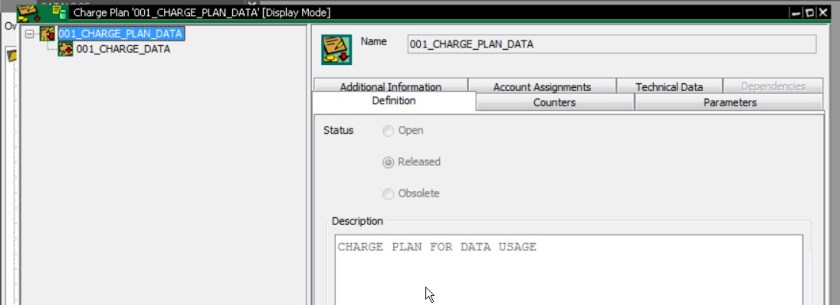
Provide a CHARGE PLAN name and a description.
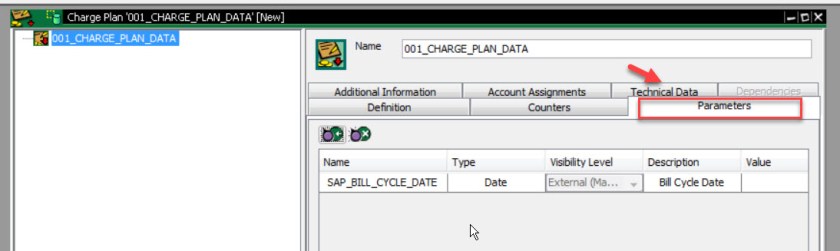
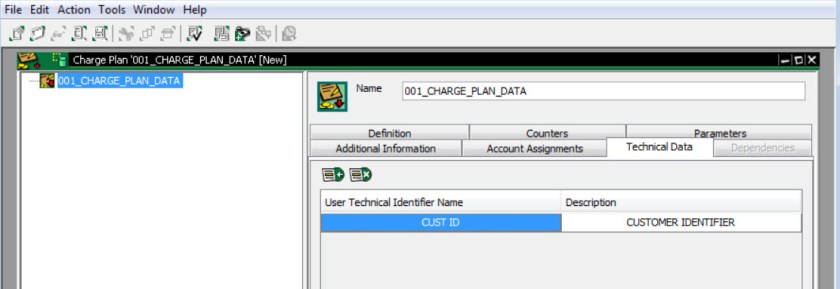
Under PARAMETERS tab, we already see the SAP_BILL_CYCLE_DATE. Now lets choose Technical Data tab.
Lets add an attribute here.
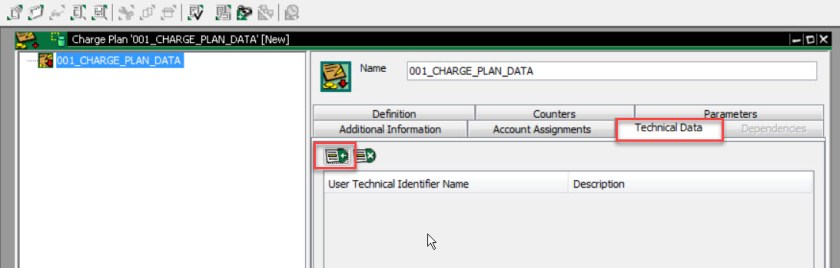
Provide an attribute name ( No F4 values) , just provide the name and description.
Later when a provider contract will be assigned to the Charge Plan ,the provider contract technical resource appears a value to this attribute.
Let’s assign a charge to the charge plan. So add item.
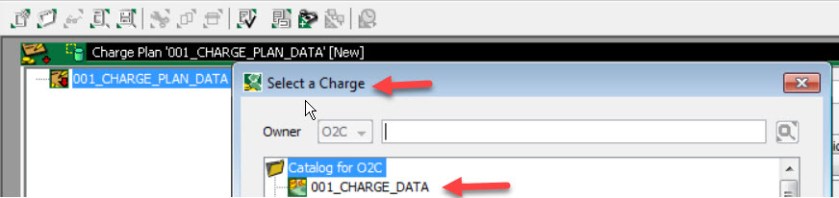
Here select the charge.
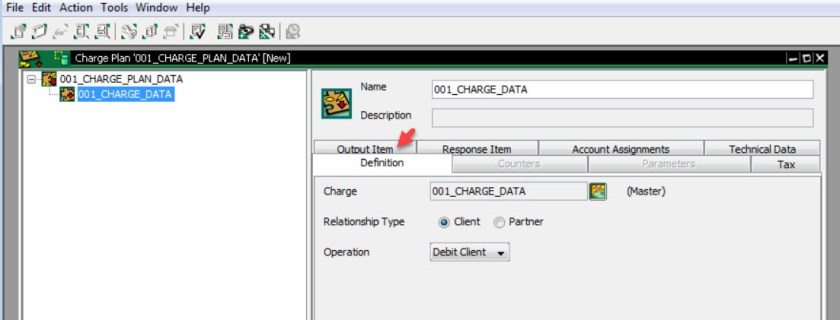
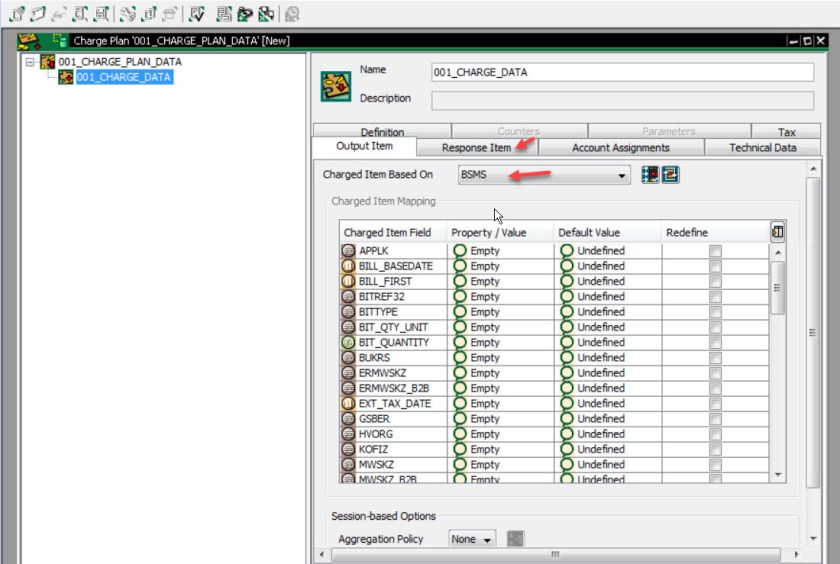
Now a charge is assigned to the charge plan. Select Output Item tab.
Here it asks to select the Charged Item Class.
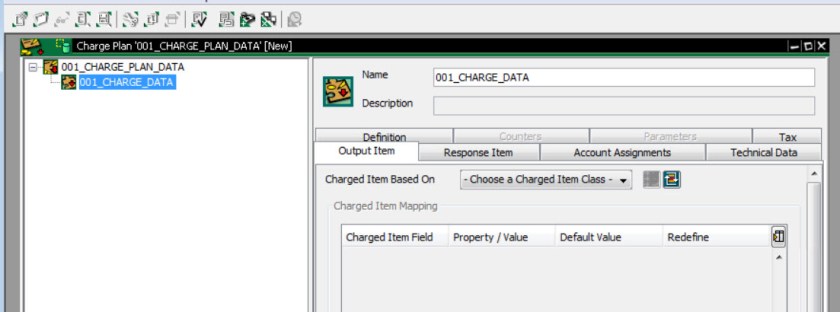
Select the charged item class [ see also Chargeable & Charged Item Class ].
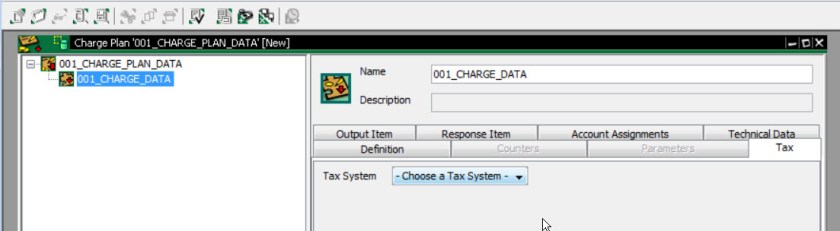
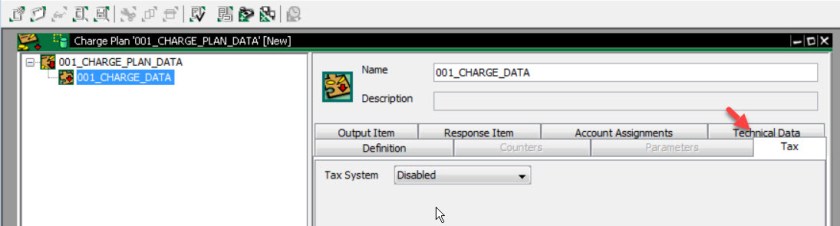
Lets disable the tax system for this demo charge plan.
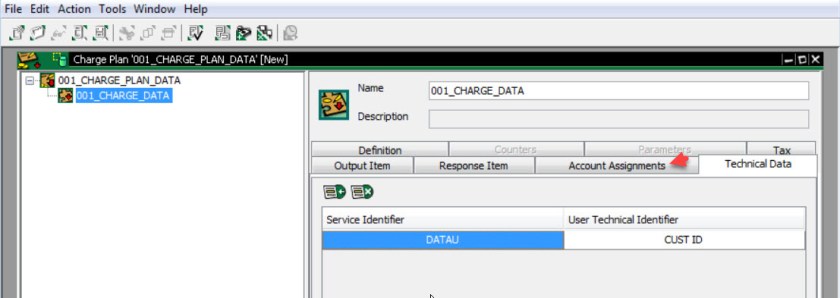
Choose the Technical Data tab and assign the already created attribute in the charge plan in the charge.
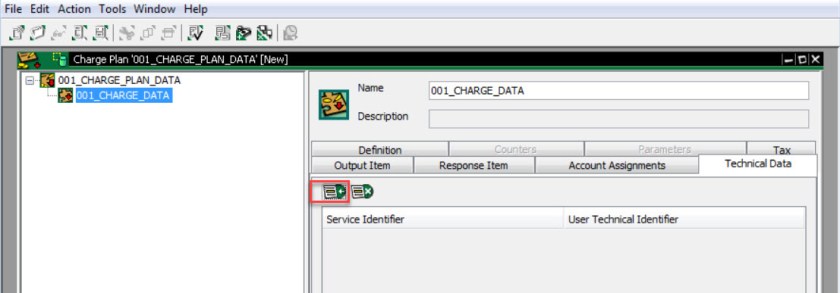
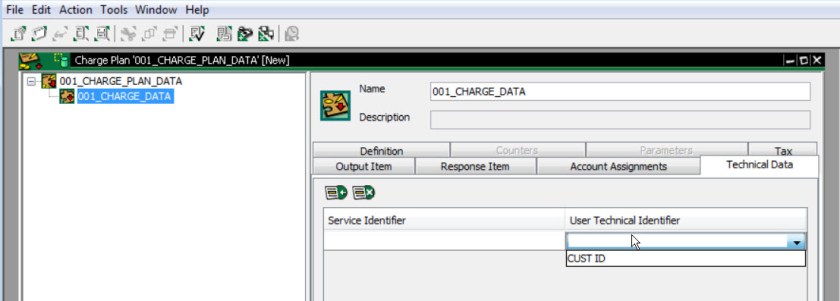
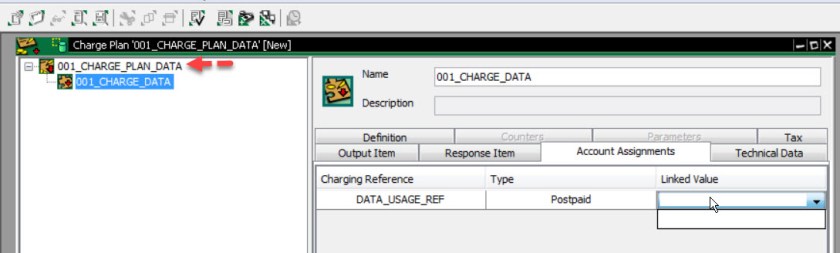
Also provide a Service Identifier name. Select Account Assignment tab.
The attribute name already appears here which was created in the Charge->Charging Plan. Here we need to assign a value.

Here we can see the details of the charge and the charging reference name.
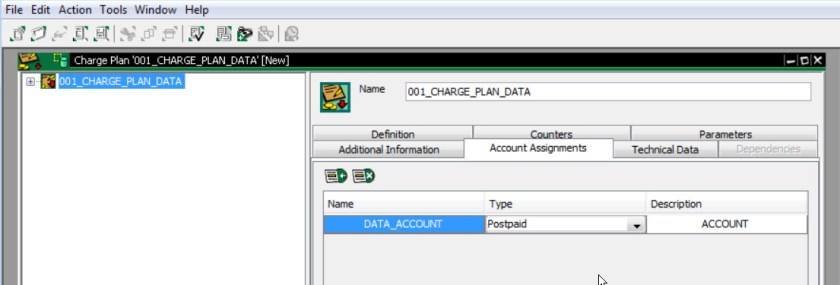
Now select the Charge Plan from the left side.
Select account assignment.

Provide name , type and a description.
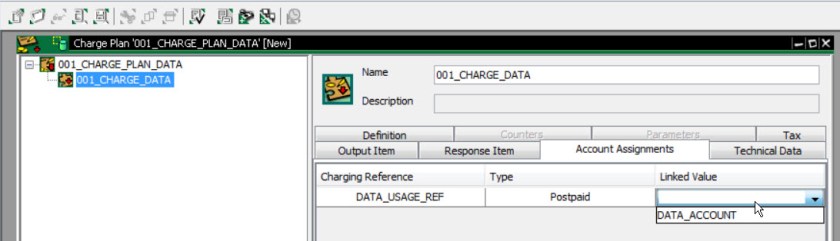
In the charge , account assignment now assign the linked value.

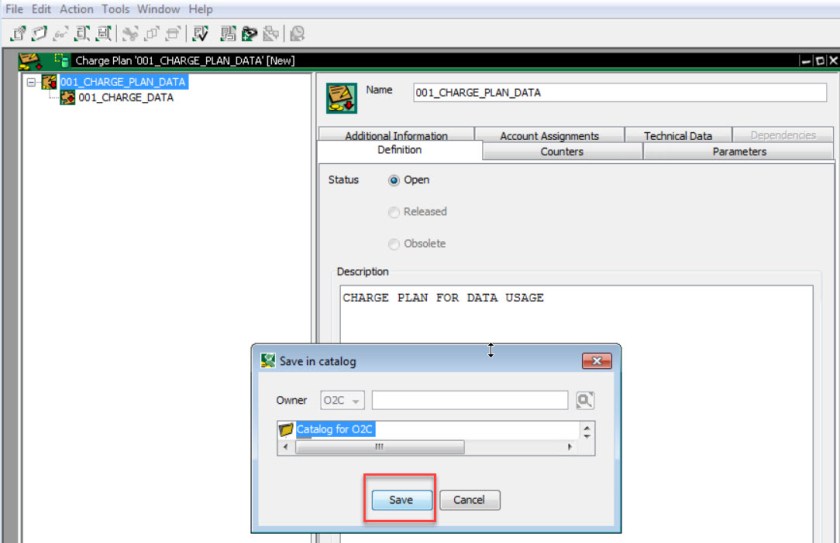
Press CTRL+S to save the charge plan and choose the catalog and Save.
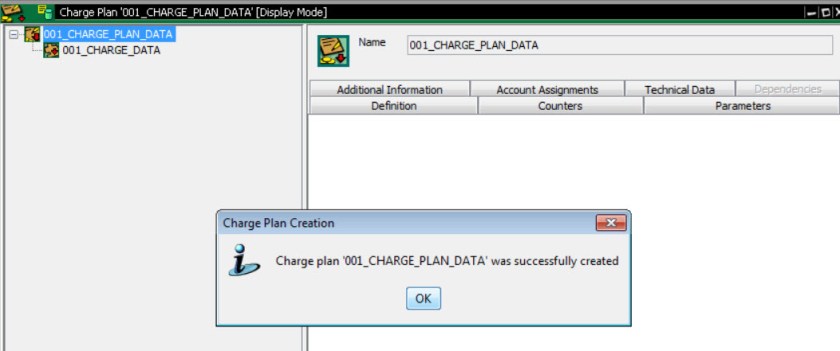
So here we have the confirmation message without any error.
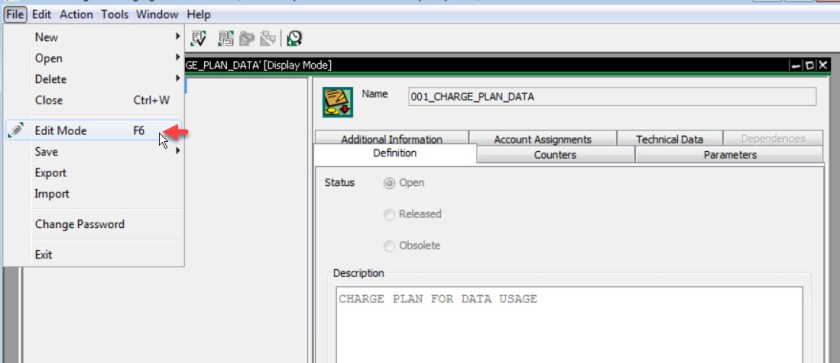
Now choose Edit mode to set the status of the charge plan.
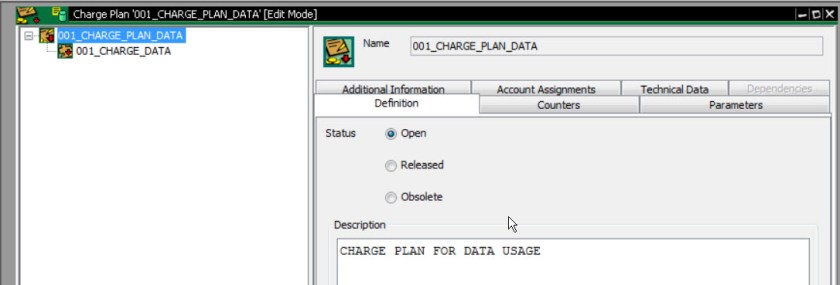
Set to release and save.

Now in the CRM system, a product can be modeled and this charge plan can be assigned to the product via the cross catalog mapping.
Use the product in the provider order and create a provider contract in CRM for the item and this provider contract is created in CC and this CC provider contract is already assigned to the charge plan. So when the real usage is recorded against this contract, the assigned charge plan plays a role to calculate the amount by using the price plan.

This is great. Better than the SAP documentation.
LikeLike