 AIF Intro & Processing First Message in AIF
The SAP Application Interface Framework (AIF) enables to develop and monitor interfaces as well as execute error handling in a single framework .
It is mostly useful in a complex heterogeneous system landscape with SAP PI system. Business user( not technical user) can perform error monitoring and the error handling.
AIF is mostly useful when data transfer happens between different SAP systems.
For the below post use case- consider we have two systems
1. Source System which sends the data
2.Target system which receives the data via AIF and process it then
So as received message to be processed in target system via AIF, then certain AIF customizing needed.
Below step explains AIF customizing steps needed in target system.
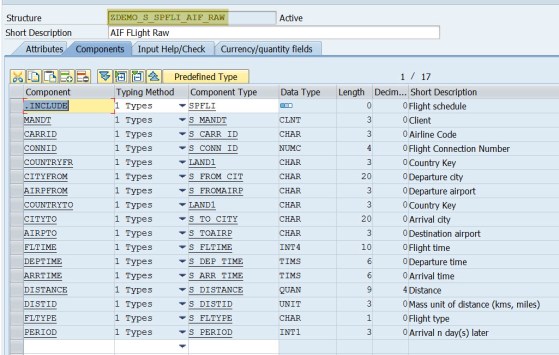
create DDIC structure ( this is the structural format target system receives the data)
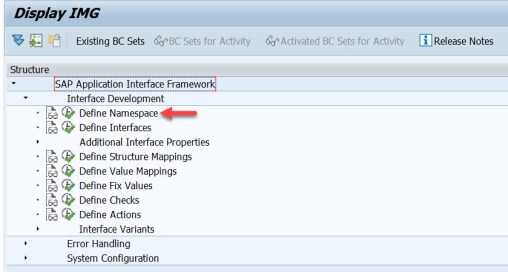
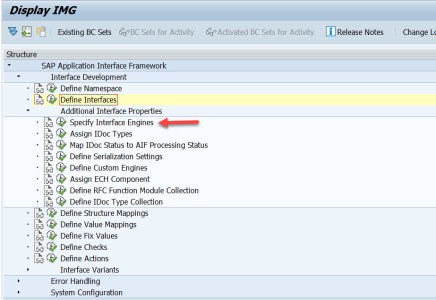
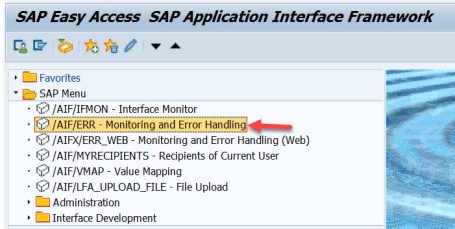
AIF customizing transaction codes can be found via area menu- /AIF/

Execute Tx- /AIF/CUST

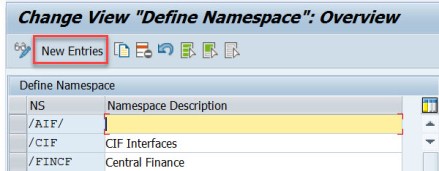
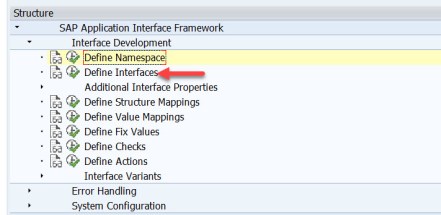
Expand the IMG tree and choose option- Define Namespace.
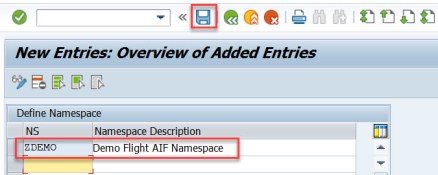
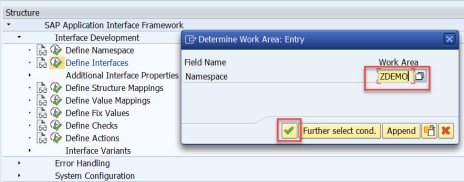
Create a namespace ‘ZDEMO’ and save it.
Next step is to create Interface. Choose define Interface option.
Provide the above created namespace for which interface t be created.
Choose New Entries button.
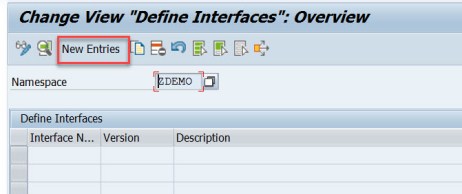
Below screen appears.
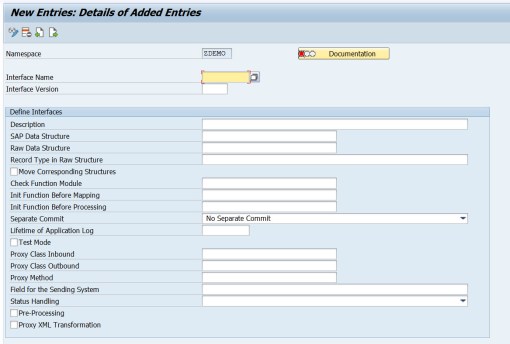
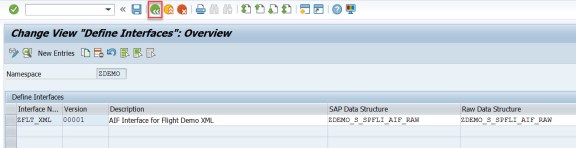
Provide interface name as- ZFLT_XML( in AIF message can be processed in different ways like XML, Proxy etc , the below demo processes the AIF message as XML, so accordingly the interface name is adopted) and interface version as 00001.
provide the structure name we have created in the very first step as SAP Data Structure and RAW Data Structure and select the Move Corresponding structure.
For this demo, the RAW and SAP structure are same but in normal business case these two structures are different. RAW structure is what is received in the target system and then it is converted to SAP structure as per different structure mapping rules in AIF which is one of the strength of AIF. Save and go back.

For the namespace one interface is defined.
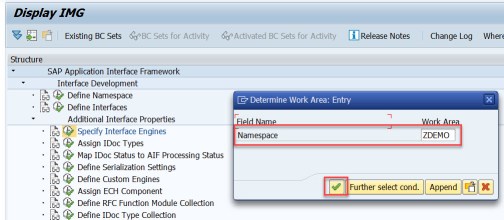
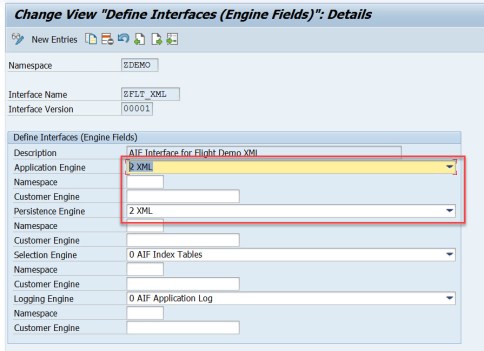
Now we have to specify which AIF processing technique to be used like XML or proxy so on. Choose option- Specify Interface Engines.
Provide the Namespace and continue.
By default settings are like below.
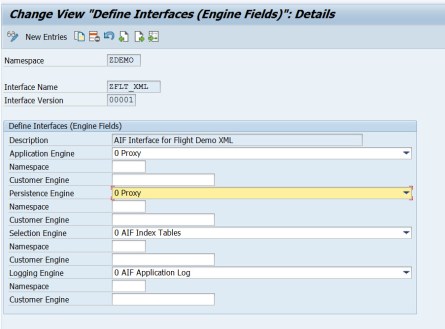
Check the options from the dropdown.

Choose XML for application engine and persistent engine. This means the received messages in target system AIF will be stored as XML message.
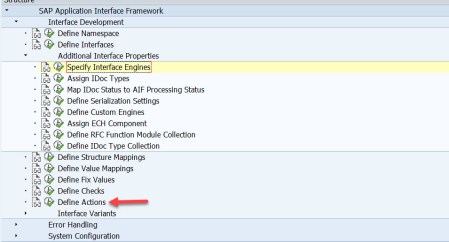
Once the message is received by the AIF, then it is further processed. The actions define the processing steps. Each action – has multiple steps and in each step a function module can be specified.
Choose Define Actions option.
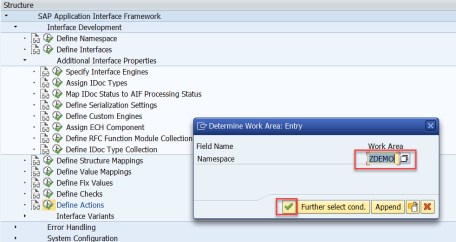
Provide the Namespace.
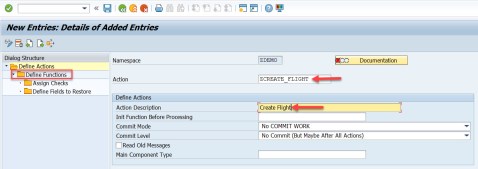
Choose New Entries button.

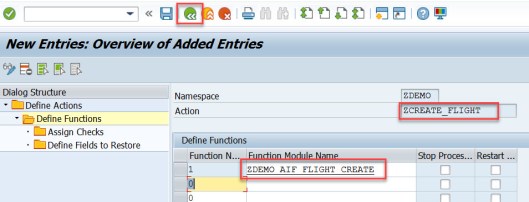
Provide action name and action description and then choose Define Functions from left side panel.
Select New Entries.
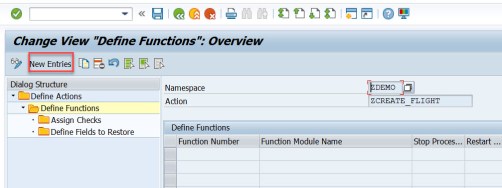
Provide Function number as 1 and then press F1 to get the help. Here we have to provide a Function module which will be called by the run time execution of AIF. The FM has a specific format. The F1 help provide a template FM which can be copied and code adopted according to business process.

Before creating a FM create a function group.
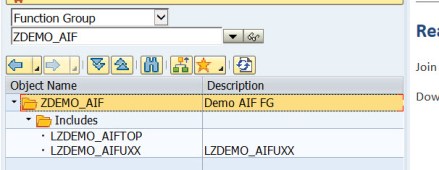
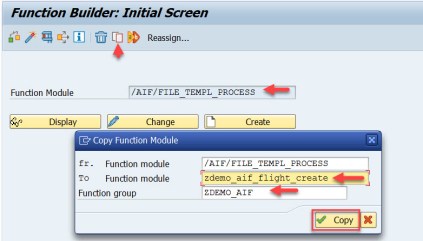
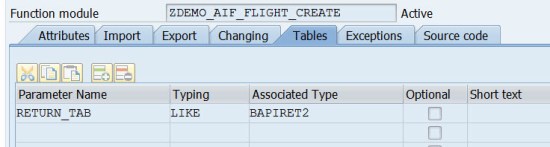
Go to Tx- SE37 and Copy the FM- and create a new FM.
In changing section – for the parameter- curr_lien provide the associated type as our SAP structure type.
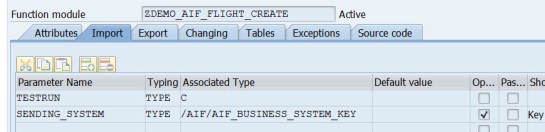
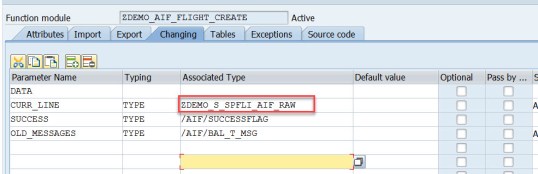
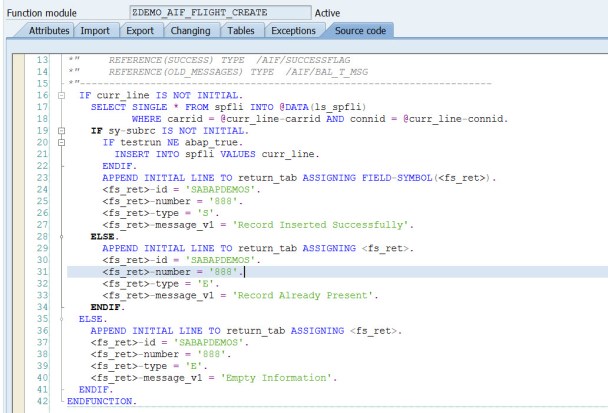
For FLIGHT demo, the below demo code is provided. The FM has a parameter called TESTRUN which is set when you test message in AIF for trouble shooting. This is kine some simulation mode and make sure that if TESTRUN is set no data base update happens.
One the action FM is ready then mention the FM name in the AIF action. Save and go back.
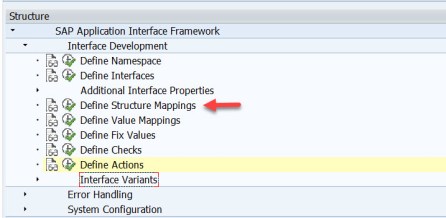
The actions are defined on the Namespace level and now ot has to be assigned to the AIF Interface. Choose the option Define Structure Mapping.
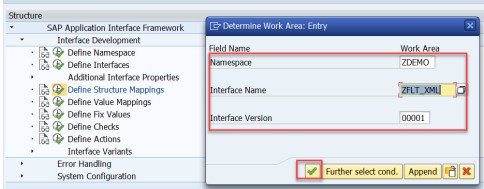
Provide the namespace, interface and version and continue.
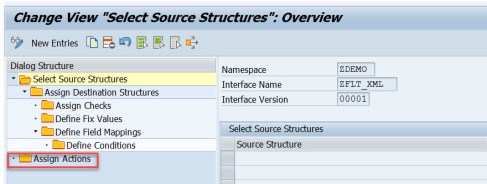
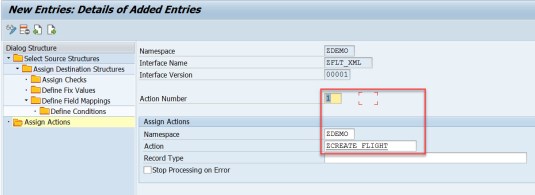
In interface Structure Mapping – here a lot of things can be done like mappings etc. But for this case we don’t need any thing. Now choose Assign Actions option from left side panel.
Choose New Entries option.
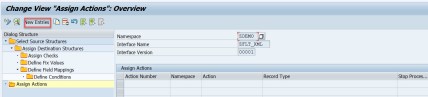
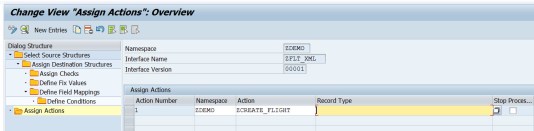
Provide the action number and choose namespace and the action name. Save and go back.
Now an action is assigned to the interface.
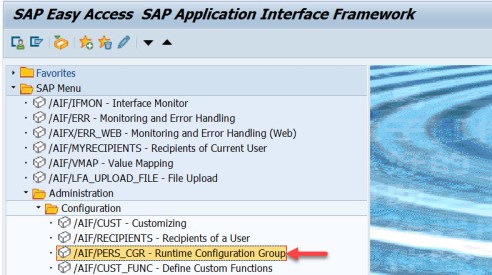
Now we have to define once the message is received in the target system AIF, how it will be processed. It will be processed instantly online or instantly by background job and later. For this execute Tx- /AIF/PERS_CGR
provide the namespace.
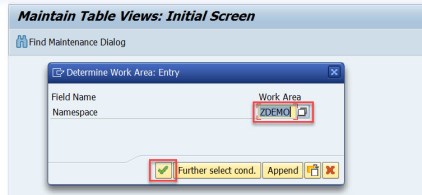
Choose New Entries.
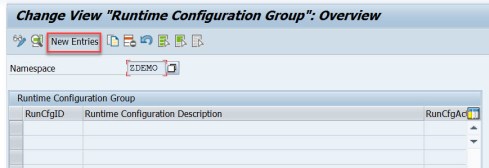
provide a Run time Config ID- ‘XML’. Provide the description and choose check box Runtime CFG Active( this means received message will be processed instantly online)
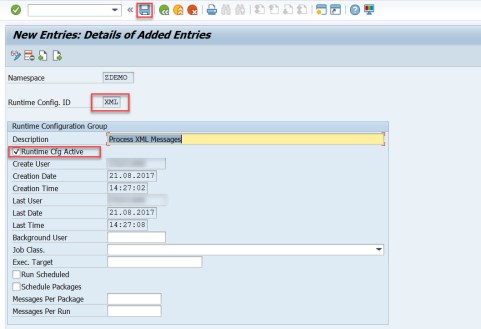
Till now all the AIF customizing finished in the target AIF system to process the message in XML.
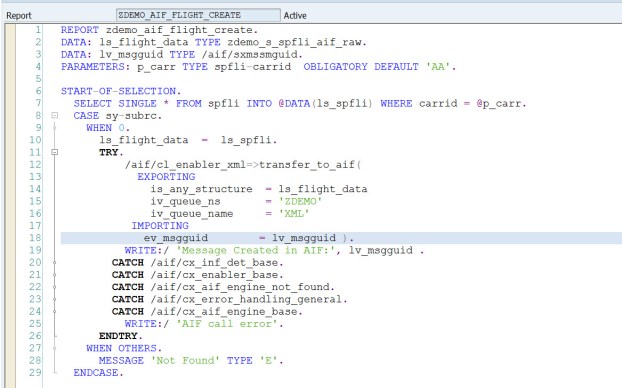
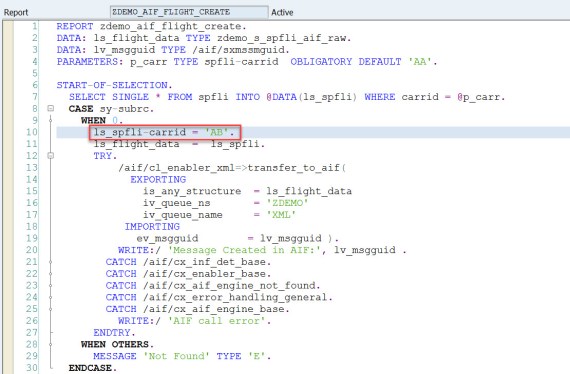
For the demo we have a simple report that send flight data to AIF by calling /AIF/CL_ENABLER_XMl class method.
In a real business case- this call should happen from the source system and call to method /AIF/CL_ENABLER_XMl =>transfer_to_aif should be a part of the RFC Function module.
Important thing to be passed to this method-
-
The AIF interface name is dynamically decided from the Namespace and the RAW structure name.
-
Queue_name- is the name of the runtime CFG ID that tells how and when the received message will be processed.
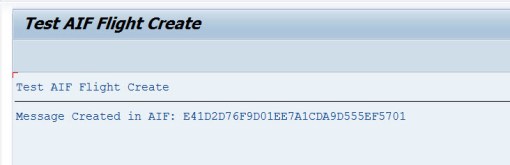
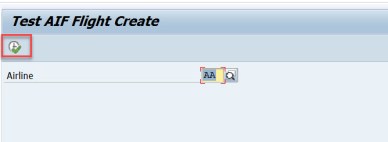
Execute the report.
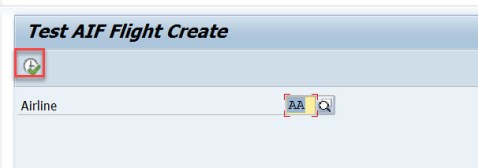
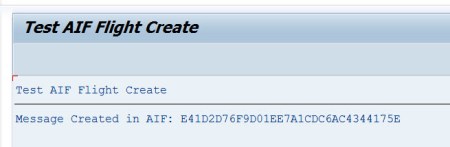
It created a message in AIF.
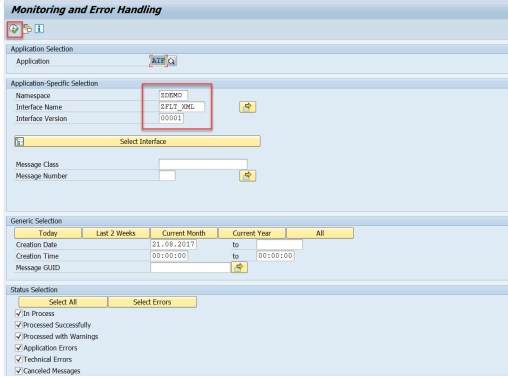
To check the received messages in target system execute Tx- /AIF/ERR
Provide the name space and interface details to see the details.
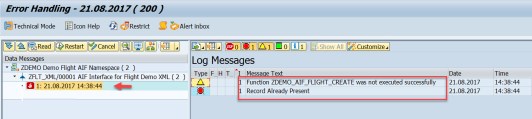
In the monitoring tool, we have the message in error and double click on the message to see the log in the right side. Well all things worked fine. Message is received in AIF and stored in AIF message table and also processed and during processing the error message appeared from the action function module.
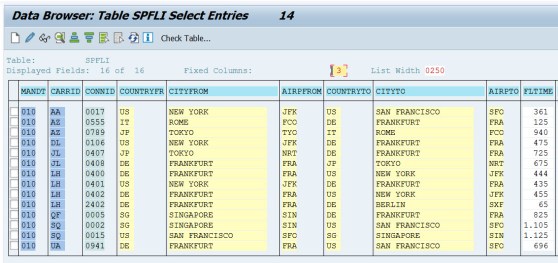
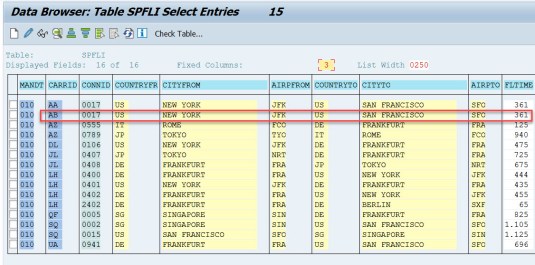
Let try to process the AIF message successfully to create a SPFLI record. Below records are present in target system. We can create a record with CARRID = AB.
In the test report which sends the message to AIF, can be little adjusted to send a record with CARRID = AB. Execute the program.
A new record is created in DB.
Check the AIF error monitor tool. The AIF message is a success message and it has the log success message.


4 comments