 FICA- Events & Mass Activity Set UP
The post describes how to define a FICA event and use it in mass processing. Also how to set up your FICA mass processing transaction.
Normally FICA event allows you to define the process specific function module that defines the process to be carried out( it is similar to customer exit).
You can define the FICA Events in the view TFKFBM.
Go to Tx- SM30 and provide the table name as- TFKFBM
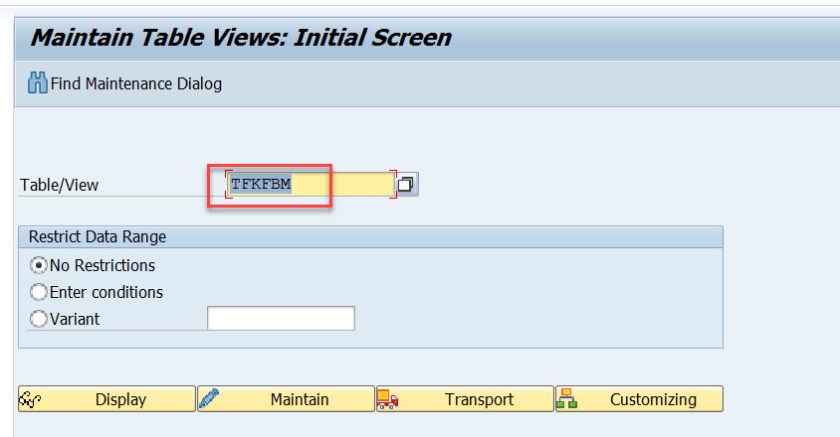
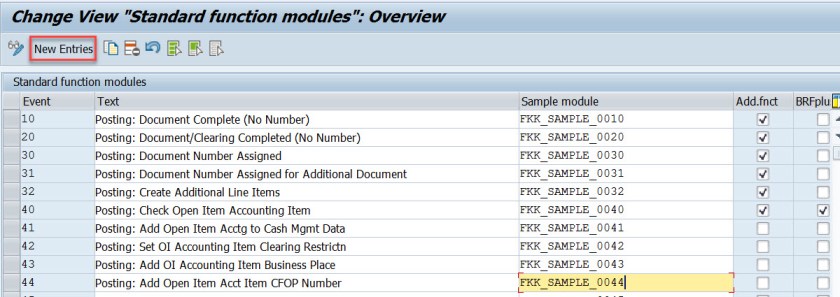
Here you can define the FICA Events.
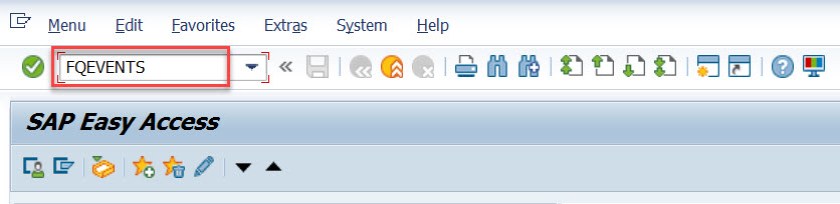
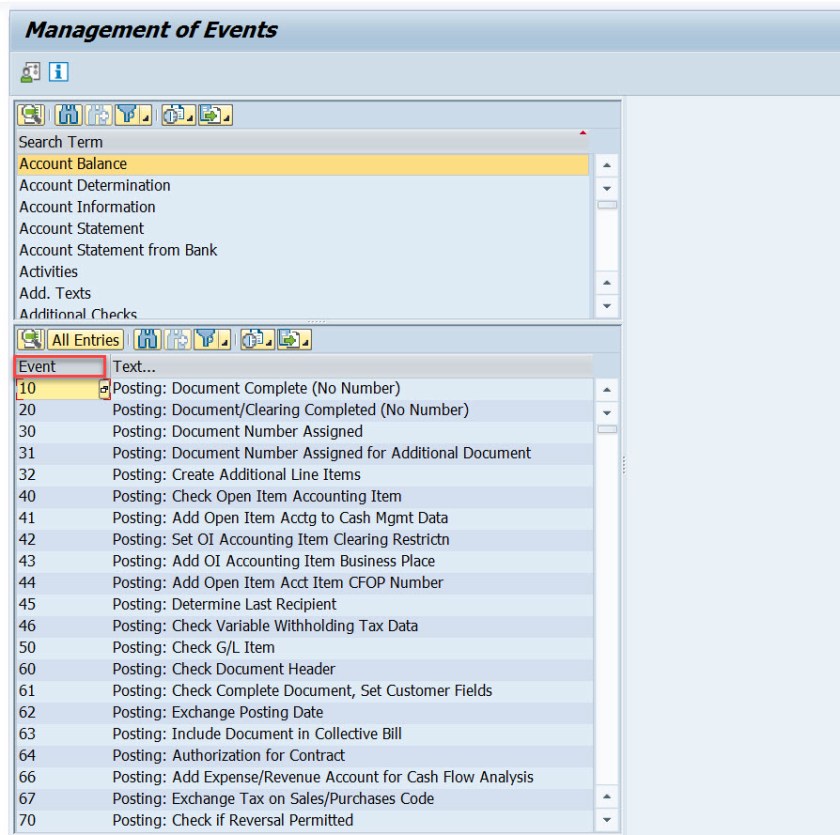
The list of FICA Events can be found in Tx- FQEVENTS.
All the events listed and also you can search events that assigned to a particular area.
Choose Convergent Invoicing, the second part of the screen displays all the vents related to it. Now double click on the event 8180.

The EVENT 8180 appears in the right section of the screen. Here some sample function module is assigned. You can take the reference of the sample function module which in normally an empty FM ] and create process specific function module and assign this FM in the Installation Specific Function Module.
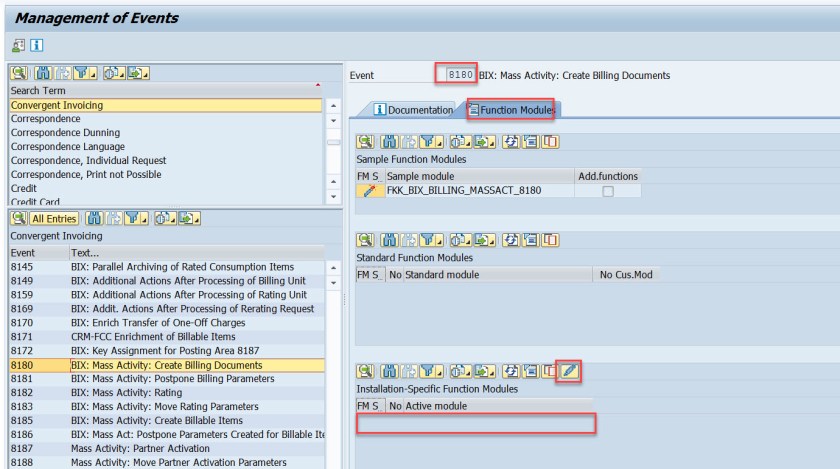
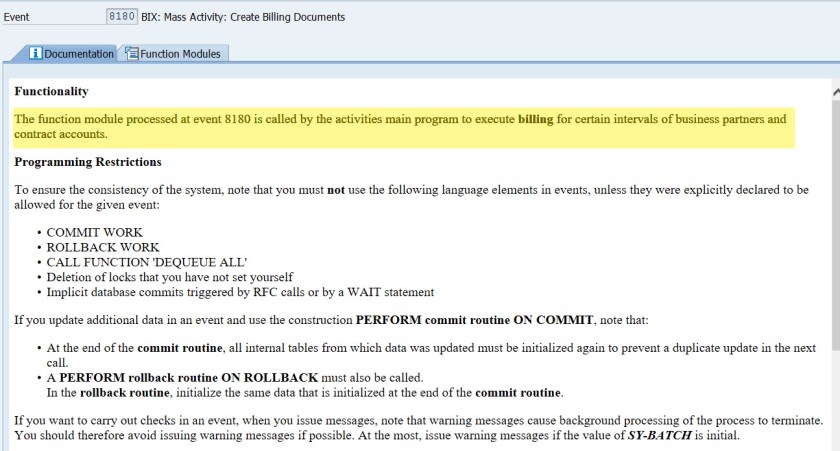
The documentation tells about when the FM gets called.
The next step we will see how this events [ event FM is called] when you run a transaction.
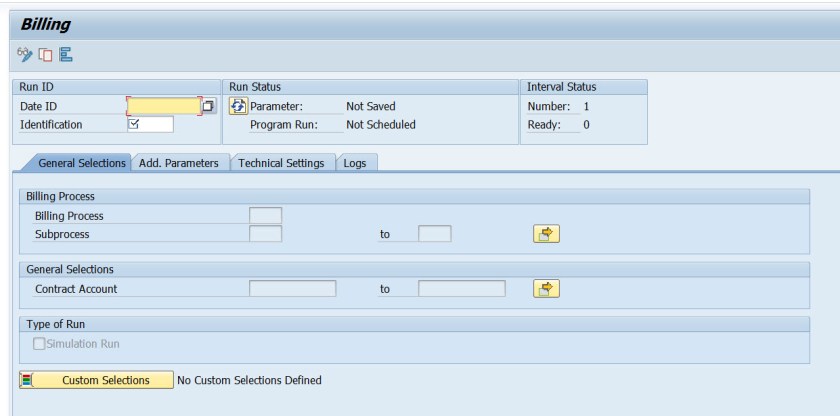
Execute the FICA billing mass processing Tx-FKKBIX_MA
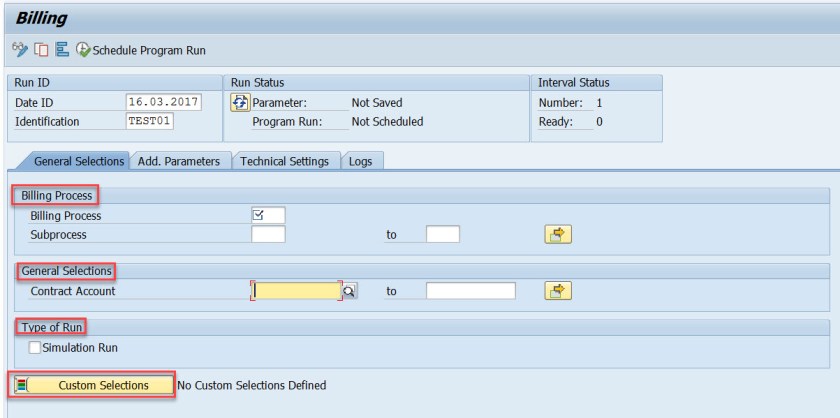
The below FICA Billing screen appears. Once you provide the input details and execute it, it calls the FM associated with the event 8180. This involves a lot of customizing steps .
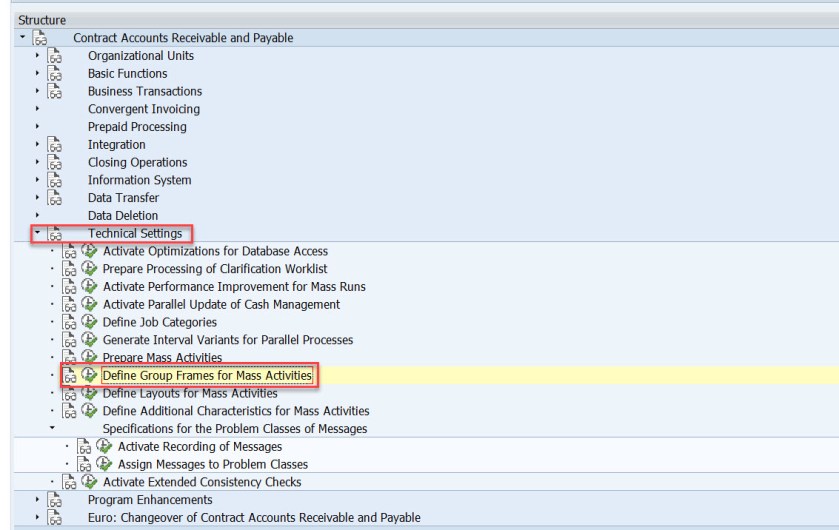
Go to Tx- FICAIMG
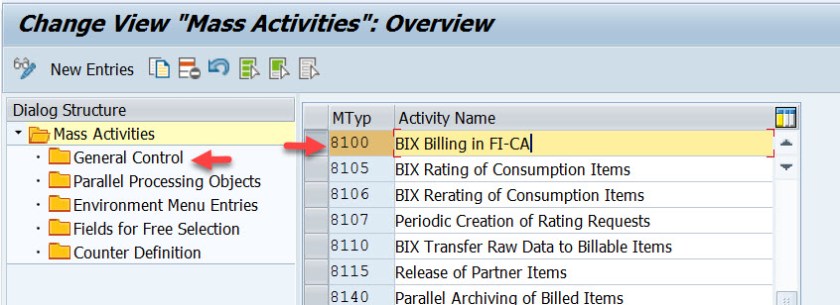
In Technical Settings->Prepare Mass Activities
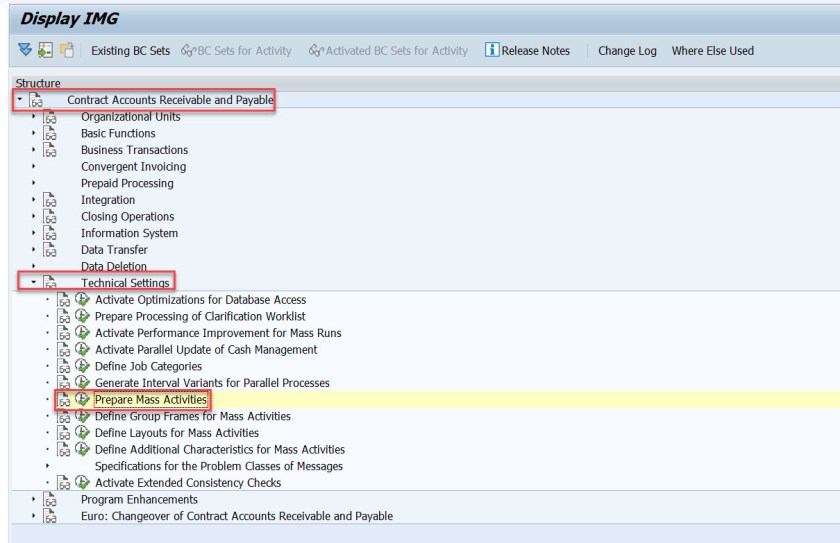
Here for each mass activity, one mass activity type is created. Choose Mass Activity type – 8100 and choose General Control.
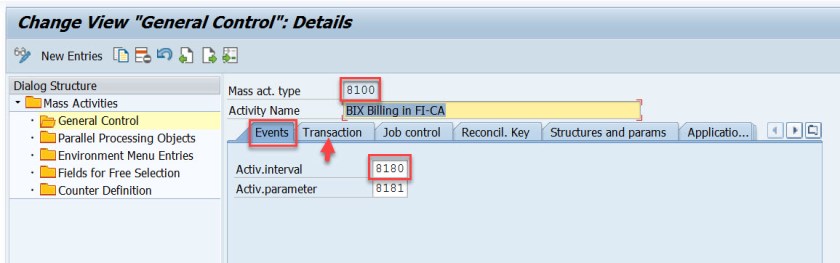
Here under the events tab- the above created event 8180 is supplied. Select the Transaction tab.
Here the FICA Billing Mass Processing transaction code is provided.
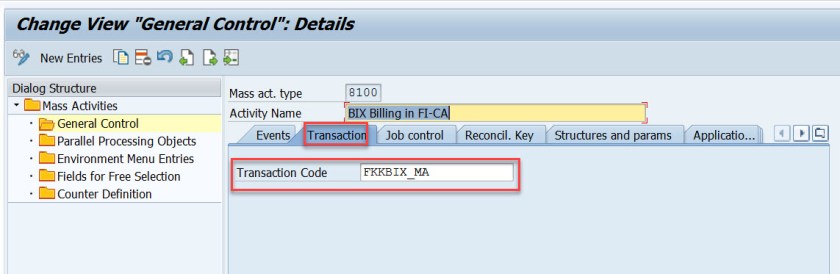
Now when you run the Tx- FKKBIX_MA, then it determines which event is associated with this and calls that function module and the code is executed.
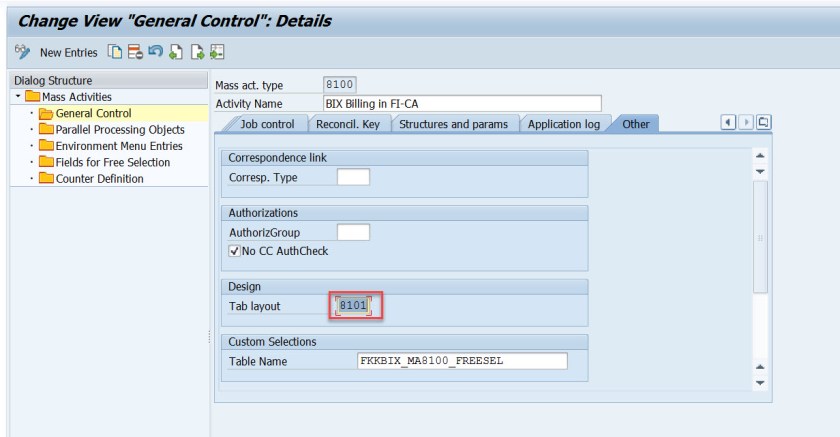
In the Tx- FKKBIX_MA, you can find 4 tabs which comes from customizing.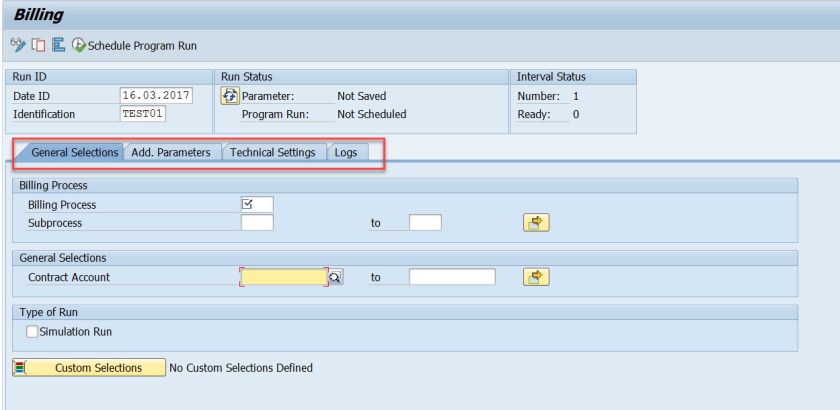
In the mass activity, choose Other tab and note the design tab layout . It is 8101.
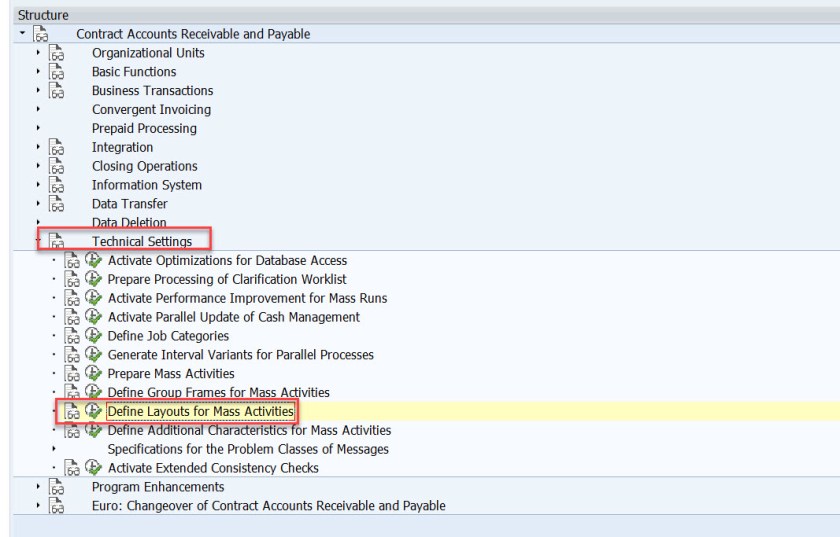
In Tx- FICAIMG, under Technical settings choose- Define Layouts for Mass Activities.
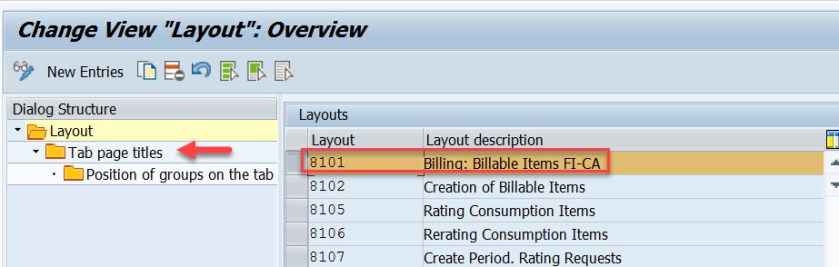
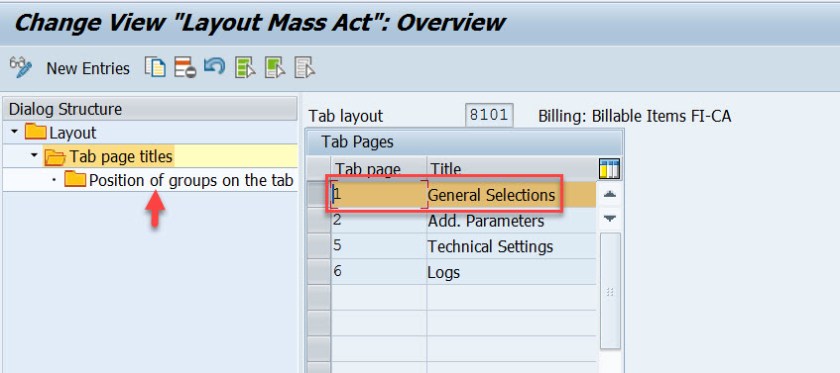
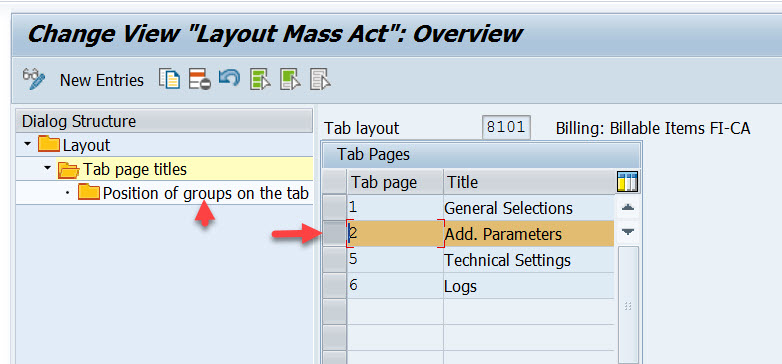
Choose layout- 8101 and click on Tab Page Titles.
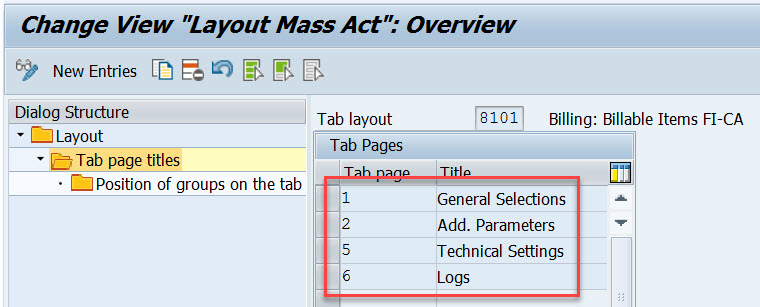
So it has 4 tabs that appear in the mass activity transaction.
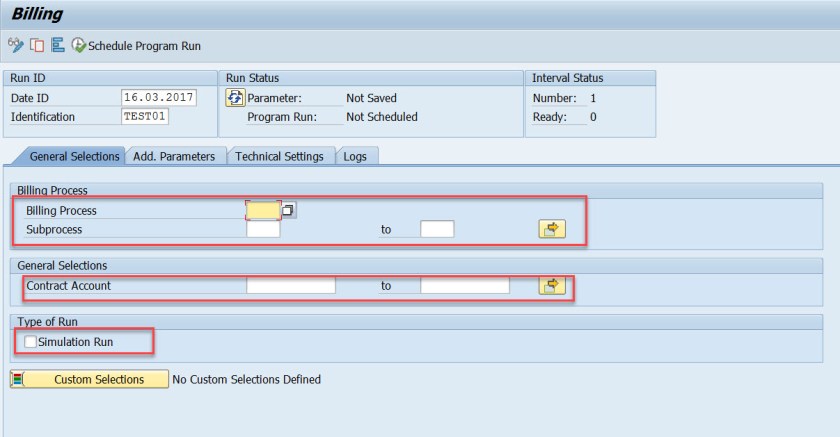
In mass activity transaction, under tab – General Selection , there are 4 different sections. This comes from the layout settings.
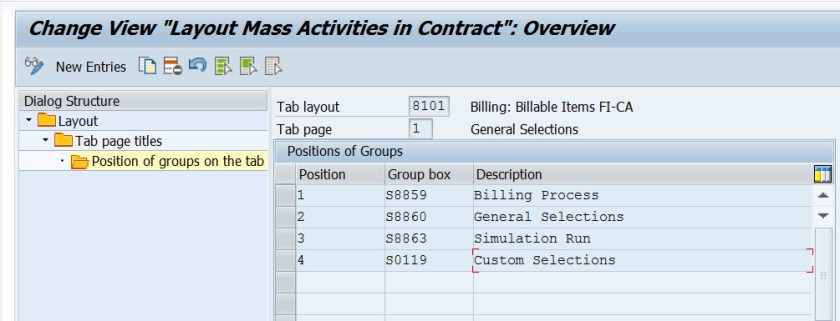
In the mass activity layout 8101, choose Tab 1(General Selections) and select Position of groups on the tab.
There are 4 different group boxes that appear in the mass activity screen.
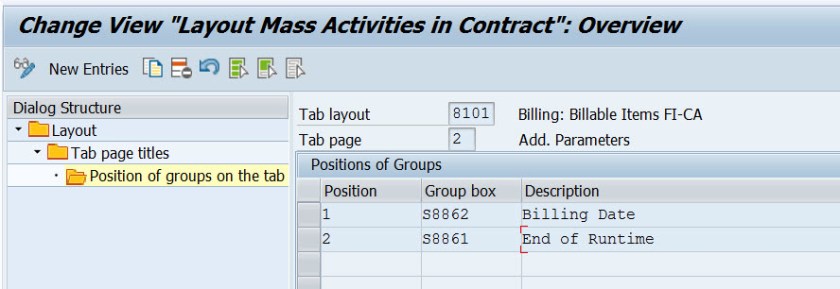
Similarly for the tab- Add Parameters there are 2 different sections.
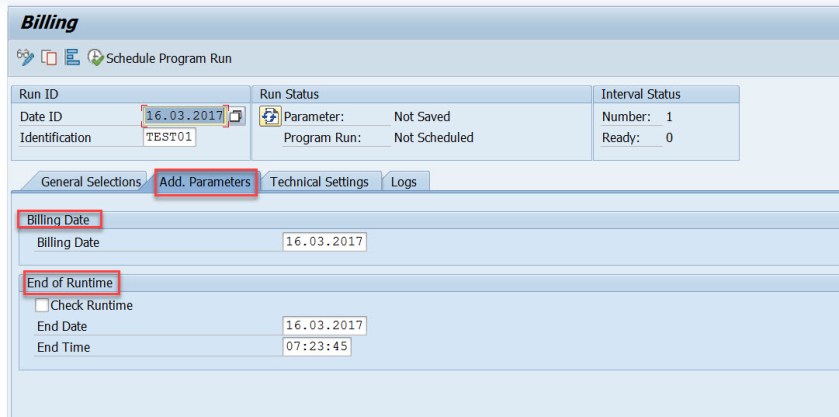
In the mass activity layout choose tab 2 and select Position of groups on the tab.
It contains two group Boxes. Similarly for other tabs also.
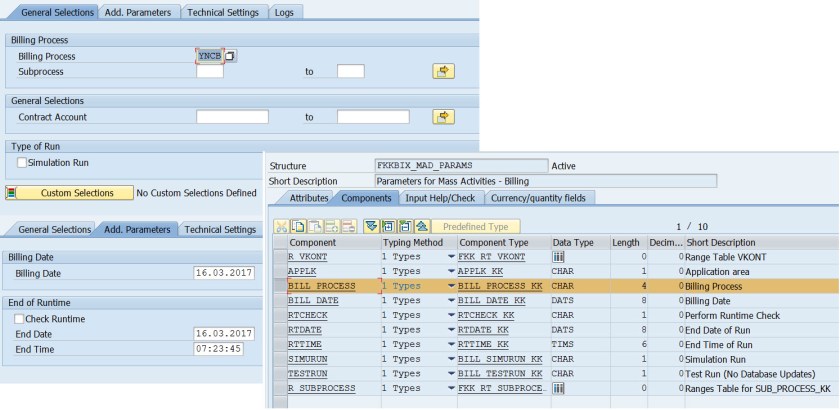
In the mass activity transaction- Under the tab General Selections, there are four different sections like billing process, General Selections, Type of Run & Custom Selections.
Each Section contains few parameters/select options etc. This also customized.
In the mass activity, choose Structures and param tab- Here you can specify a structure.
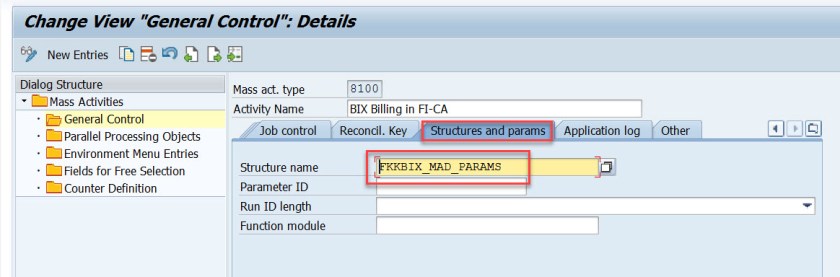
This is a SE11 ddic structure.
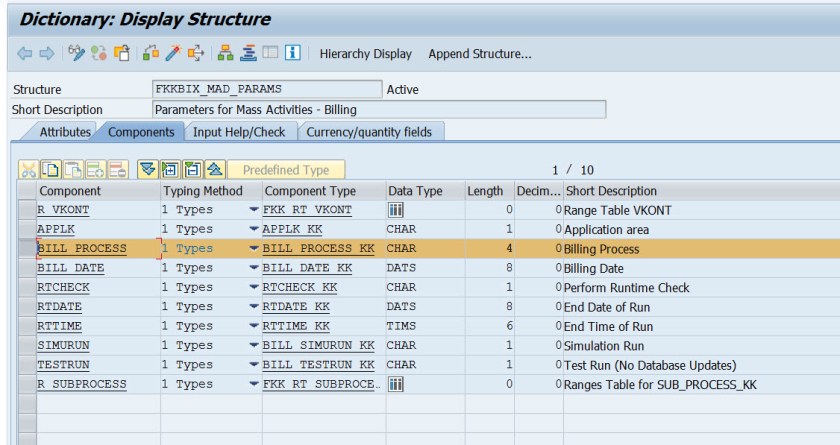
The parameters / select options of different tabs in the mass activity transaction refers to the fields of the structure.
Lets check the parameters under the General Selections tab.
In the mass activity layout we have 4 group boxes(sections) for the General Selection tab. Note the group box names.
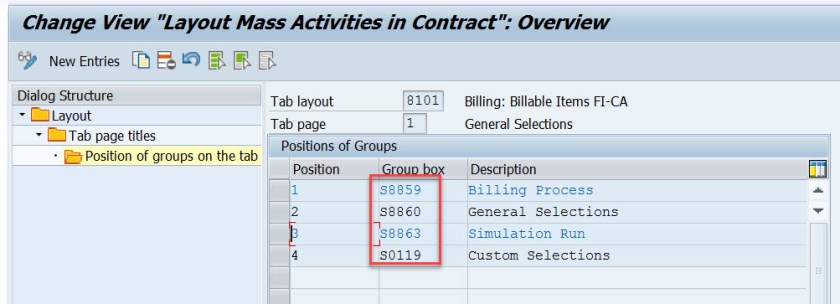
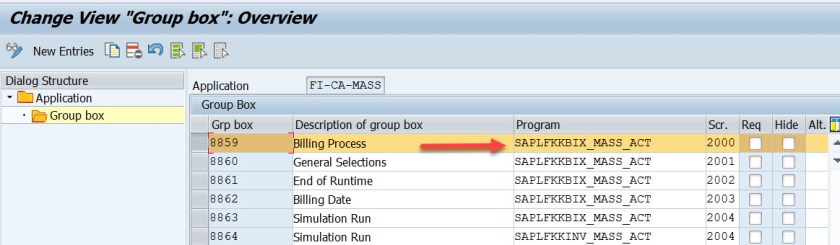
In Tx-FICAIMG choose Technical Settings->Define Group Frames for Mass activity.
Choose Appl as FI-CA-MASS and choose Group Box.

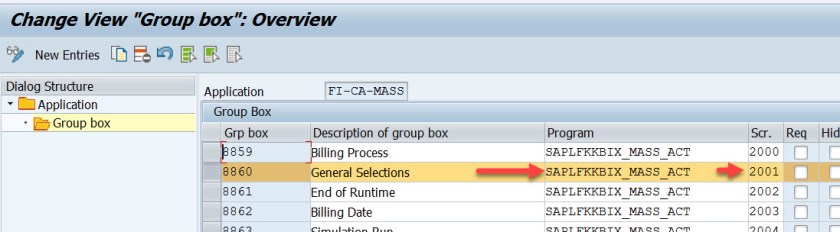
The group box – 8859(Billing Process) refers to the screen 2000 of the program as marked.
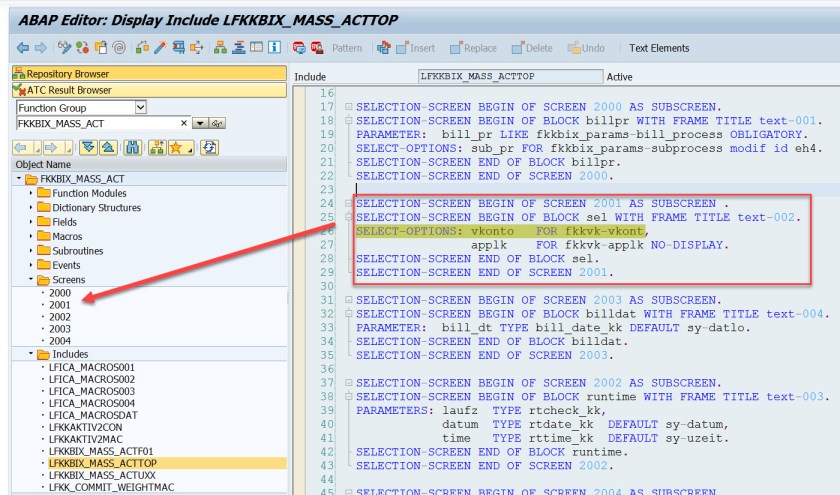
Open the program in SE38 and in the TOP Include a selection screen is defined as 2000.
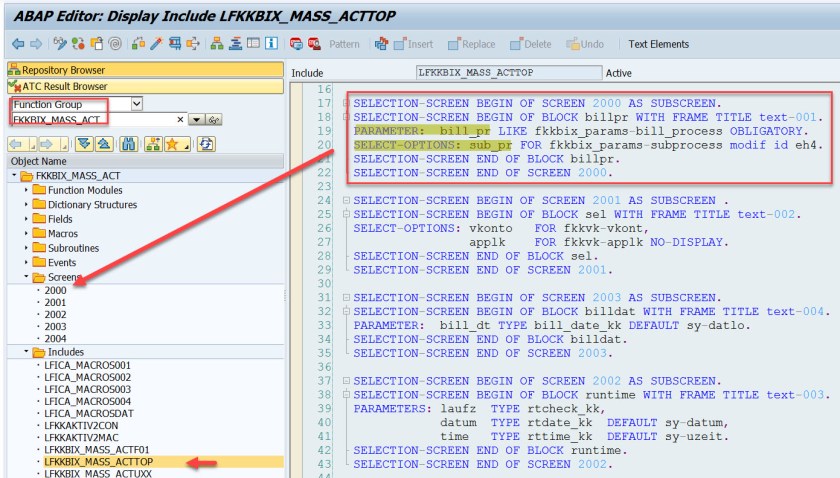
Similarly for other fields.

In the mass activity transaction – If you click on the Custom Selection button it opens up a subscreen where you can maintain addition selection criteria. This is purely customizing.
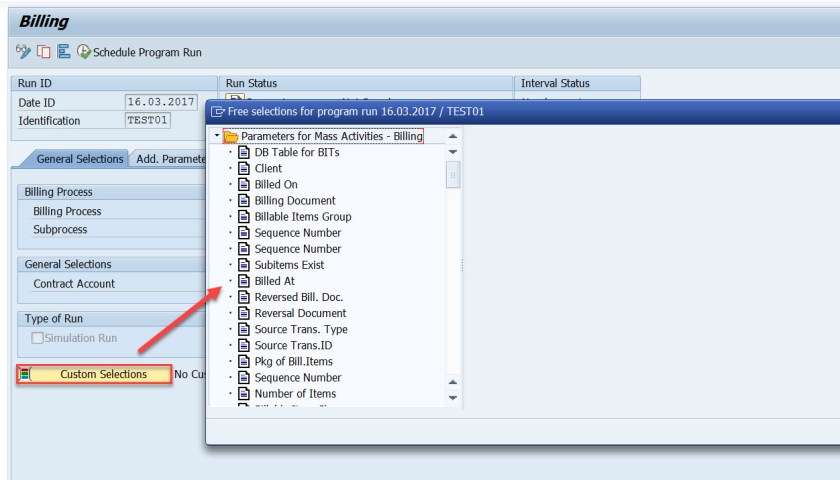
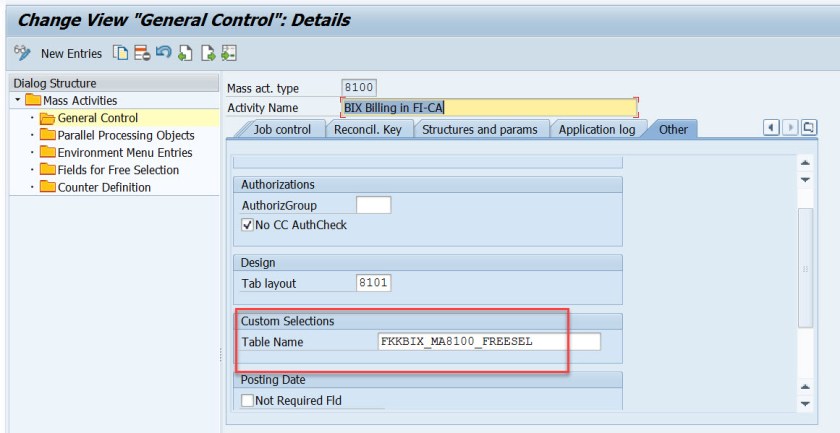
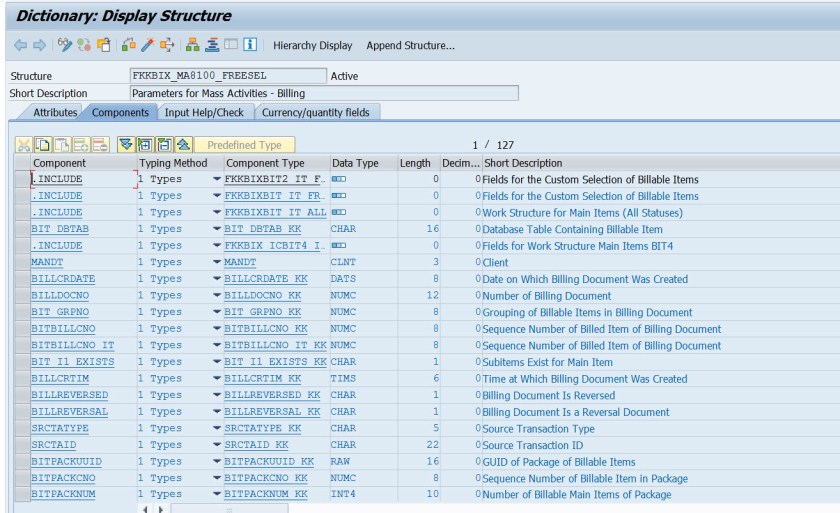
In the mass activity, others tab for the custom selection provide a DDIC structure name.
Here is the DDIC structure.
The layout refers to the group box 0119 for the custom selection.
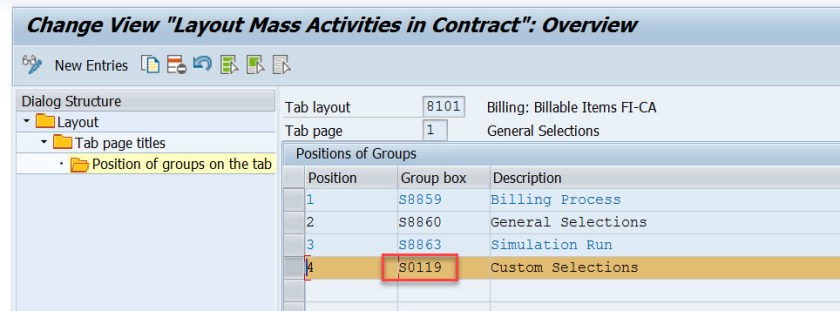
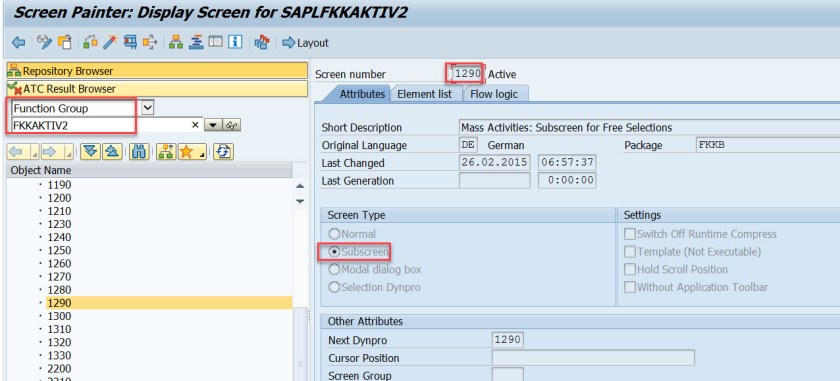
The group box points to the screen 1290 of the marked program.
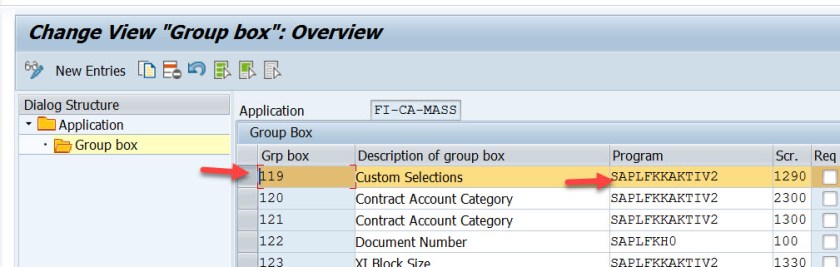
So 1290 is a subscreen.
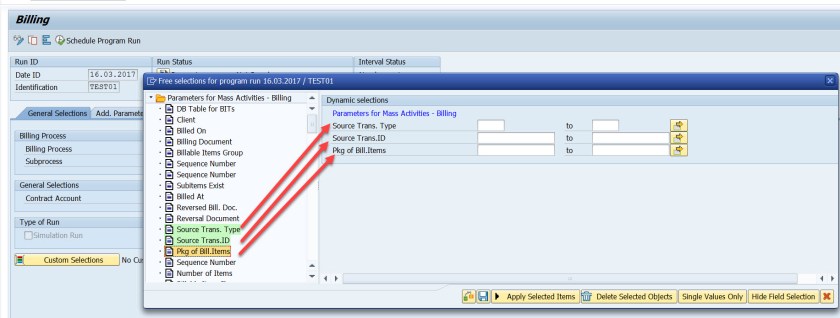
In the mass activity transaction – select the custom selection button. It opens the sub screen as pop up.
Double click on the field for which you wish to pass additional field values and those appear in the screen . Pass the value and execute the transaction. When the program is executed it makes a call to the events Function module and the process is executed.

Excellent content !
LikeLike
Superb
LikeLike
Very Nice Info
LikeLike