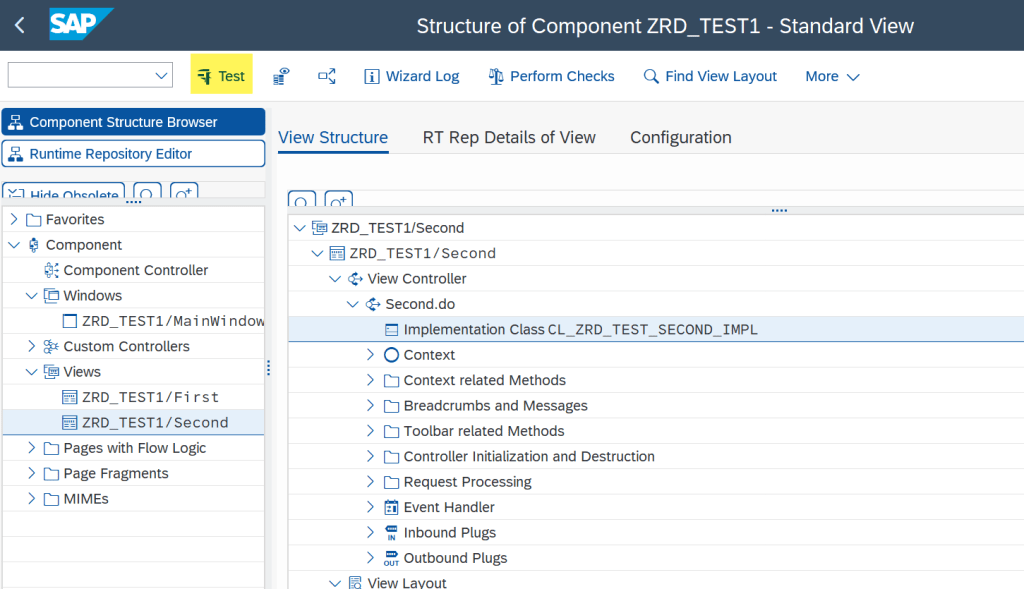
This post helps to create a simple view with one field with value node. Later creating two views and navigating between two views.
Launch Tx– BSP_WD_CMPWB
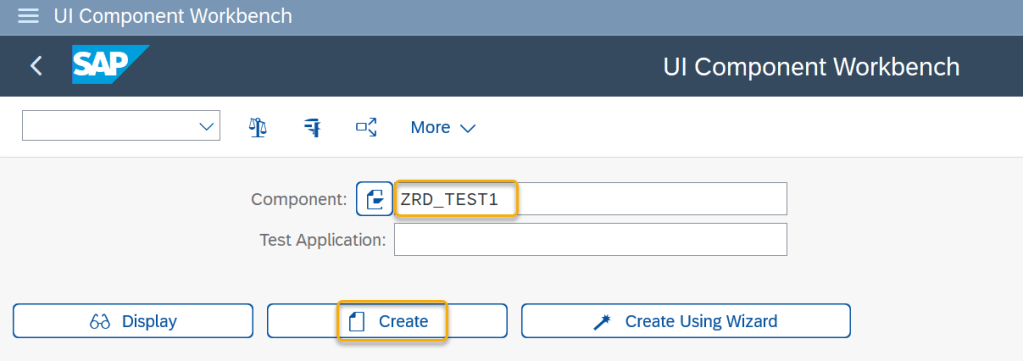
Provide component name and Create.
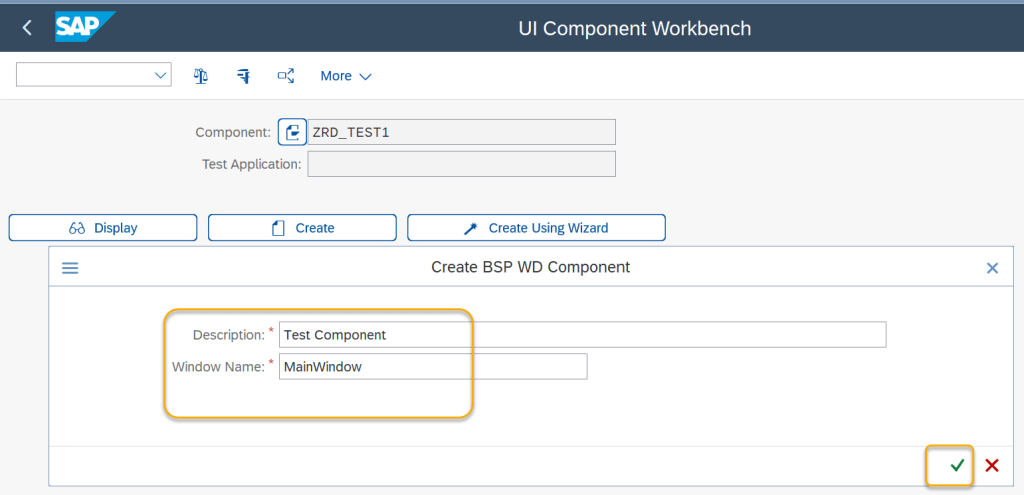
Provide a description and continue.
The system create many objects like the component controller class and the context class.
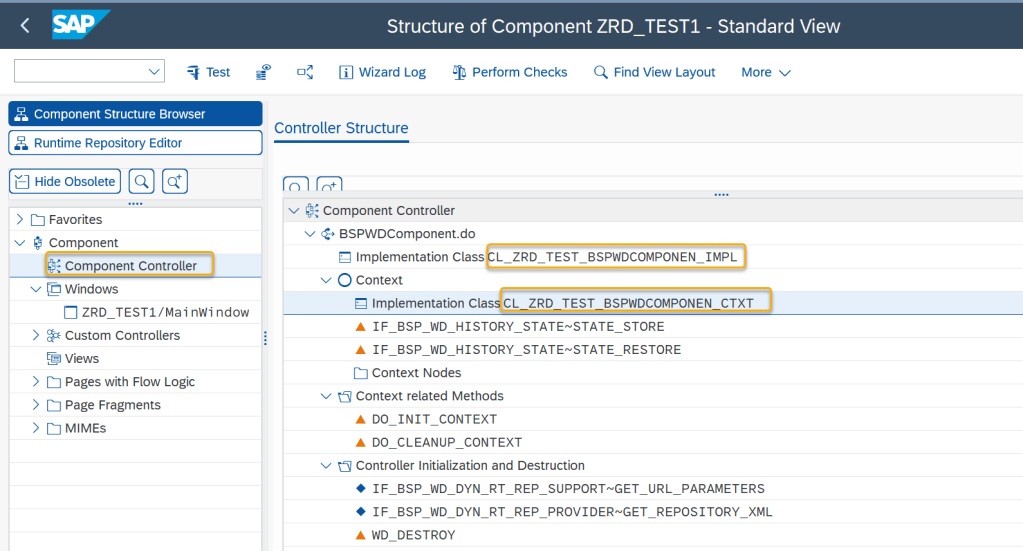
For the window also the system created the class and the context class.

Let’s create the first view. Right Click on View and choose Create option.

The view creation wizard starts.
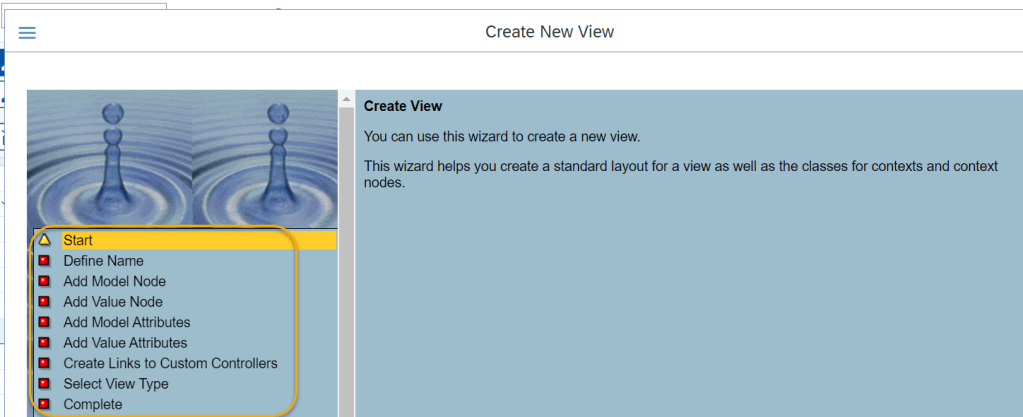
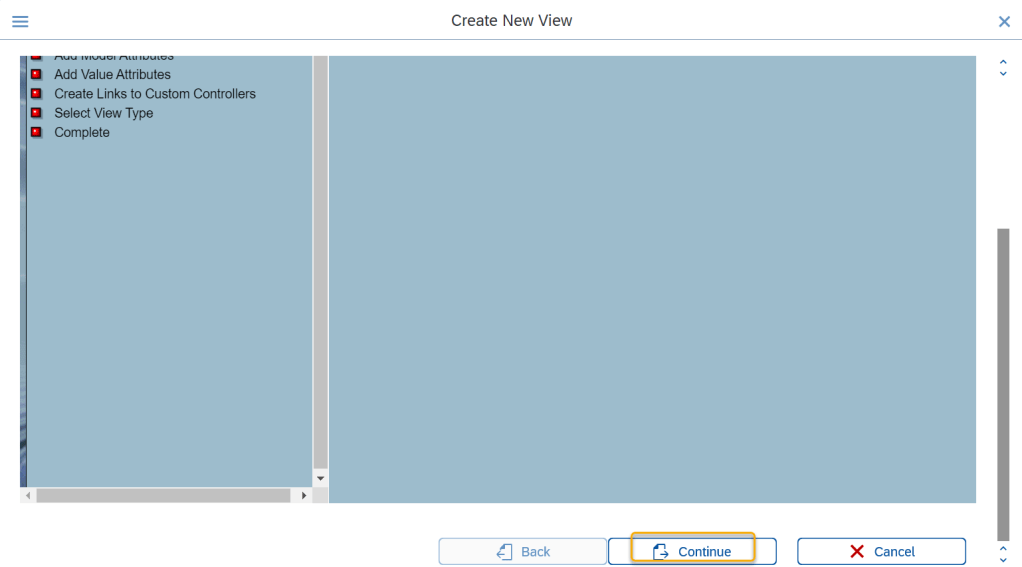
Cotinue.
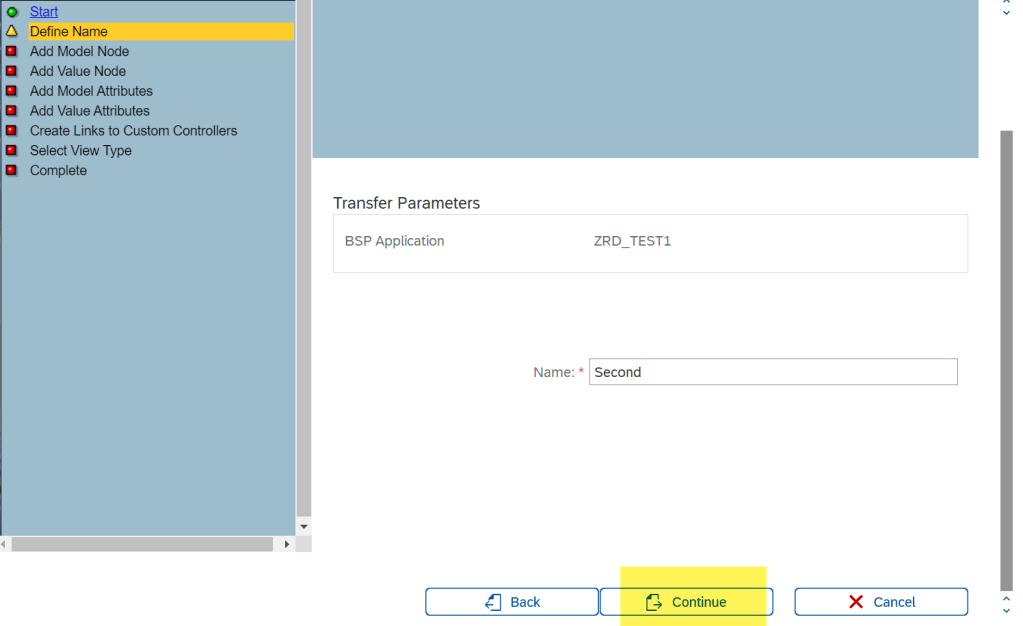
provide the view name.
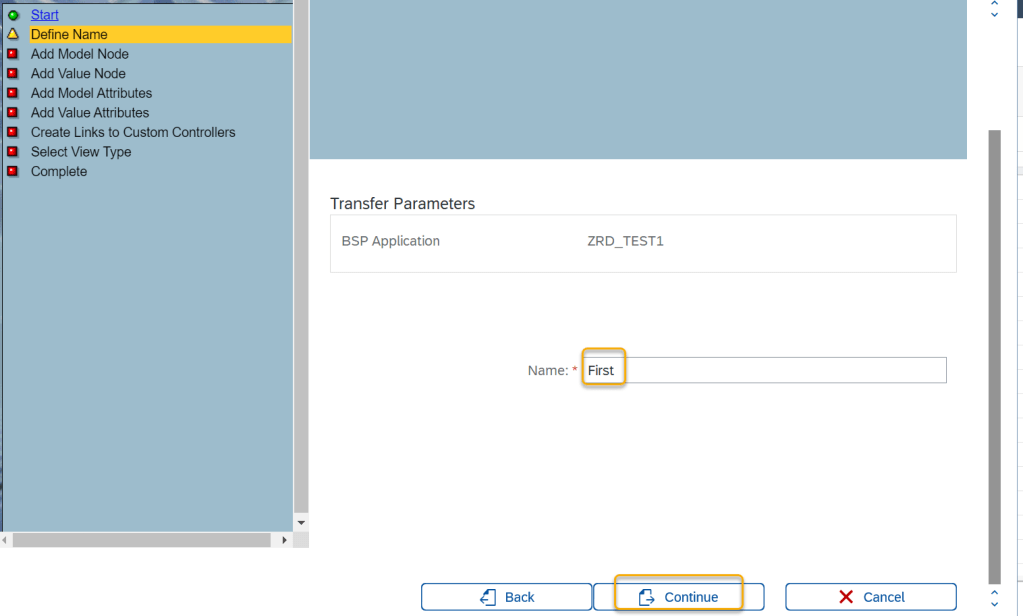
Let’s continue as we will not any model node.

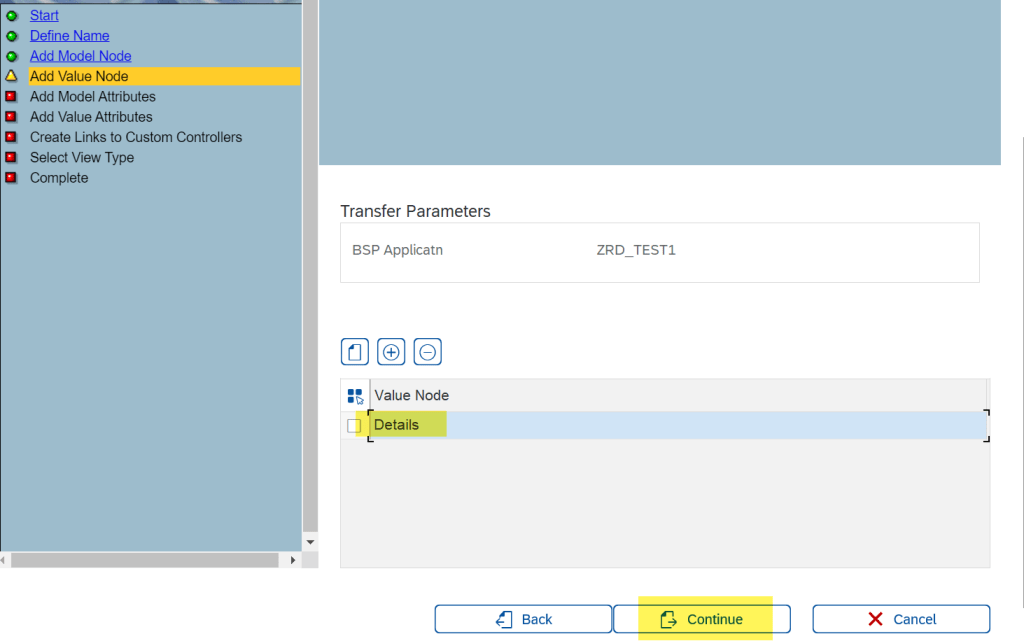
Create a Value Node and Continue.
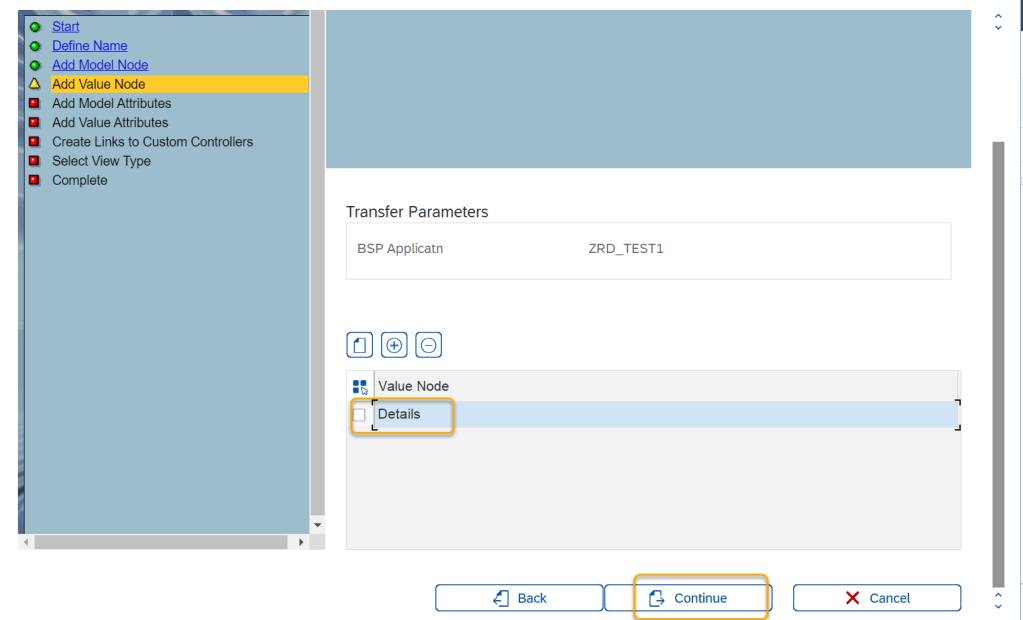
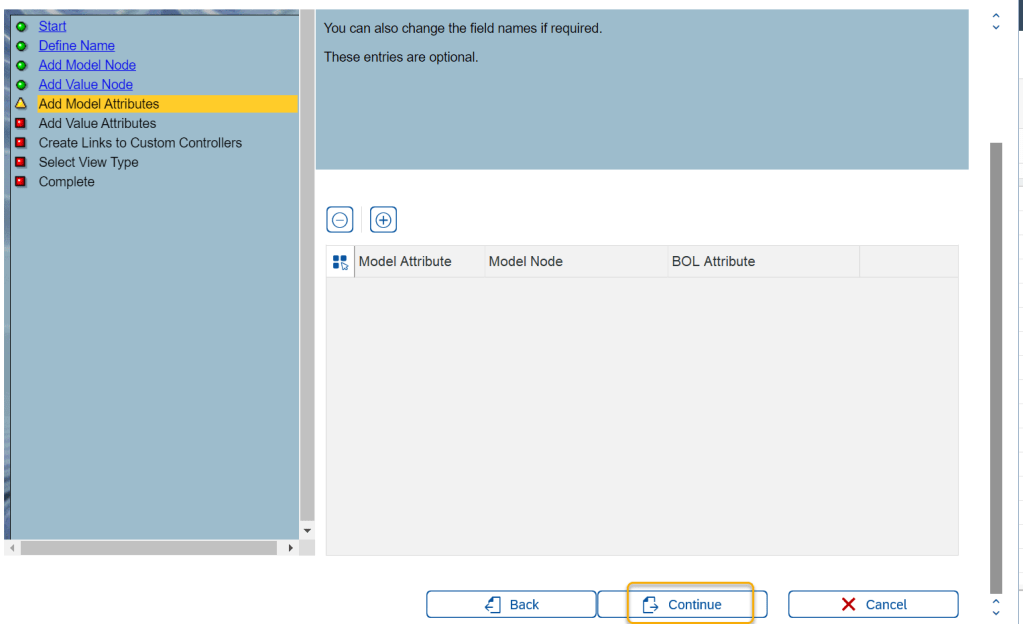
Continue.
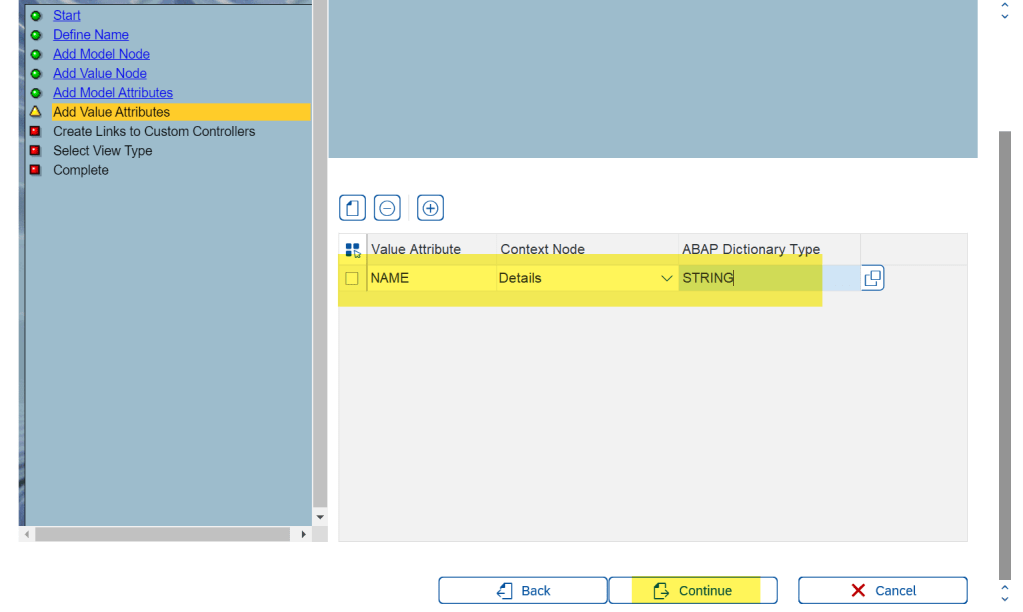
Provide Value Attribute and continue.
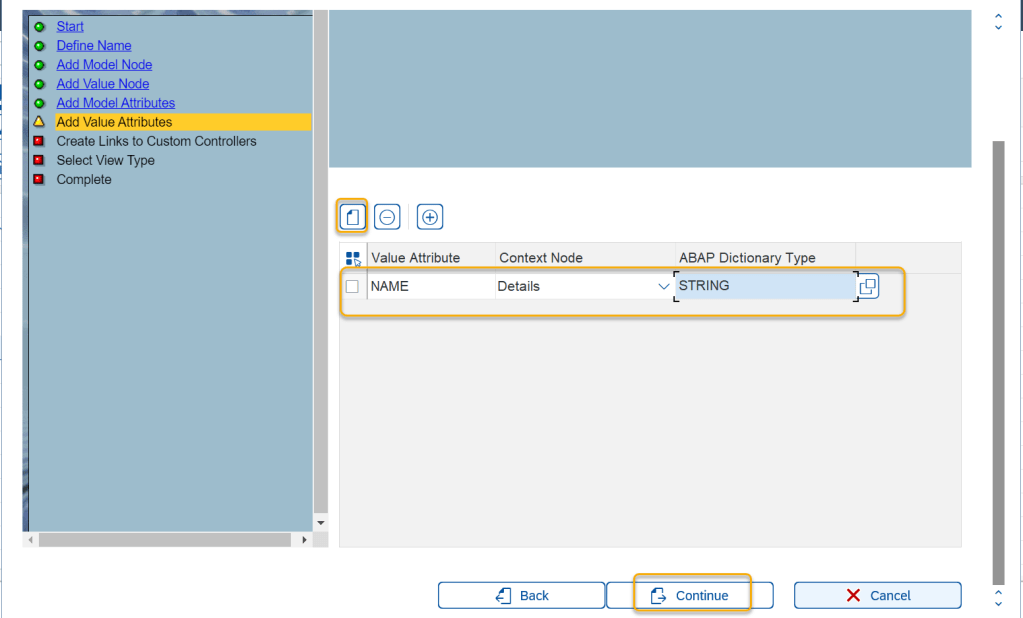
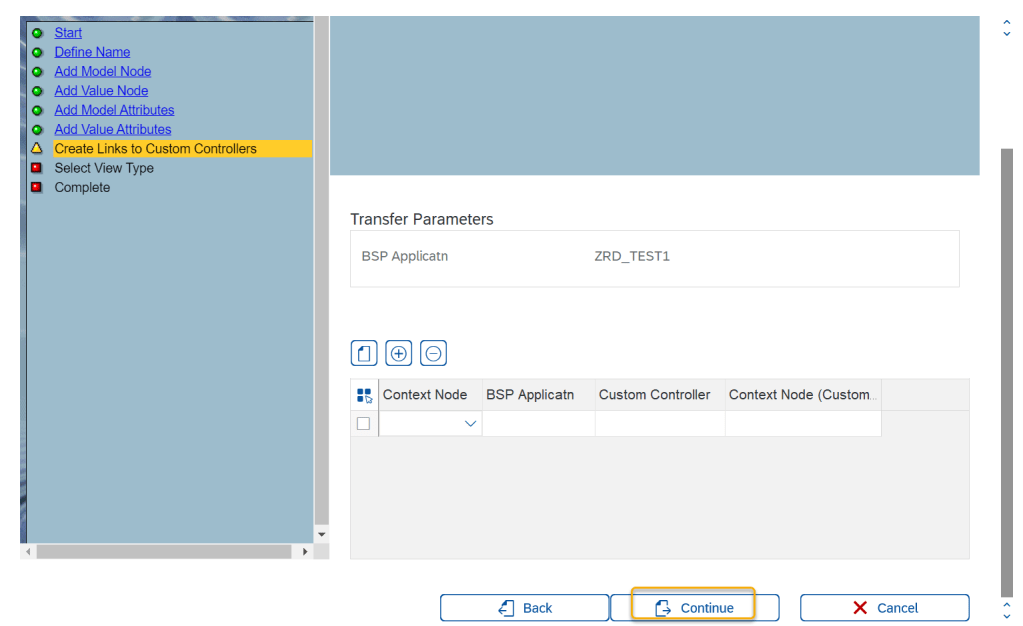
Continue.
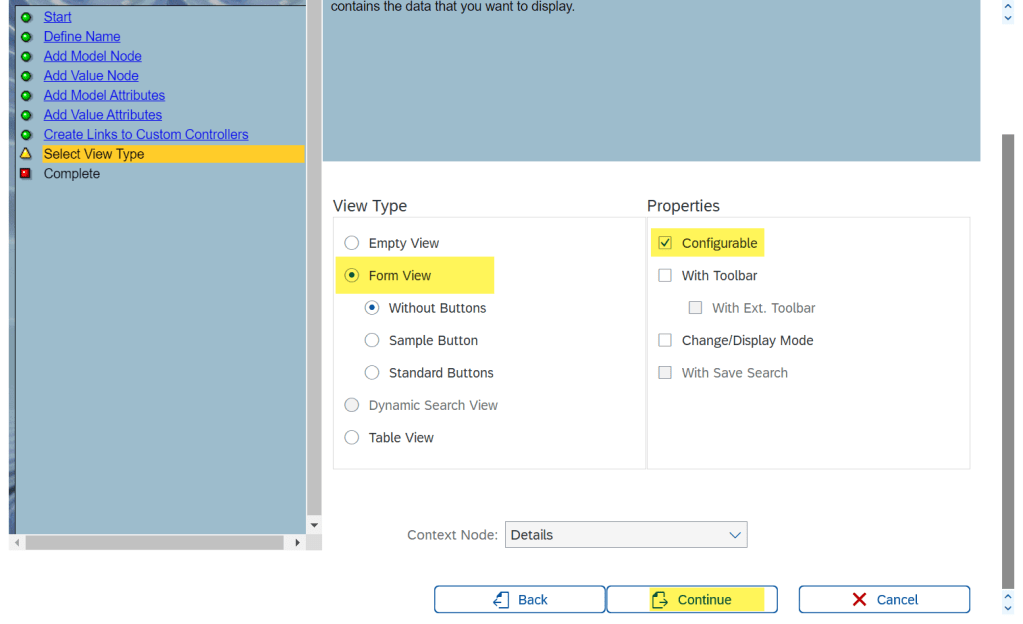
Choose Form View and Configurable.
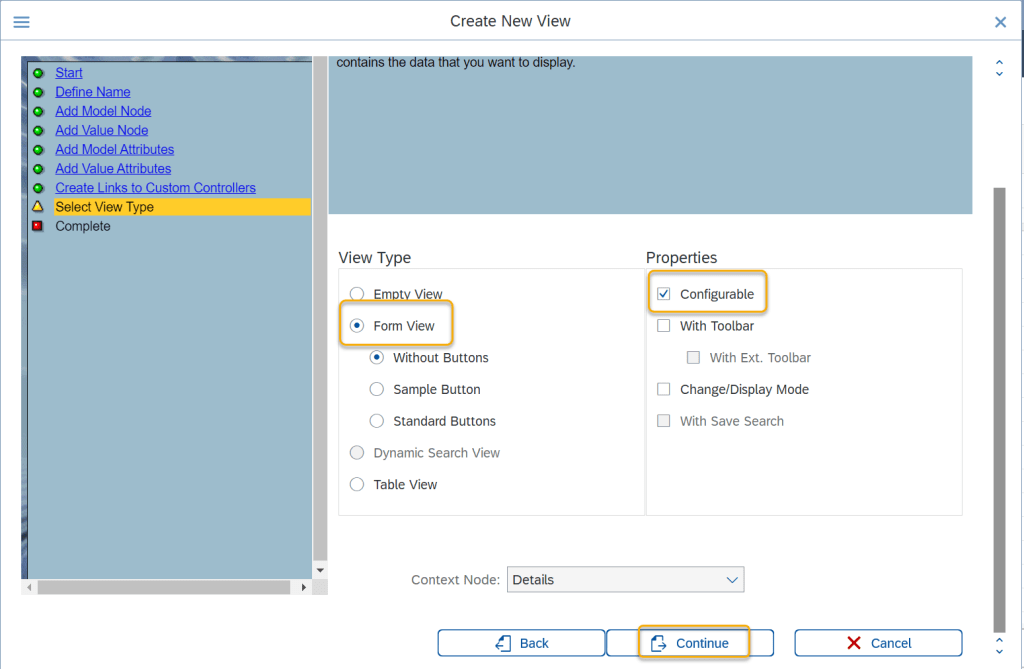
Continue.
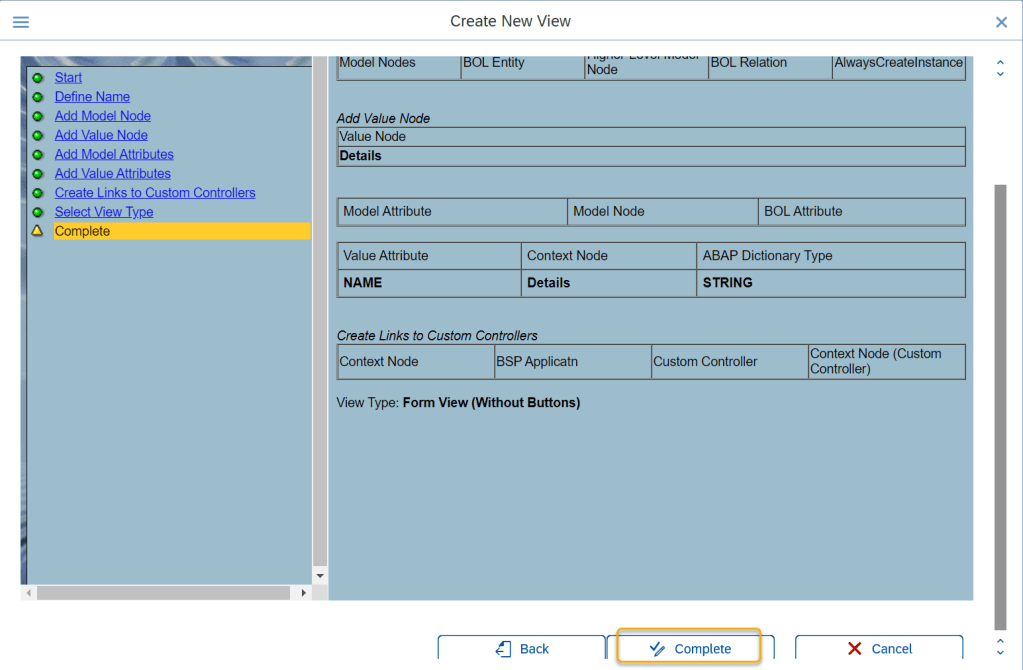
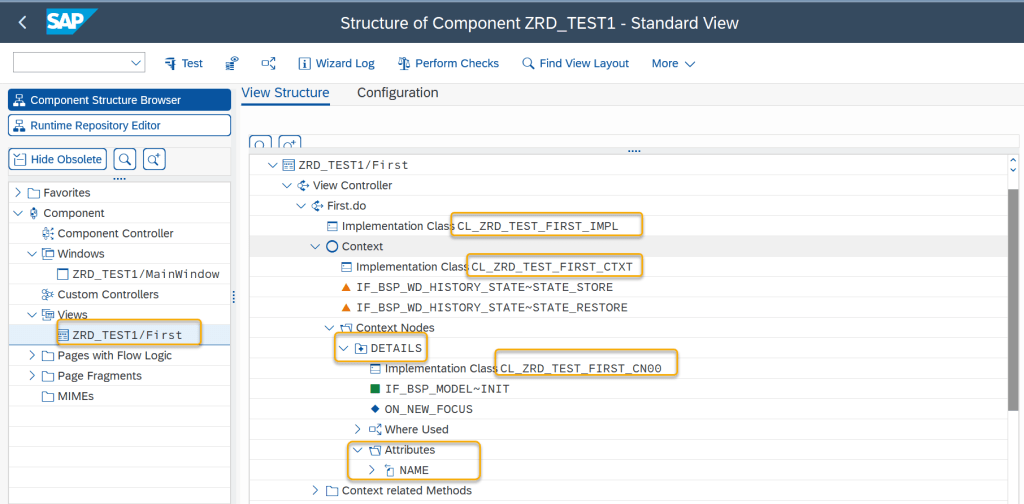
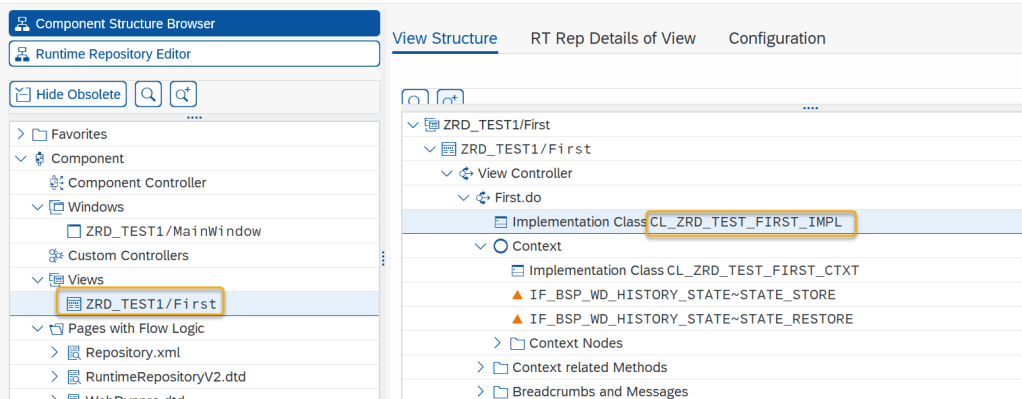
The view is created and the system created all the required class- the view controller class, the context class and the node.
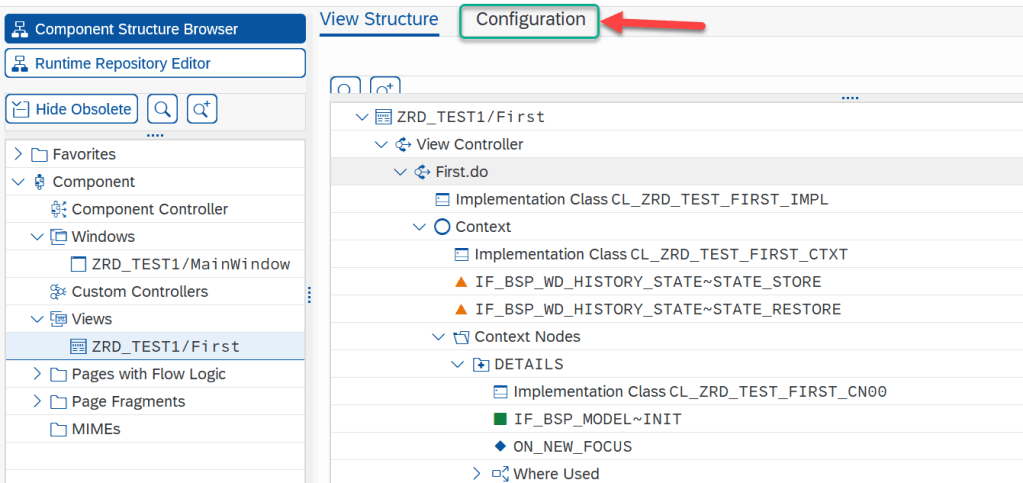
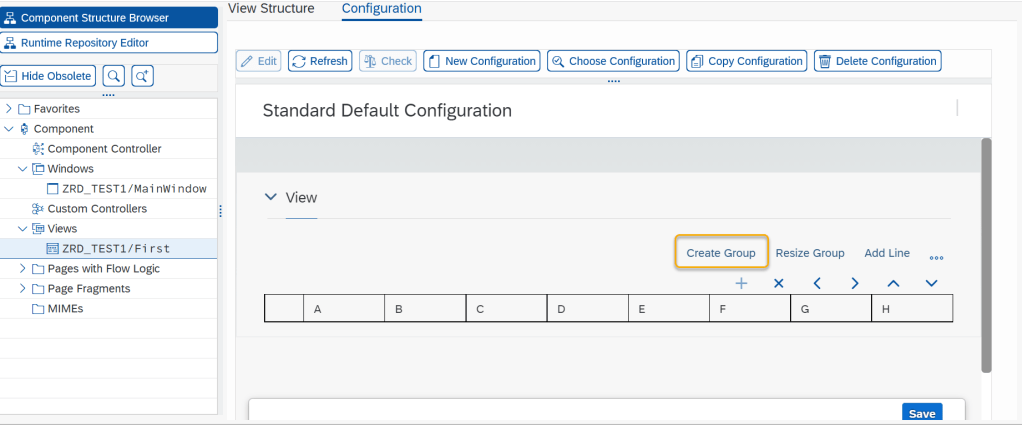
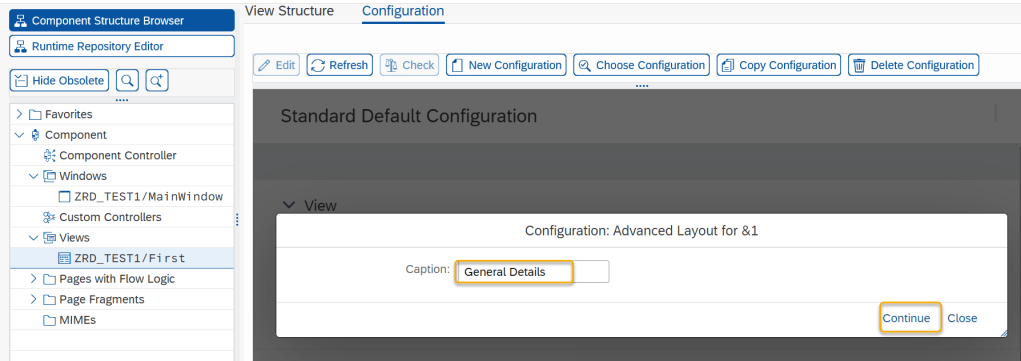
Let’s do the view configuration-
Create a group and provide the text.
The context node attribute(s) are there . Lets add that to the view configuration.
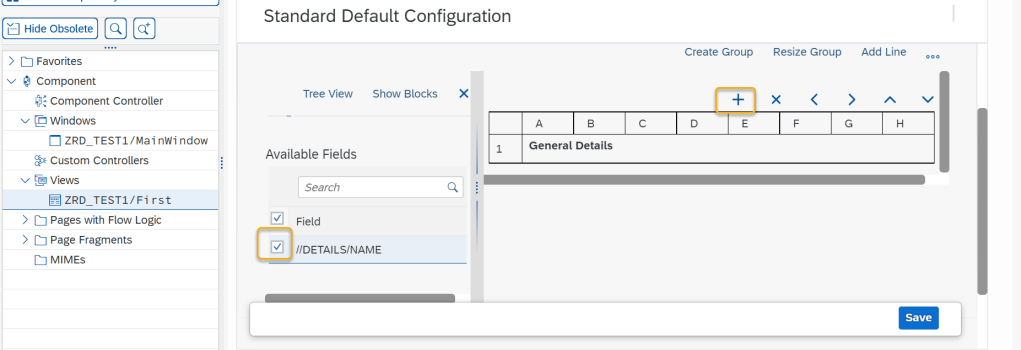
Select the field and choose the [ … ] button.
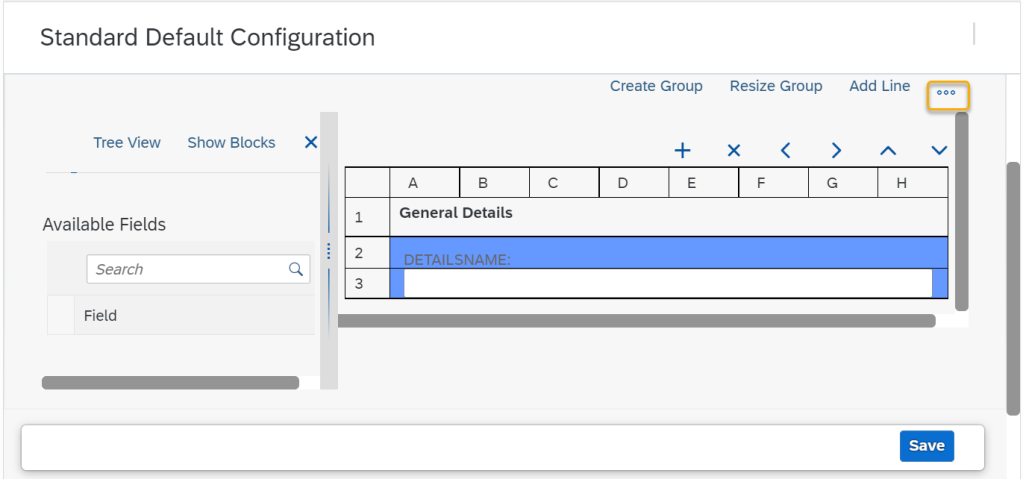
Select the Show Field Properties.
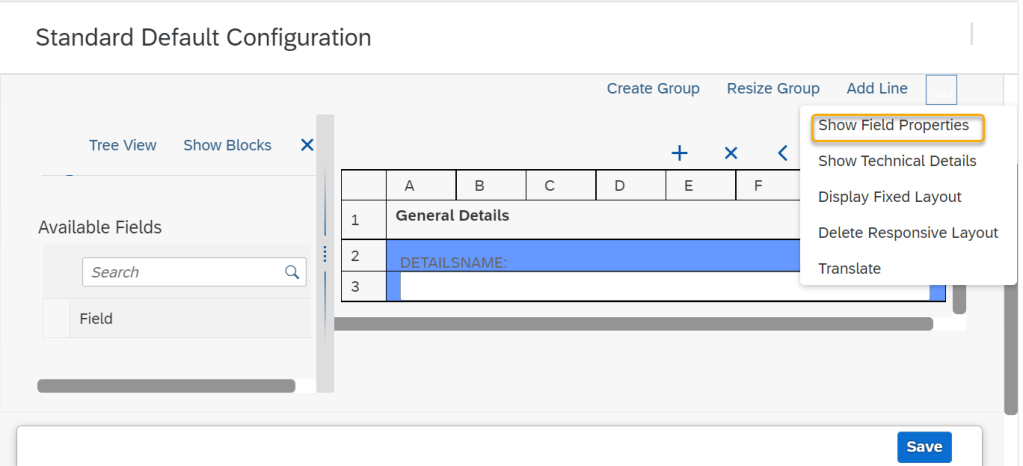
Lets change the field label.

Adjust as below-
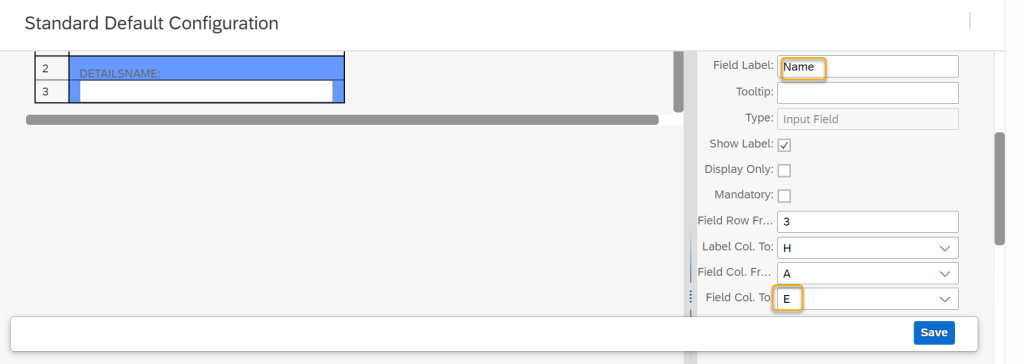
Choose Apply button.
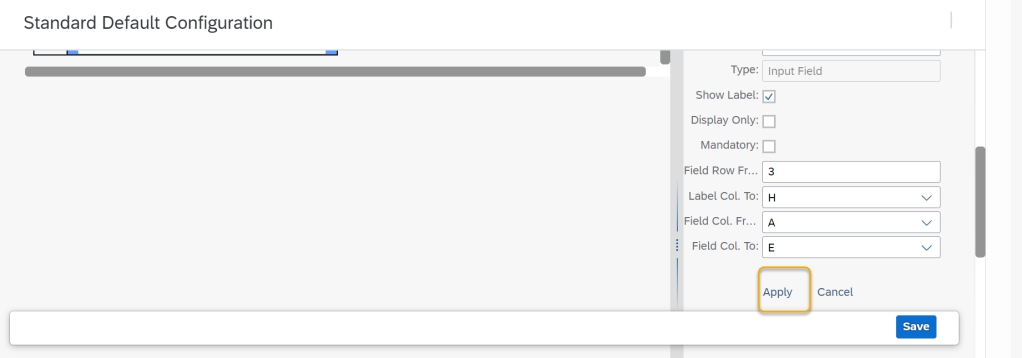
Save.

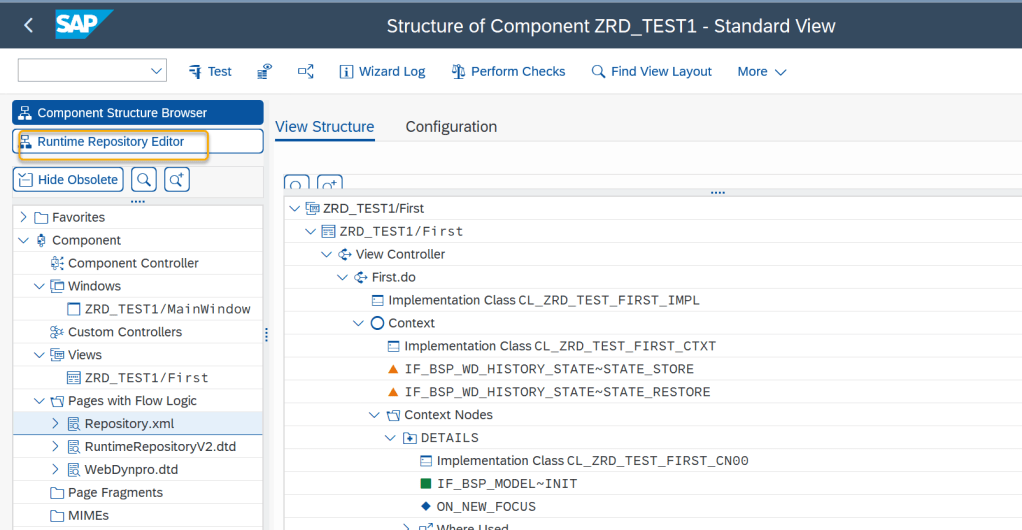
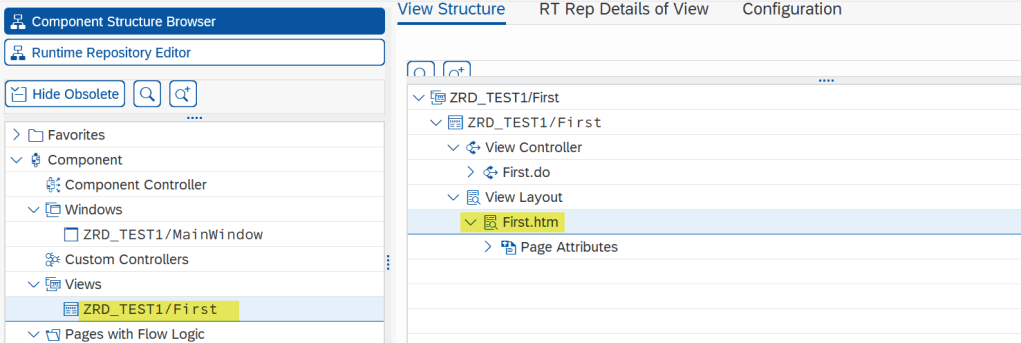
Choose the Runtime Repository Editor.
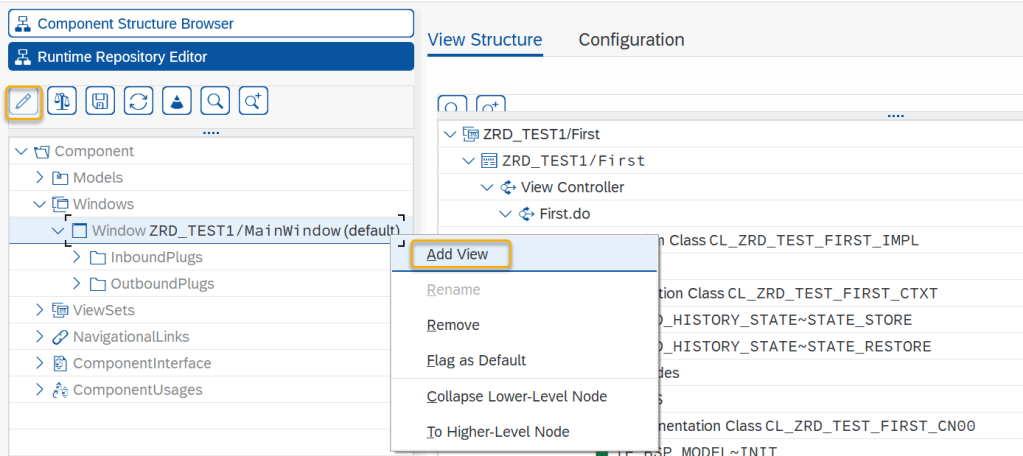
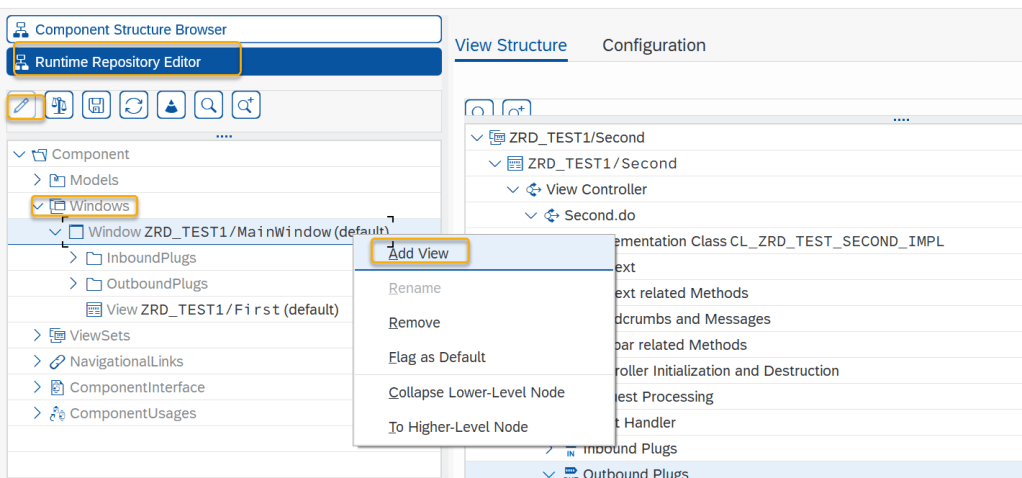
Let’s add the view to the window-
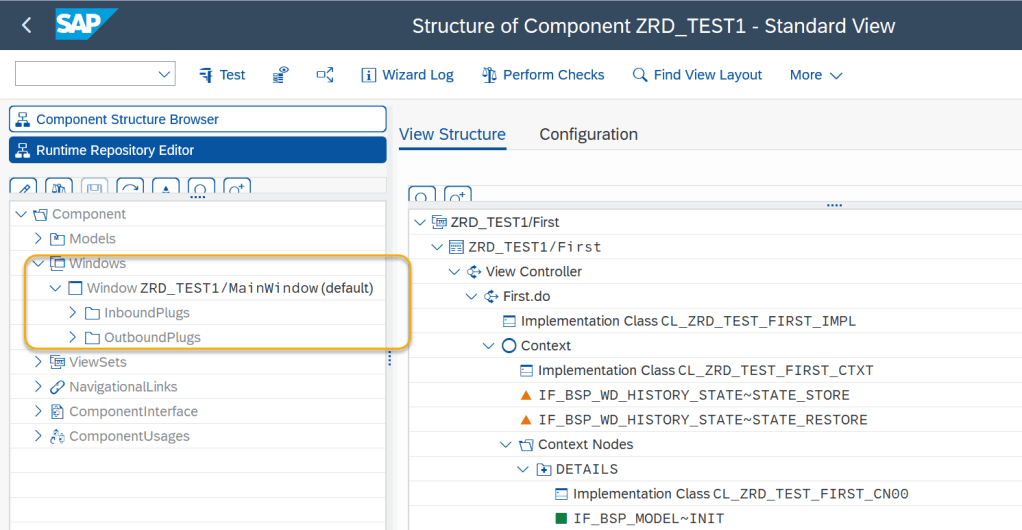
Right click on the window and add view-
Select the First View and continue.
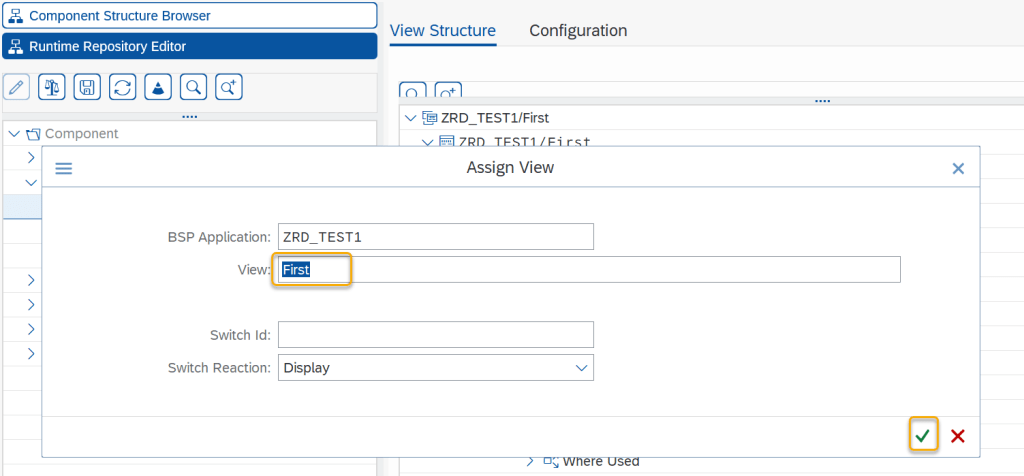
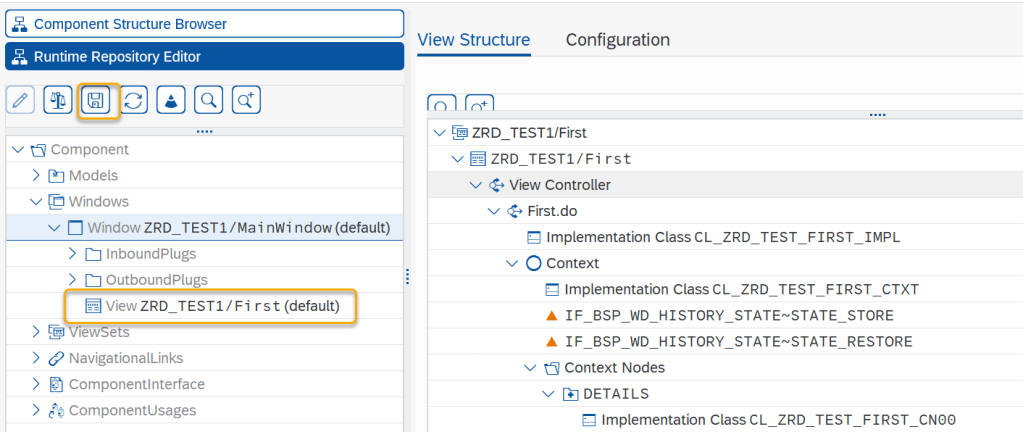
View added to the window.
Let’s start test-
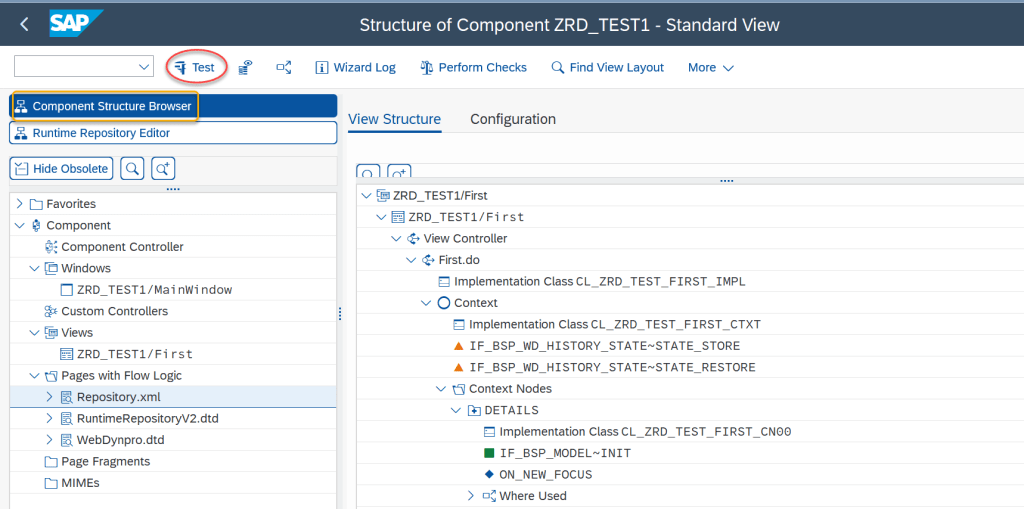
The view apears-
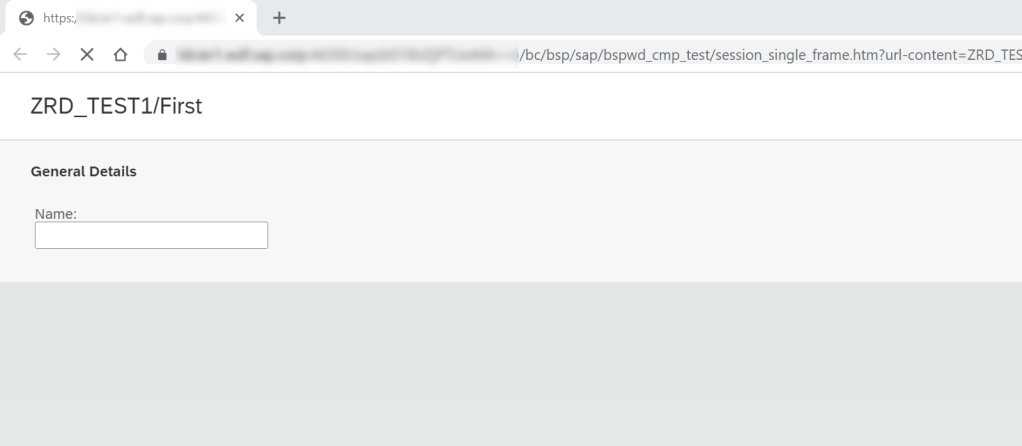
Let’s put some string value to the field. So go to the view controller class9 double click on the class)
Go on change mode and redefine the DO_INIT_CONTEXT method.
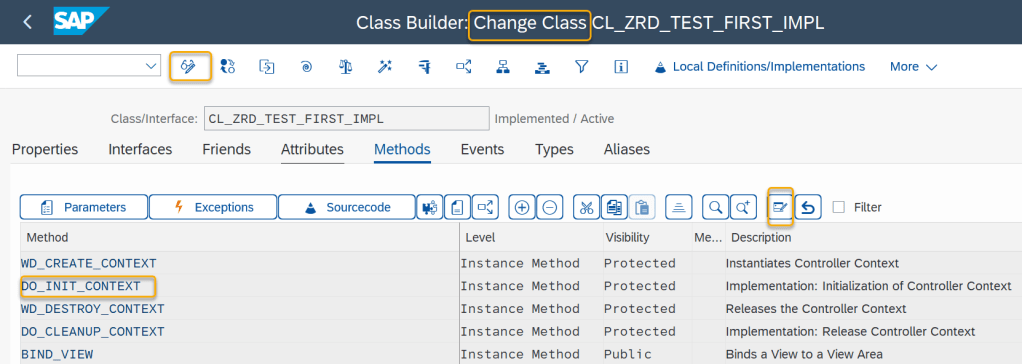
Set the attribute property.

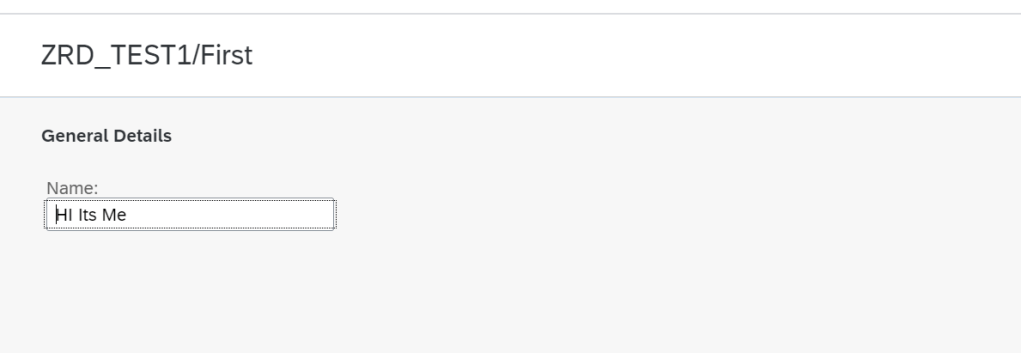
Test- the value appears in the field.
Now- we will design one more view and will navigate between two views by clicking the buttons.
So lets add a button to the first view. Go to the View Layout – First.htm (double click)
Go on change mode.
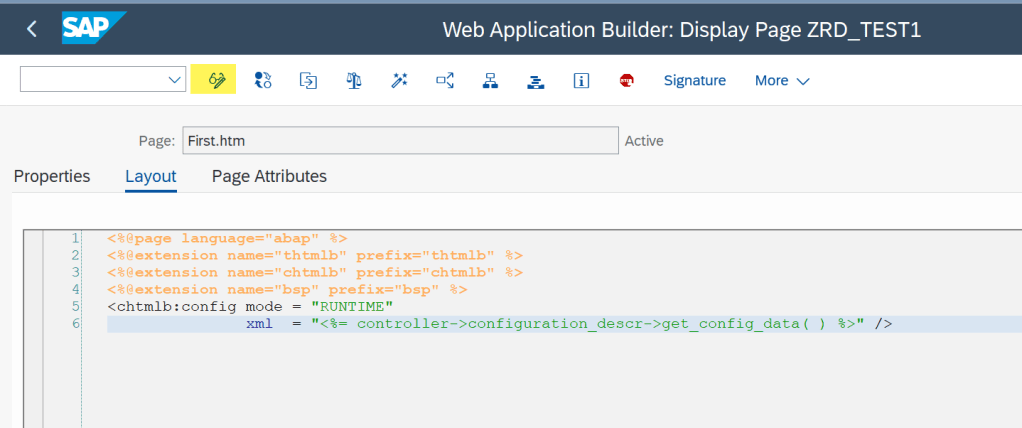
Add the below tag- the onClick event is “NXT”. Save and activate.
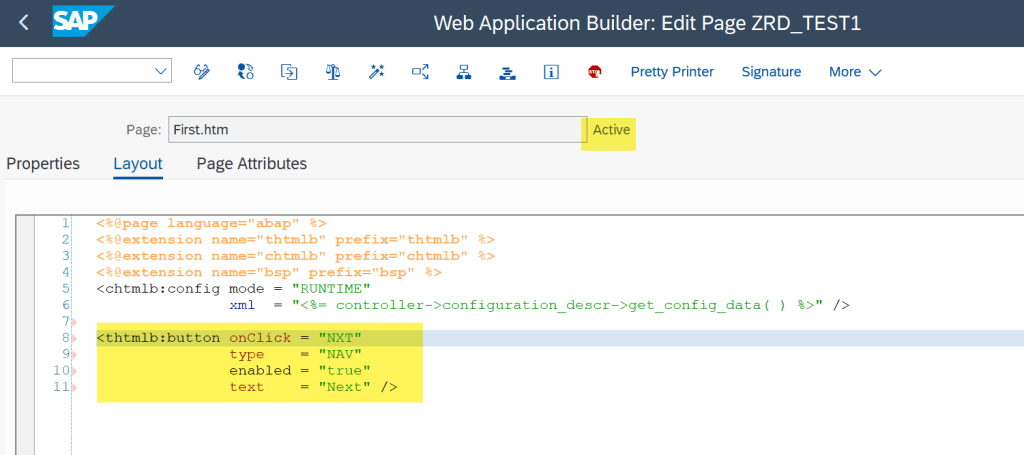
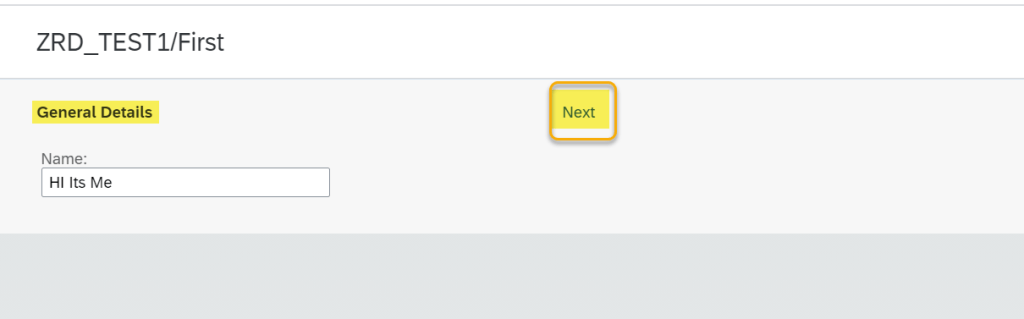
Test and the button appears on the view.
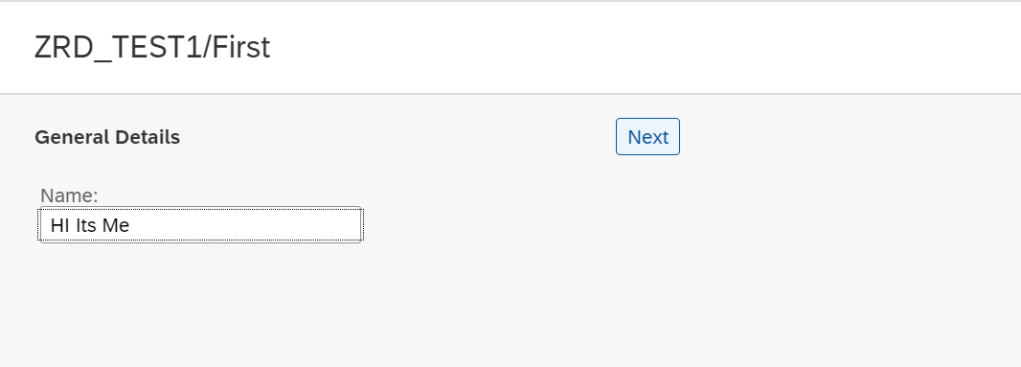
Let’s create one more view.

Provide view name-
Add a value node.
Add value attribute.
Choose below view type and continue.
Continue.
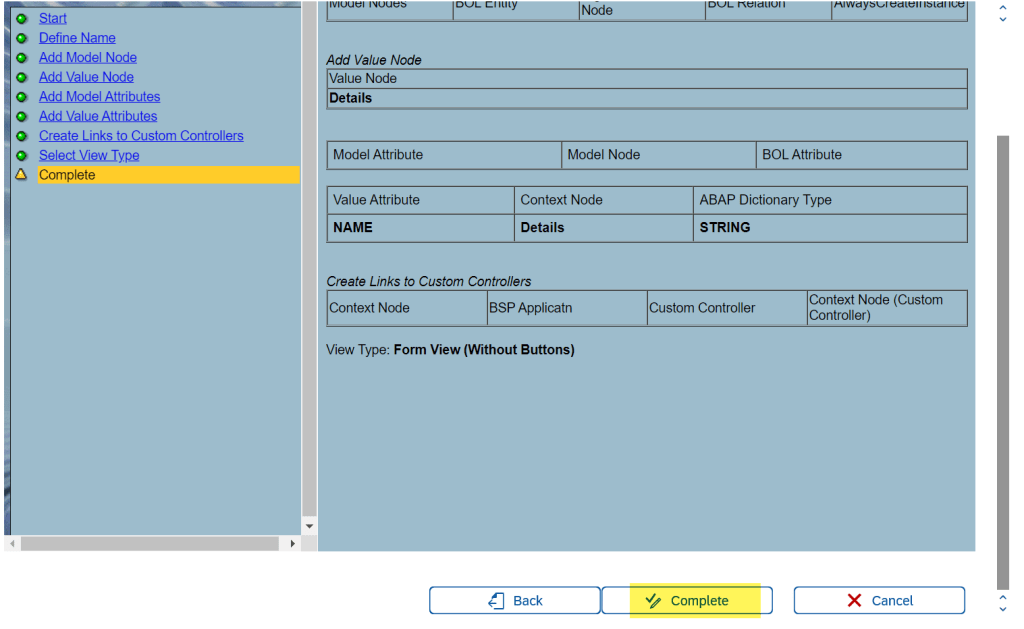
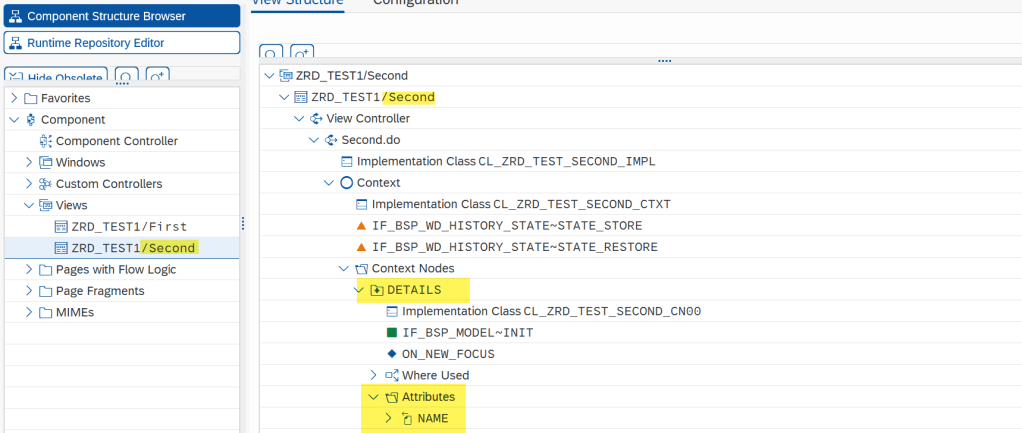
The second view is created with all the controller class, context class and node with attributes.
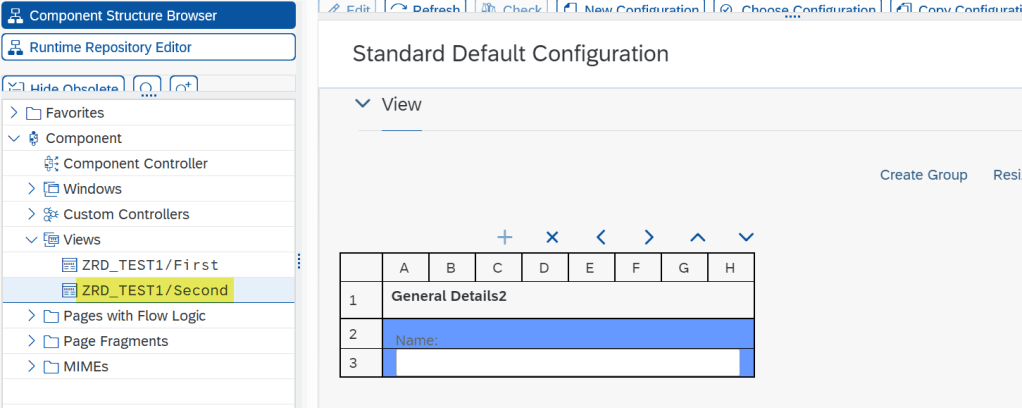
Configure the second view and make the field as Display.
Go to the Second.htm and add the tag for a button o the second view.
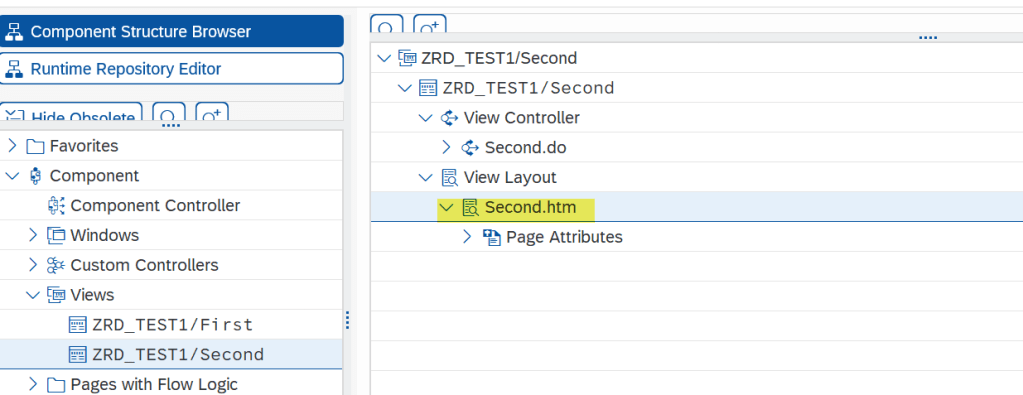
Go to change mode.

Add below tag , save and activate.

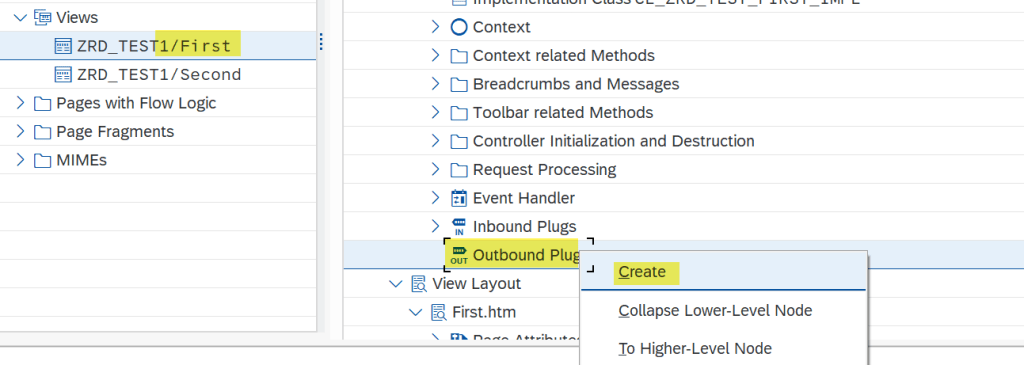
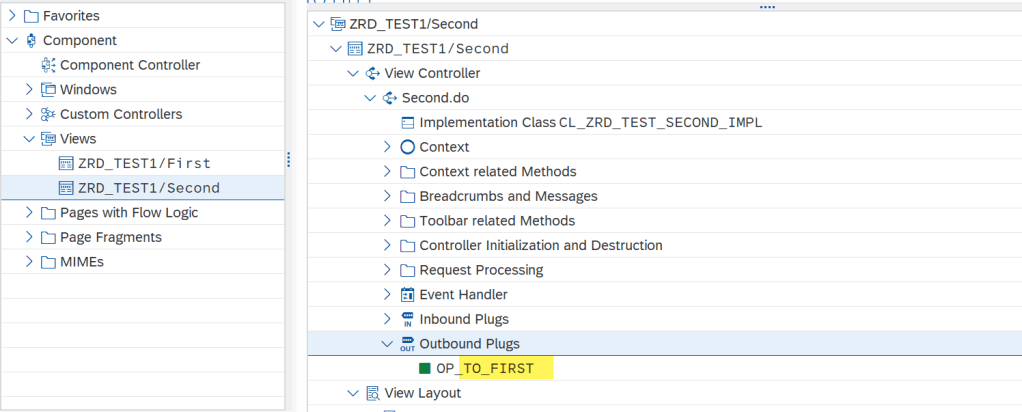
Now we have to create the Outbound Plug in first view, as on the button click we need to navigate to the second view. So on the first view, outbound pug, right click and choose option create.
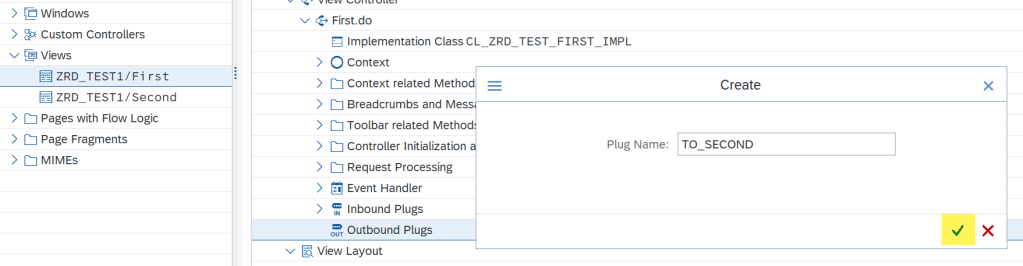
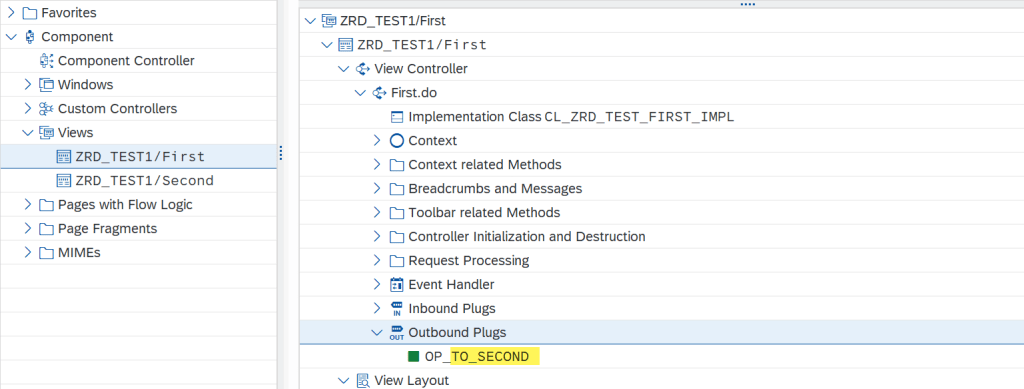
Provide a name and continue.
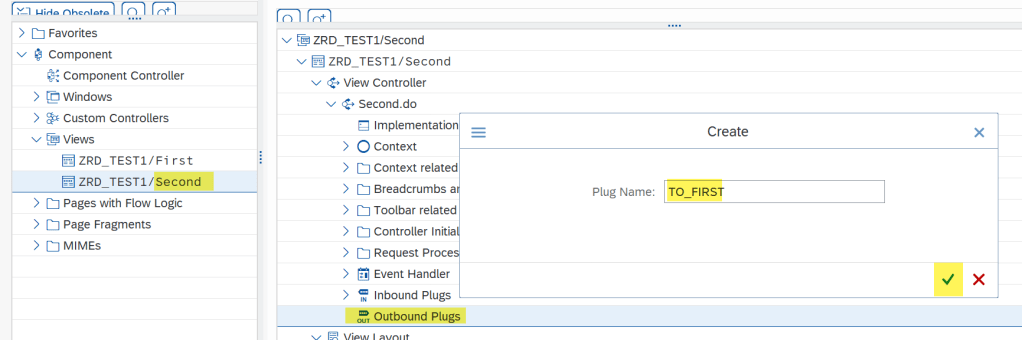
Similarly create an outbound plug in second view.
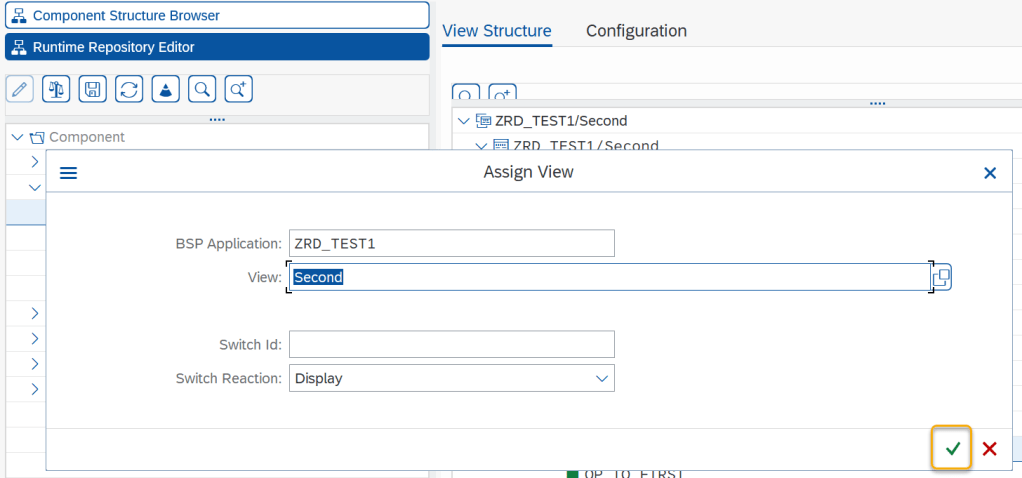
Go to the Runtime Repository Browser and add the second view to the window.
Choose the view-
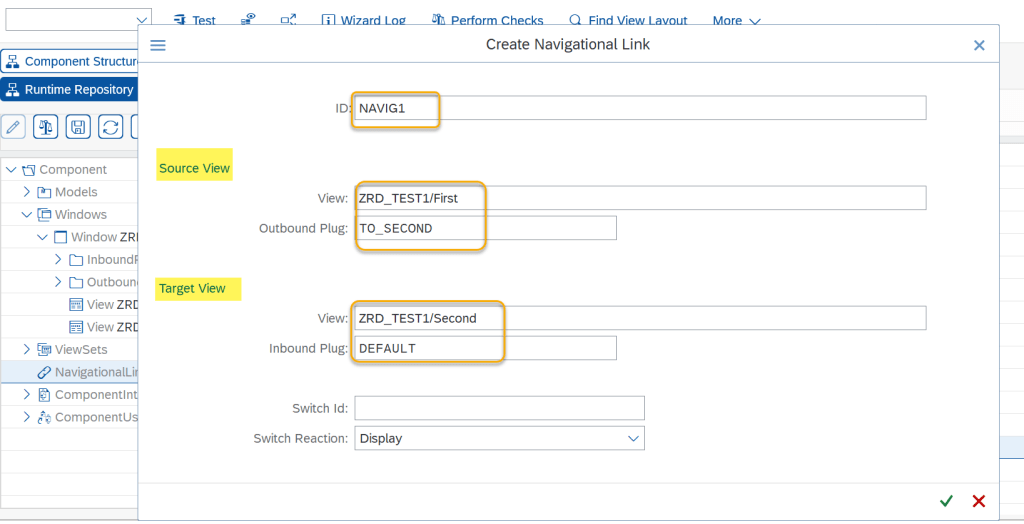
Now let’s create navigation links. Need to create 2 navigations links- one from view first to view second, and the other is from view second to view first.
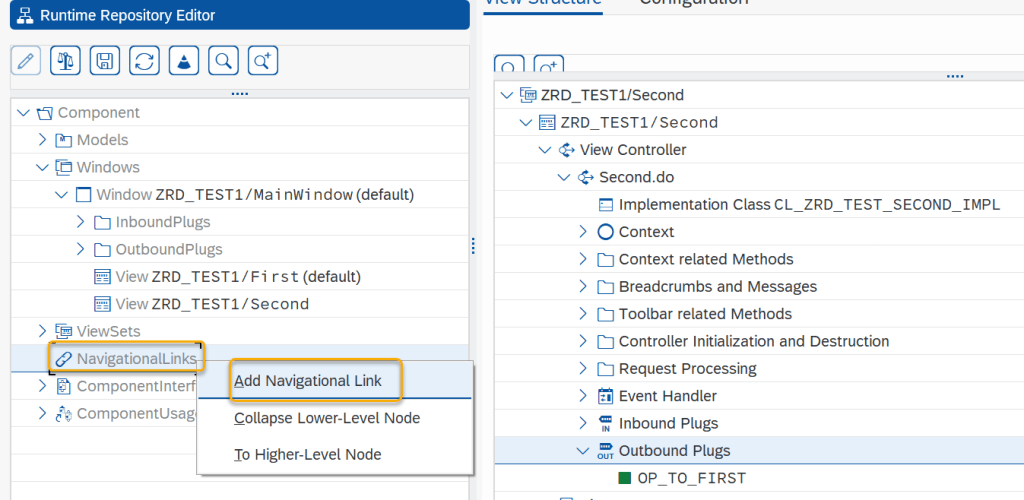
Provide a navigation ID and the source and target view.
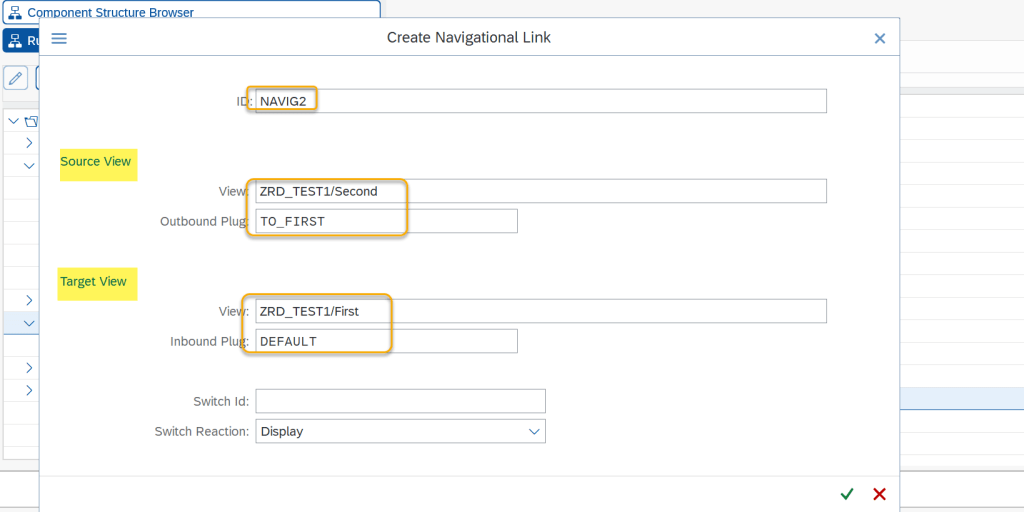
Create one more, provide a navigation ID and the source and target view.
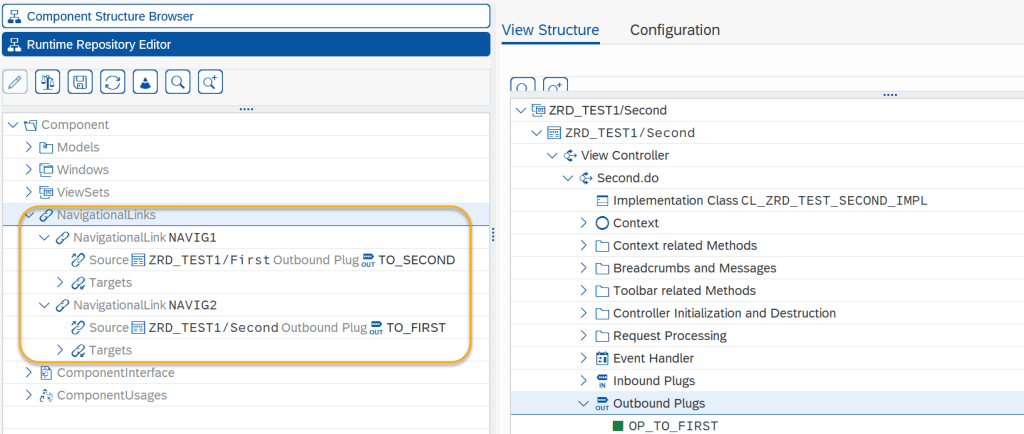
Navigation links are created.
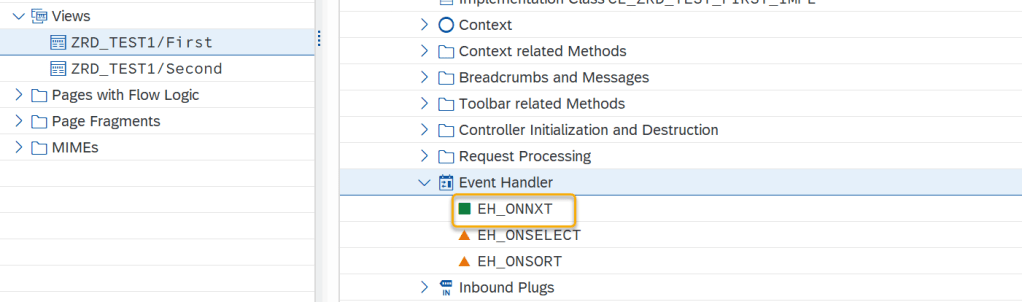
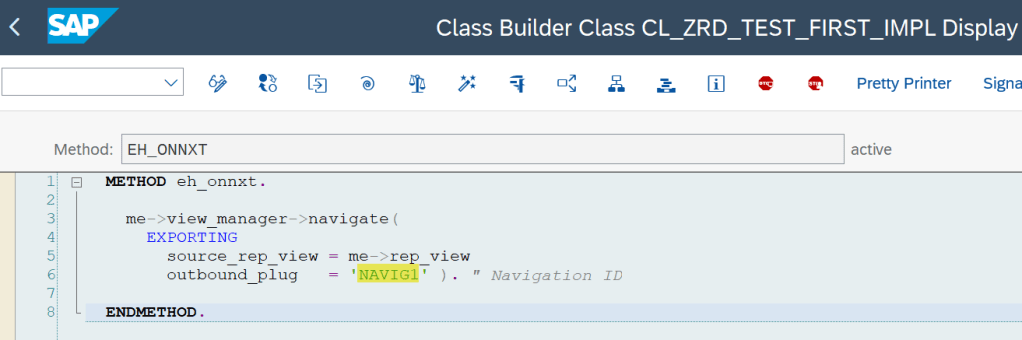
Now in the first view, we have added a button with onClick event as ‘NXT’. So let’s create an event handler. Provide the event name as NXT.

So an event handler method is created.
Provide below code-
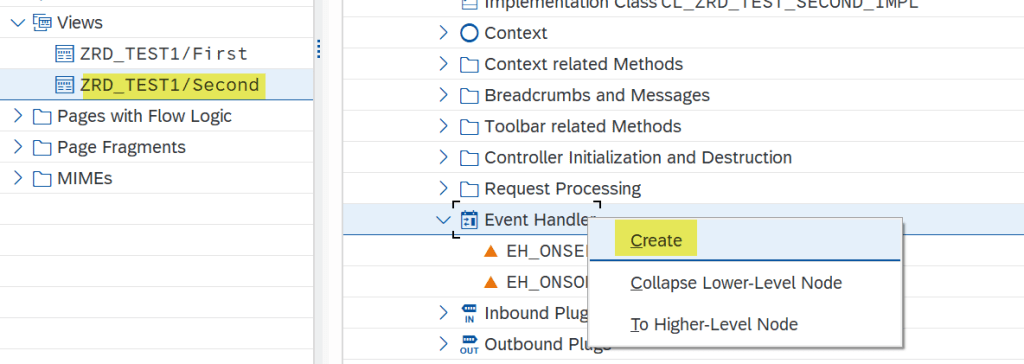
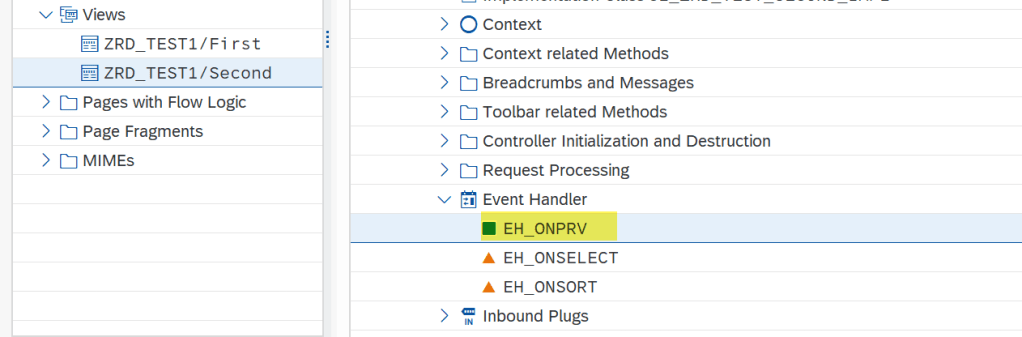
Similarly on the second view, we have a button with onClick event as PRV, so create a event handler and provide the name as PRV.

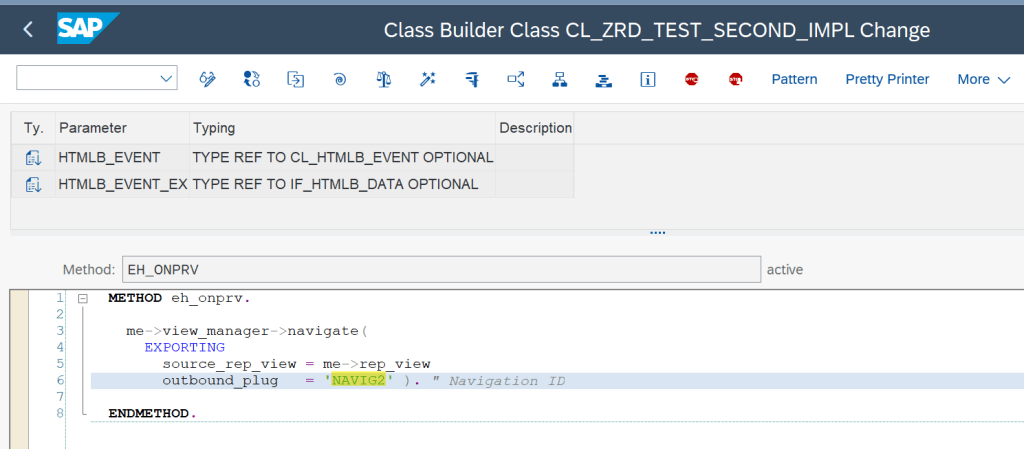
Event handler method is created.
Go to the method and provide below code.
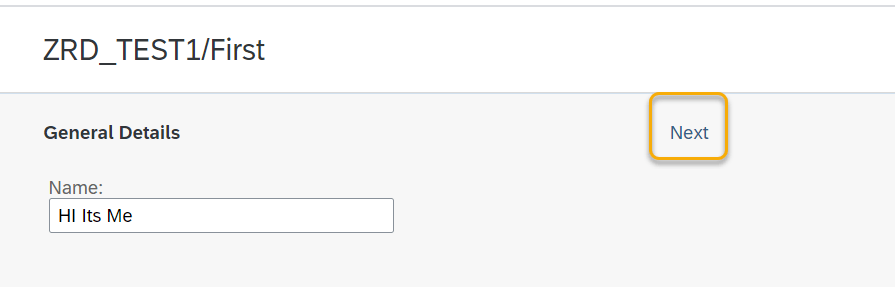
Test the application. Click Next button.
It goes to the second view. Click the previous button.
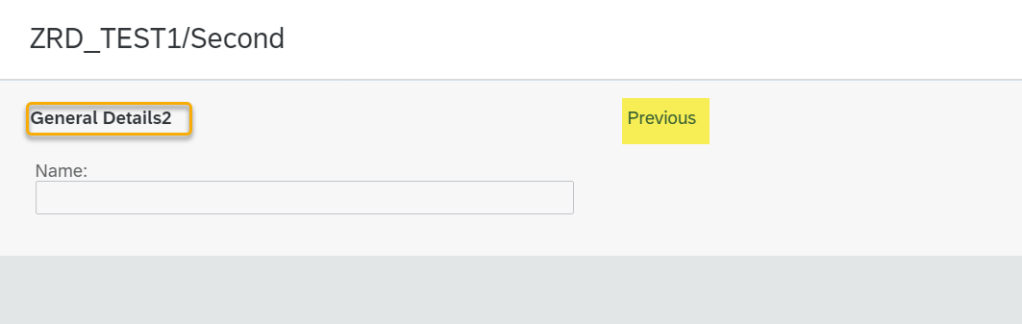
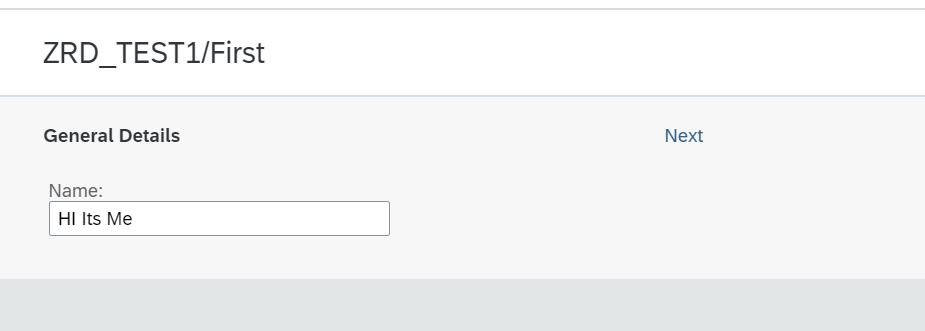
It comes back to the first view.
Now- we have to read the value of the first view attribute and assign the same to the second view attribute.
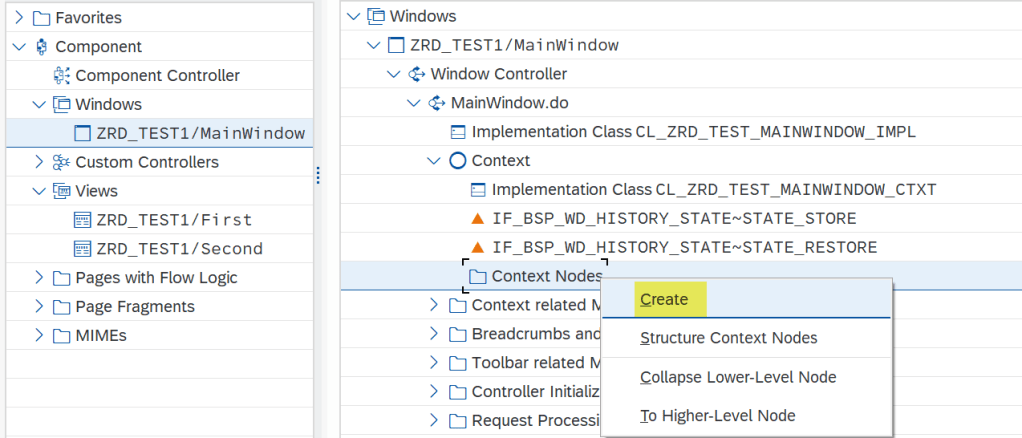
To do this- on the window let’s create a context node.
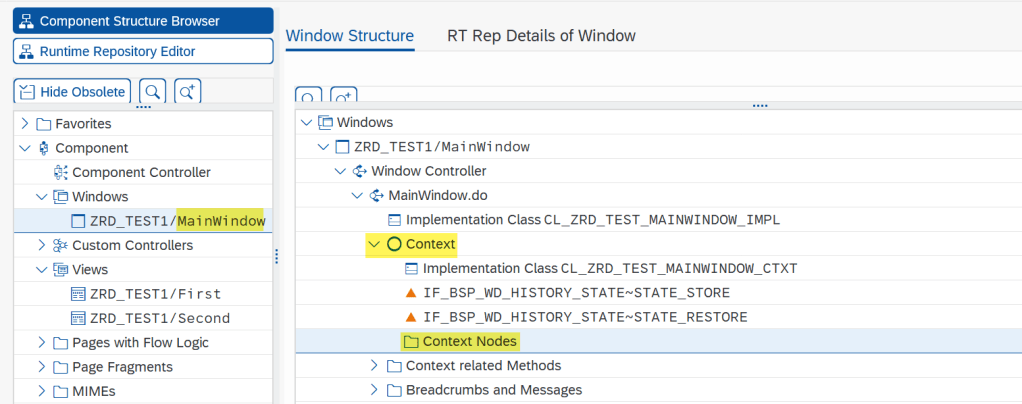
Right click and choose Create.
Continue.
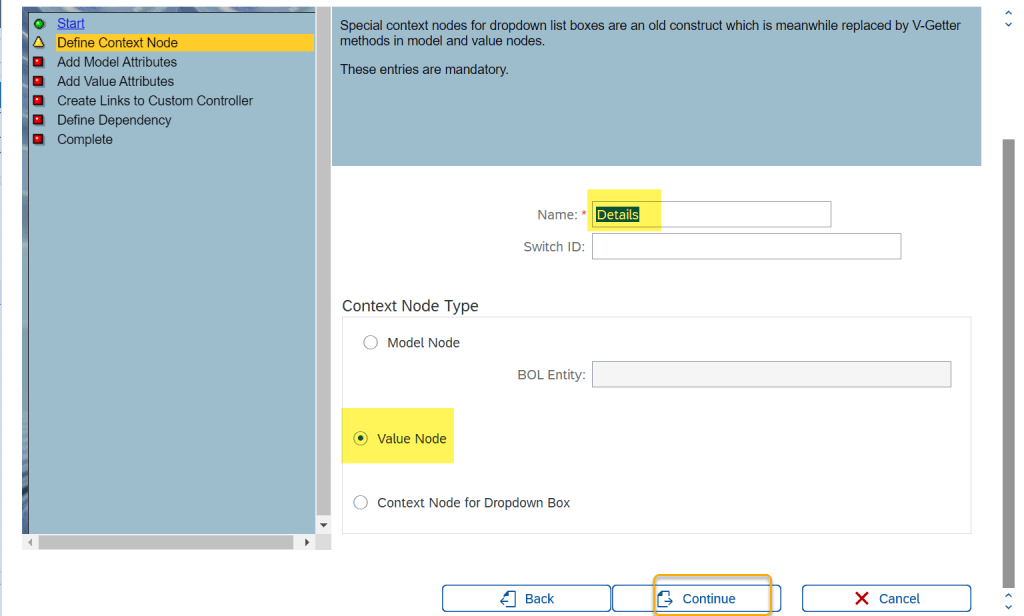
Provide node name and chose Value Node.
Provide value node attribue and continue.
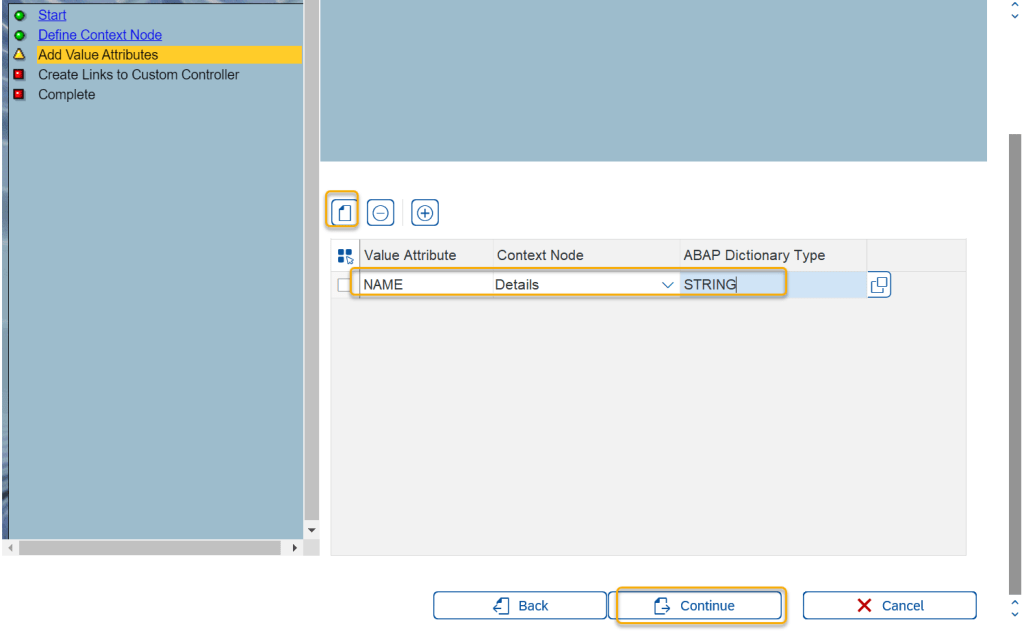
Continue.
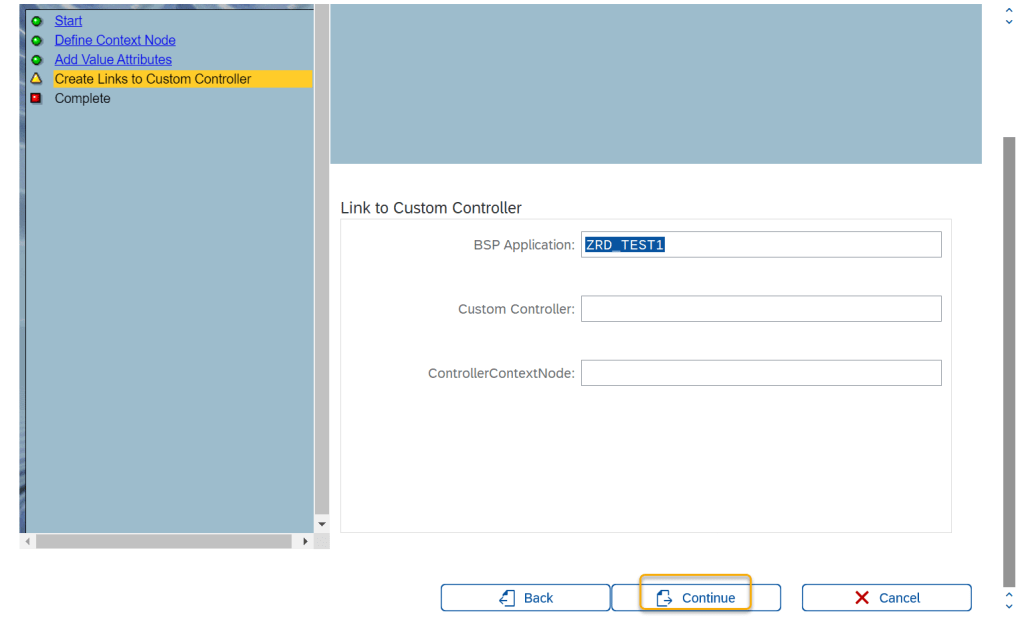
Continue.
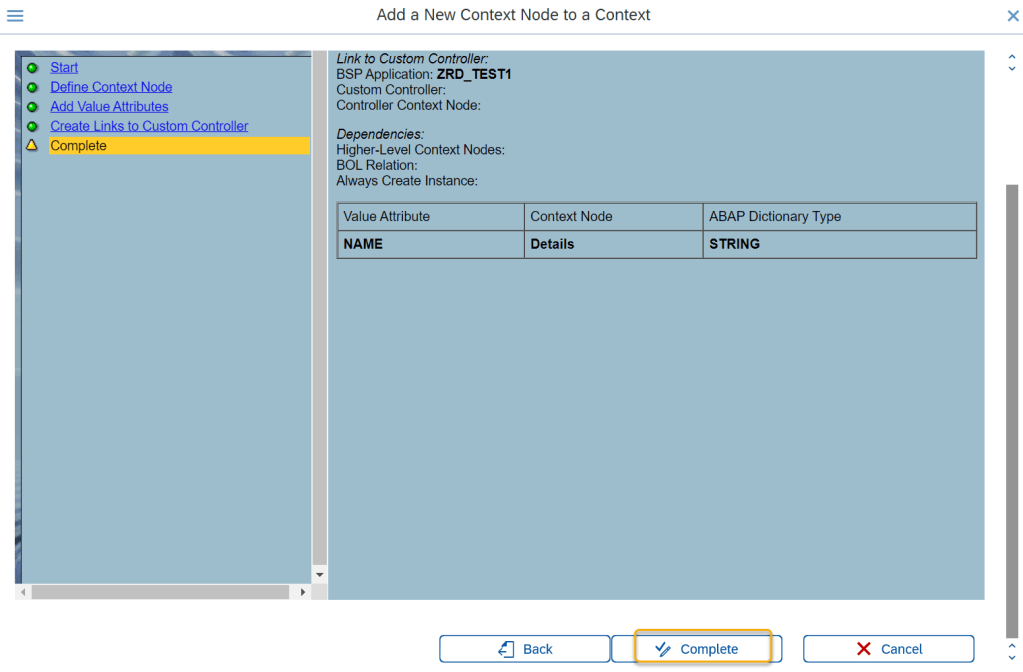
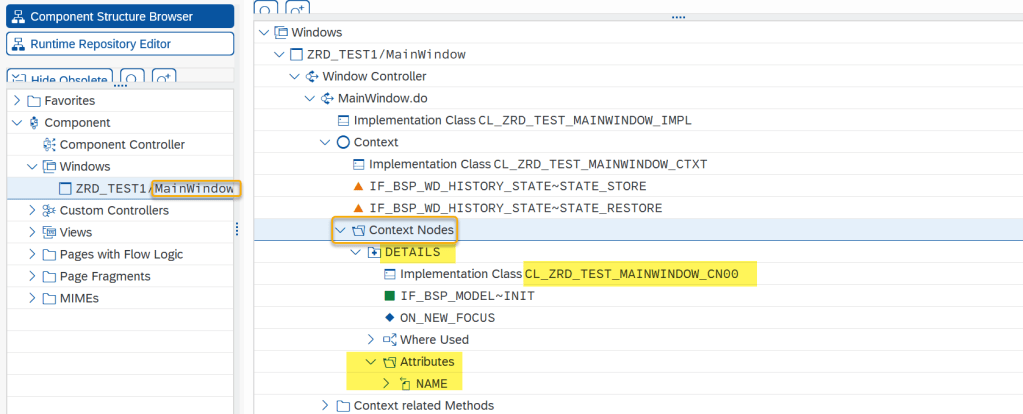
Context node with class are created.
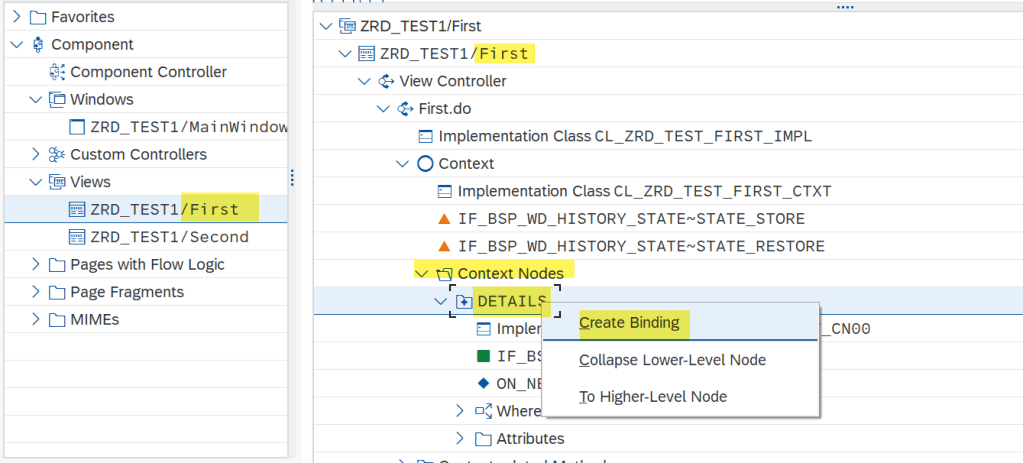
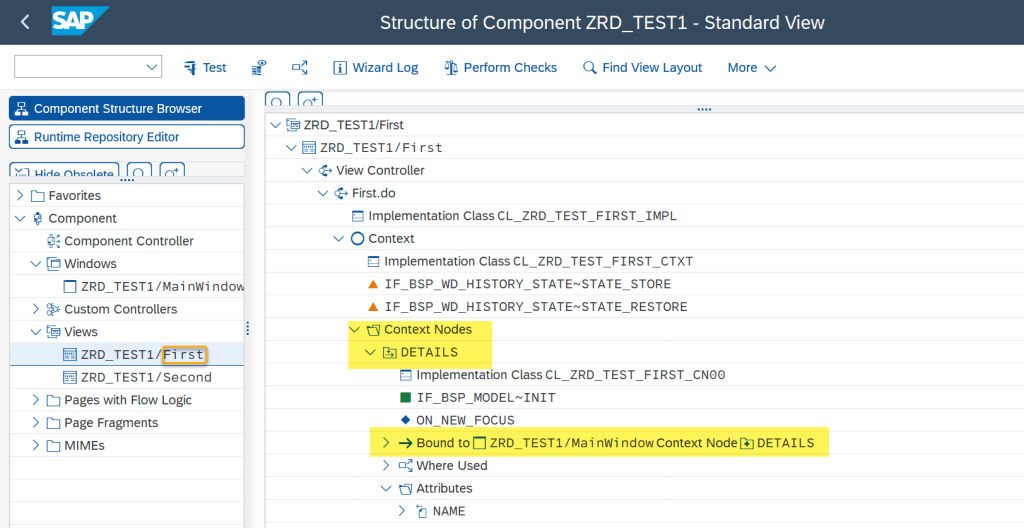
Go to the first view node and let’s bind it to the window context node. So the value present in the view context node will be automatically available in the window context node.
Right Click and choose Create Binding.
provide the details and continue.
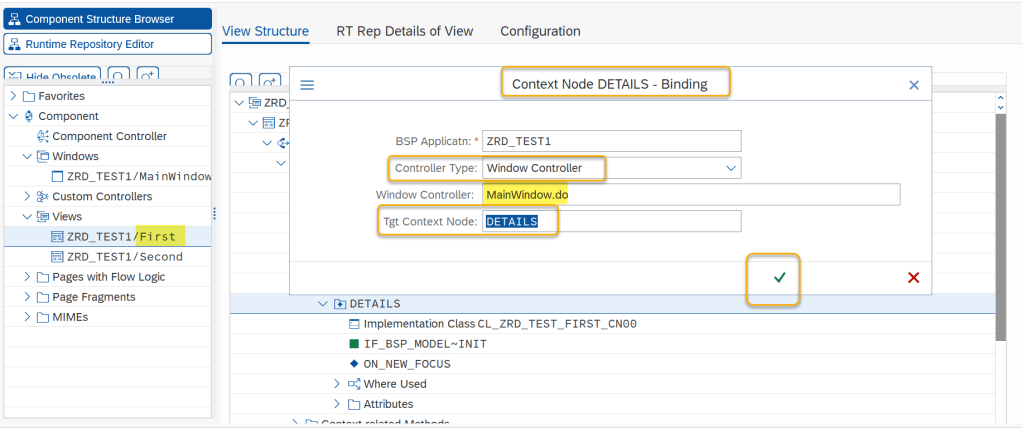
The binding details-
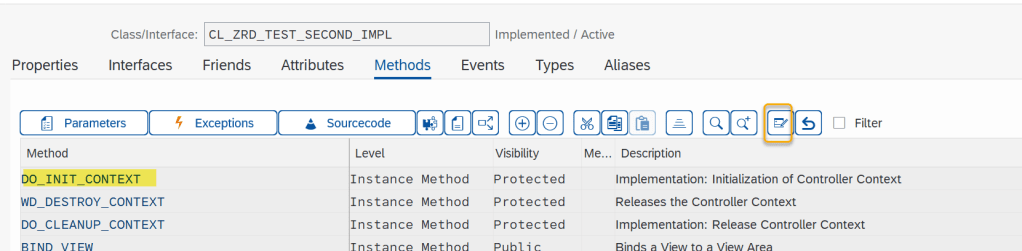
As the value is now available in the window context node, we need to write some code in the second view controller, to read the value from window context node and set it to the second view context node attribute.

Go on change mode and redefine the method- DO_INIT_CONTEXT.
Put the below code-
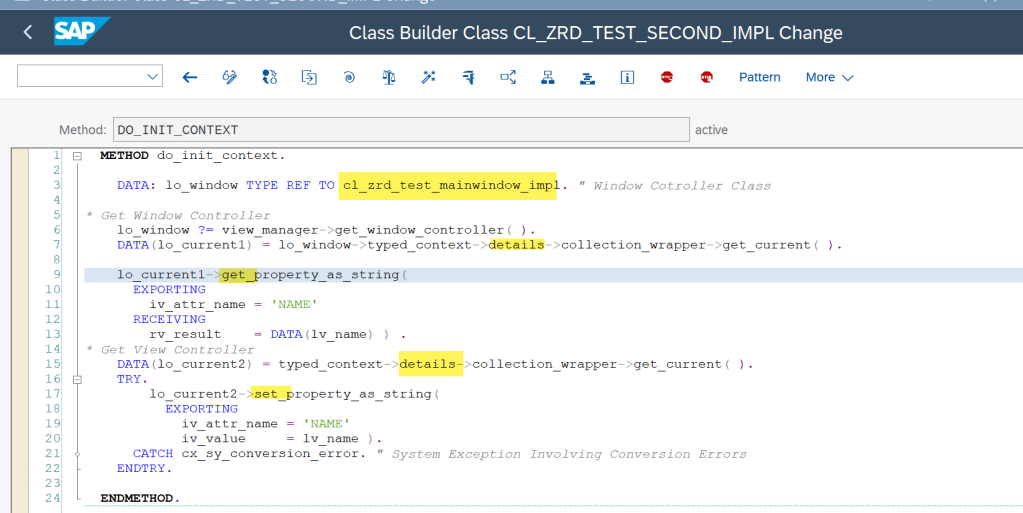
Test the component.
Click Next button.
The attribute value is set. Select Previous button.
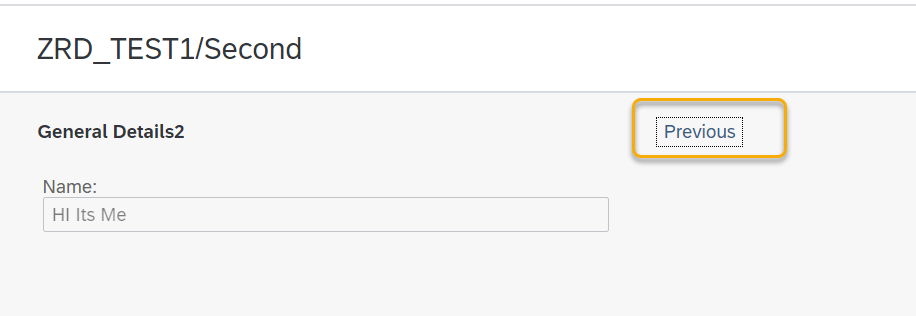
First view appears.

