![]() Adding Reference Facet to the Object Page
Adding Reference Facet to the Object Page
The below post create a Annotated CDS view with Odata enabled and later creates a List Report with Object Page. Later in the object page adds different Reference Facet to group fields that are part of different fieldGroups.
Below we have a CDS view on SPLFI table. The annotation added for the list item[line item] and the object page[identification].
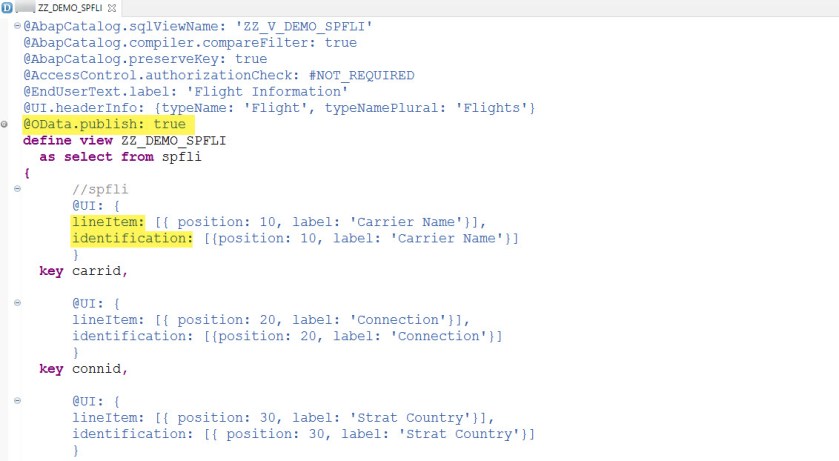
@AbapCatalog.sqlViewName: ‘ZZ_V_DEMO_SPFLI’
@AbapCatalog.compiler.compareFilter: true
@AbapCatalog.preserveKey: true
@AccessControl.authorizationCheck: #NOT_REQUIRED
@EndUserText.label: ‘Flight Information’
@UI.headerInfo: {typeName: ‘Flight’, typeNamePlural: ‘Flights’}
@OData.publish: true
define view ZZ_DEMO_SPFLI
as select from spfli
{
//spfli
@UI: {
lineItem: [{ position: 10, label: ‘Carrier Name’}],
identification: [{position: 10, label: ‘Carrier Name’}]
}
key carrid,
@UI: {
lineItem: [{ position: 20, label: ‘Connection’}],
identification: [{position: 20, label: ‘Connection’}]
}
key connid,
@UI: {
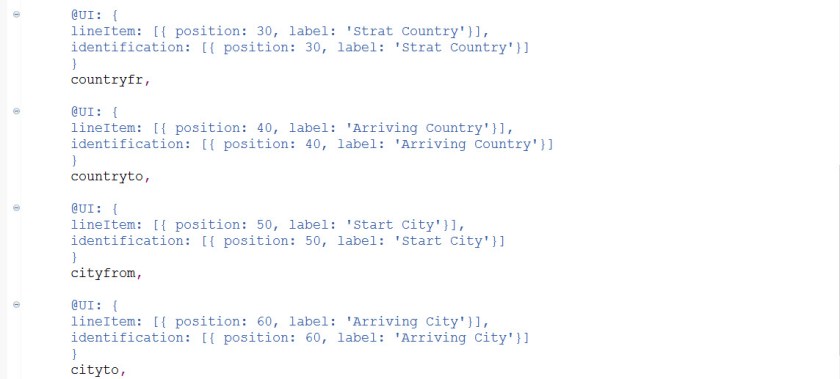
lineItem: [{ position: 30, label: ‘Strat Country’}],
identification: [{ position: 30, label: ‘Strat Country’}]
}
countryfr,
@UI: {
lineItem: [{ position: 40, label: ‘Arriving Country’}],
identification: [{ position: 40, label: ‘Arriving Country’}]
}
countryto,
@UI: {
lineItem: [{ position: 50, label: ‘Start City’}],
identification: [{ position: 50, label: ‘Start City’}]
}
cityfrom,
@UI: {
lineItem: [{ position: 60, label: ‘Arriving City’}],
identification: [{ position: 60, label: ‘Arriving City’}]
}
cityto,
@UI: {
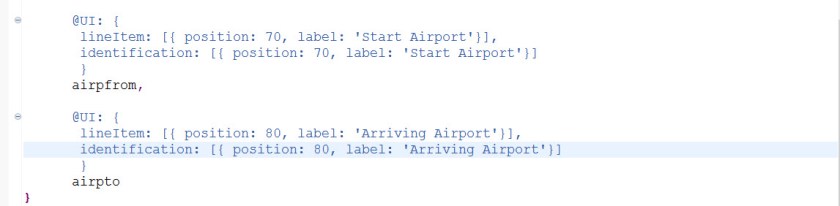
lineItem: [{ position: 70, label: ‘Start Airport’}],
identification: [{ position: 70, label: ‘Start Airport’}]
}
airpfrom,
@UI: {
lineItem: [{ position: 80, label: ‘Arriving Airport’}],
identification: [{ position: 80, label: ‘Arriving Airport’}]
}
airpto
}
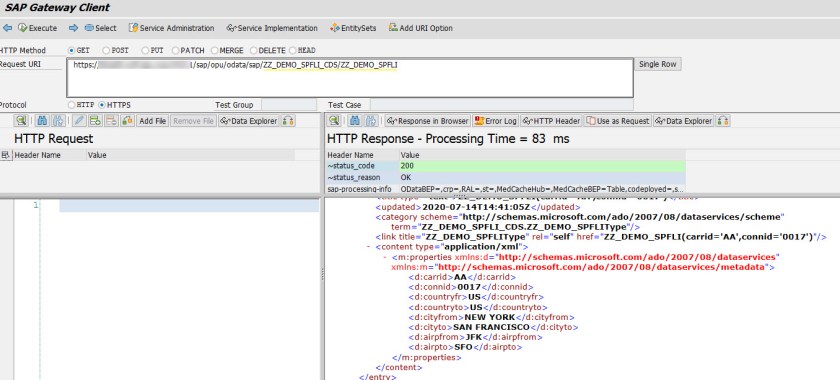
Registered the service in- /IWFND/MAINT_SERVICE and the test in gateway client.
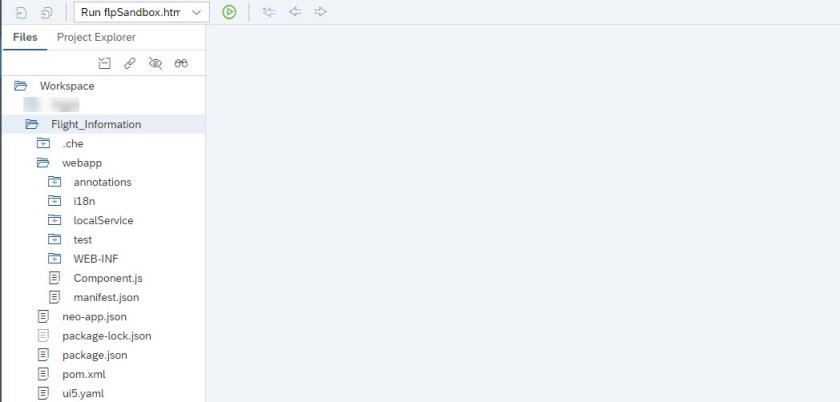
In the web ide, create a list report and consume the above service ZZ_DEMO_SPFLI_CDS
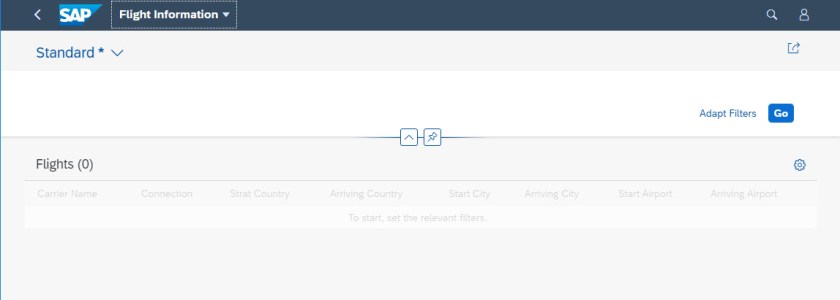
Test-
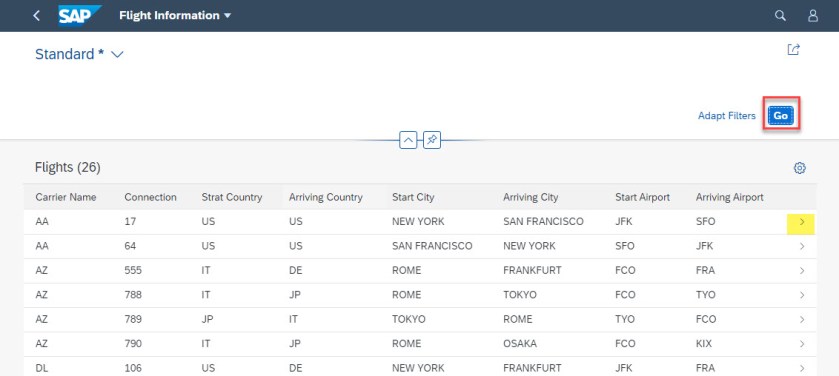
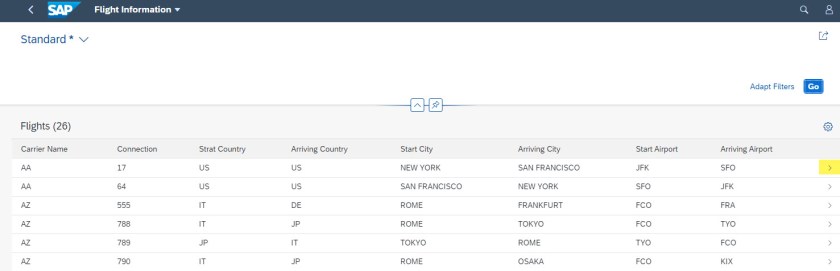
Press Go button.
We can see all the records in the list section. Select One Item.
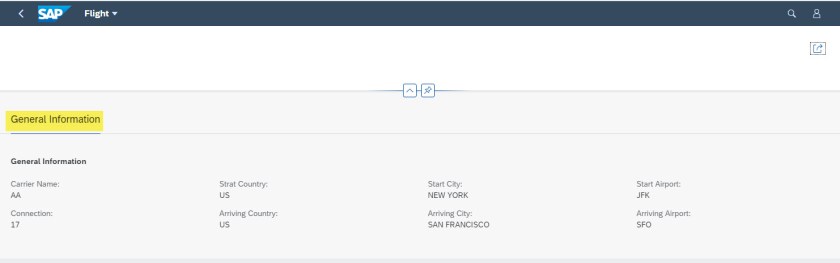
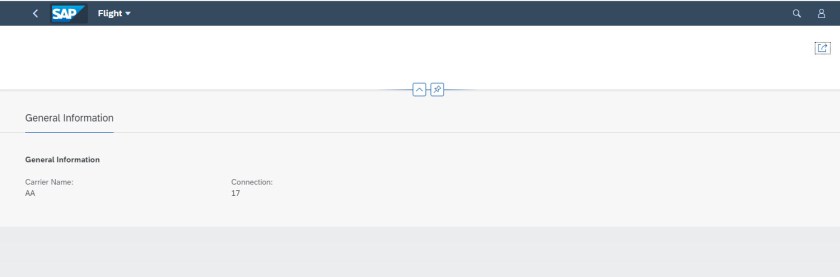
Now we are in the object page- that shows details of particular line item.
What we want to do here- to group logically related fields to different groups and display fields in a group with a group header text.
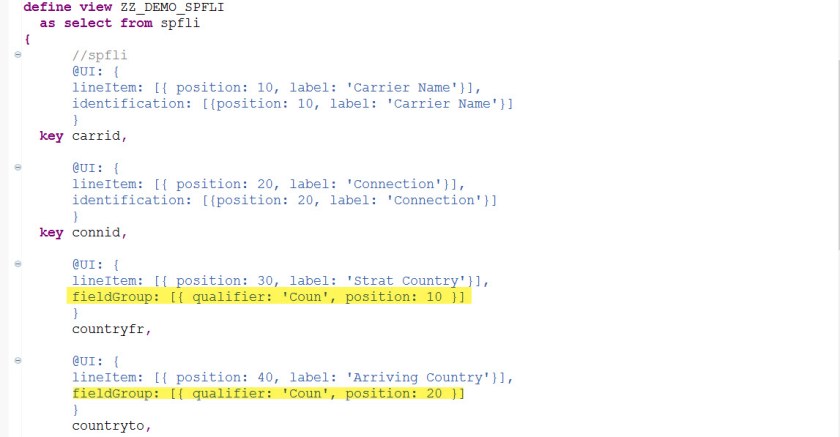
Visit tyhe CDS view and remove the annotation- IDENTIFICATION for 6 fields and add annotation fieldGroup.
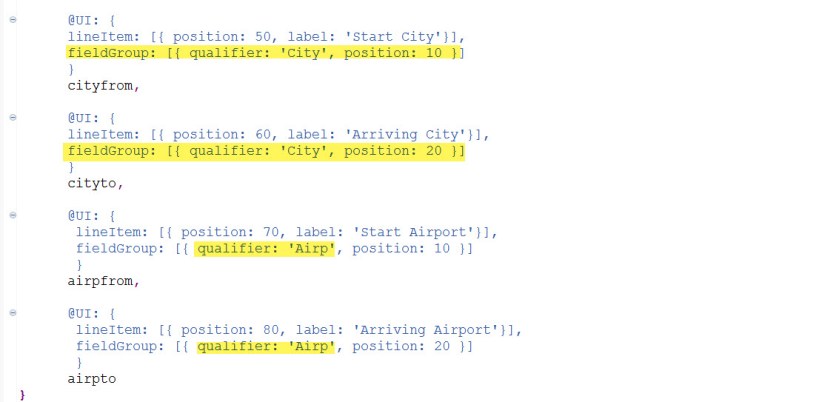
Let’s – add countryfr and countryto to the same field group, similarly cityfrom & cityto to one group and finally airpfrom & airpto to a one group as shown below.
@AbapCatalog.sqlViewName: ‘ZZ_V_DEMO_SPFLI’
@AbapCatalog.compiler.compareFilter: true
@AbapCatalog.preserveKey: true
@AccessControl.authorizationCheck: #NOT_REQUIRED
@EndUserText.label: ‘Flight Information’
@UI.headerInfo: {typeName: ‘Flight’, typeNamePlural: ‘Flights’}
@OData.publish: true
define view ZZ_DEMO_SPFLI
as select from spfli
{
//spfli
@UI: {
lineItem: [{ position: 10, label: ‘Carrier Name’}],
identification: [{position: 10, label: ‘Carrier Name’}]
}
key carrid,
@UI: {
lineItem: [{ position: 20, label: ‘Connection’}],
identification: [{position: 20, label: ‘Connection’}]
}
key connid,
@UI: {
lineItem: [{ position: 30, label: ‘Strat Country’}],
fieldGroup: [{ qualifier: ‘Coun’, position: 10 }]
}
countryfr,
@UI: {
lineItem: [{ position: 40, label: ‘Arriving Country’}],
fieldGroup: [{ qualifier: ‘Coun’, position: 20 }]
}
countryto,
@UI: {
lineItem: [{ position: 50, label: ‘Start City’}],
fieldGroup: [{ qualifier: ‘City’, position: 10 }]
}
cityfrom,
@UI: {
lineItem: [{ position: 60, label: ‘Arriving City’}],
fieldGroup: [{ qualifier: ‘City’, position: 20 }]
}
cityto,
@UI: {
lineItem: [{ position: 70, label: ‘Start Airport’}],
fieldGroup: [{ qualifier: ‘Airp’, position: 10 }]
}
airpfrom,
@UI: {
lineItem: [{ position: 80, label: ‘Arriving Airport’}],
fieldGroup: [{ qualifier: ‘Airp’, position: 20 }]
}
airpto
}
Activate the CDS view and just relaunch the app. There is no change on the list.
Now select one line to go to the object page.
Well we can see only two fields under the General Information. Other 6 fields are not shown. Let’s add these 3 fieldgroups to the object page.
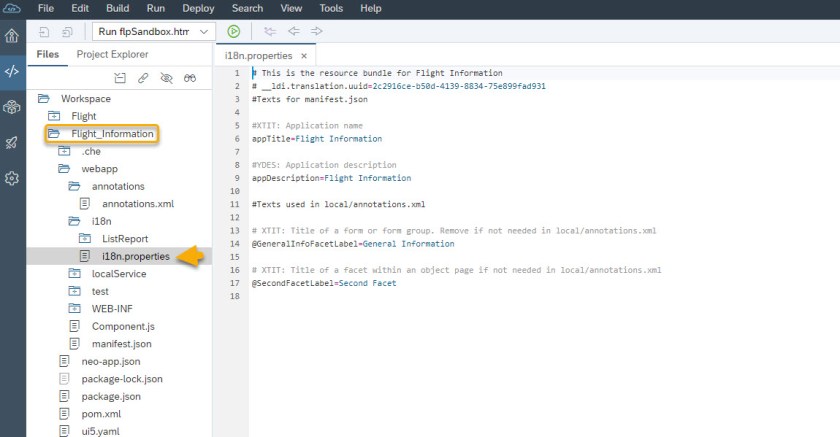
Open the project in WEB IDE. Open the i18n file. It looks like below.
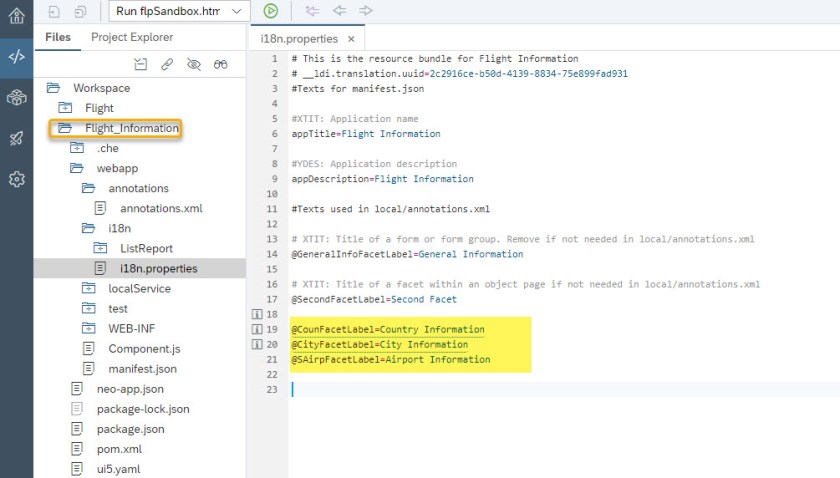
Let’s add 3 elements here,as we need 3 header text for our 3 field groups. Save the file.
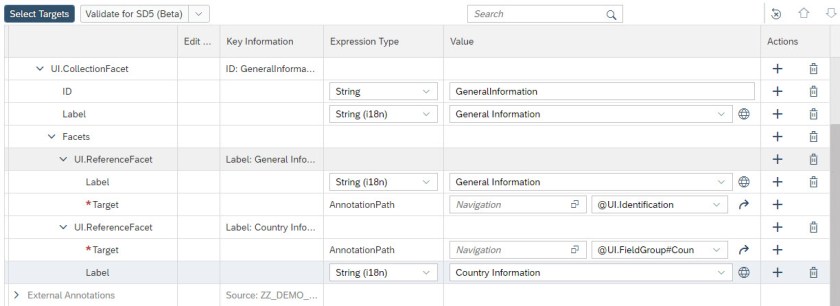
Open the annotation file and expand the Local Annotations.
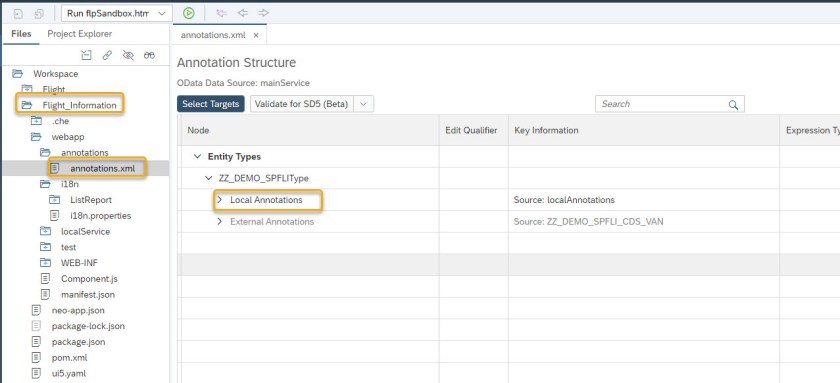
Under UI Facet- there is a one UI collection Facet.
Under UI collection Facet- under Facets there is only one UI Reference Facet and the Target points to @UI.identification and its shows two fields – carrid,connid.
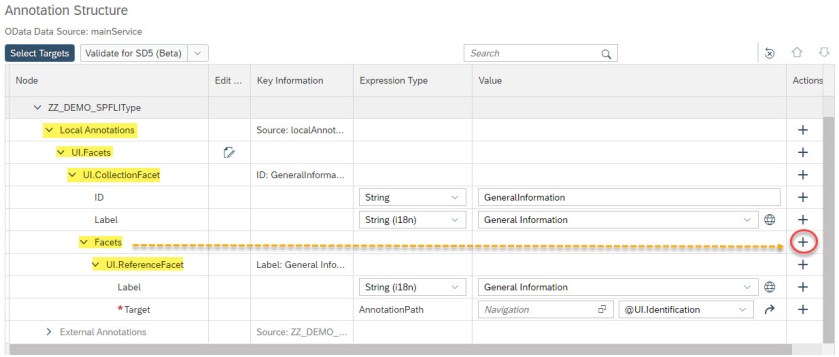
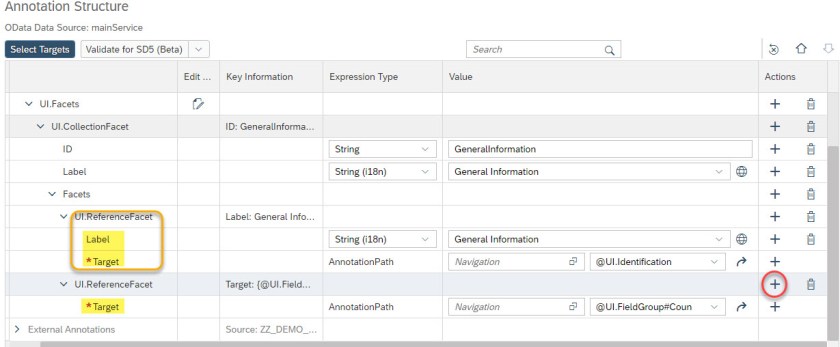
Now Under facet, we have to add 3 different UI reference facet and assign the target to the 3 different fieldgroups.
Click on + button as highlighted.
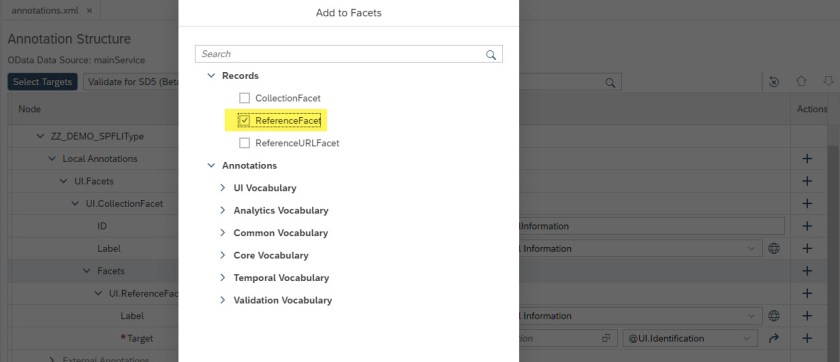
Select Reference Facet.
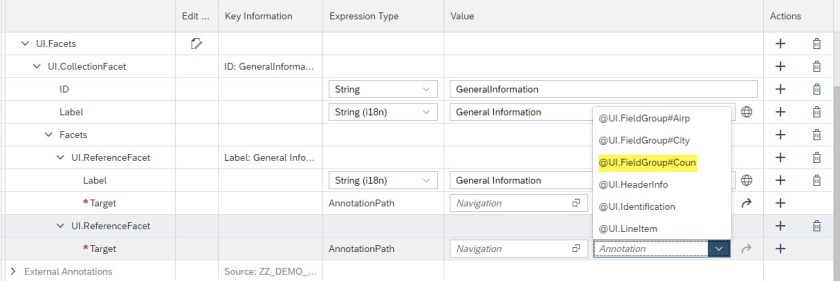
Now let’s assign the Target.
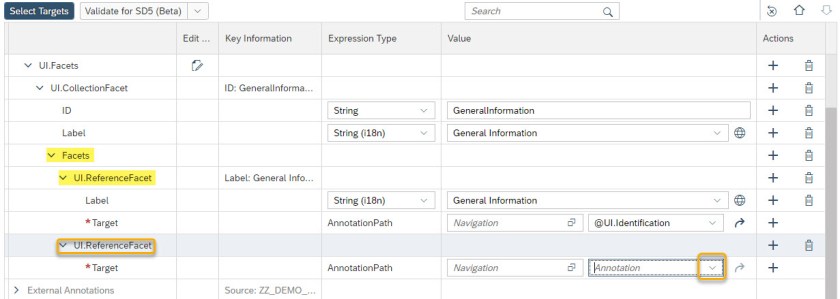
We can see all options here, choose “Coun” field group.
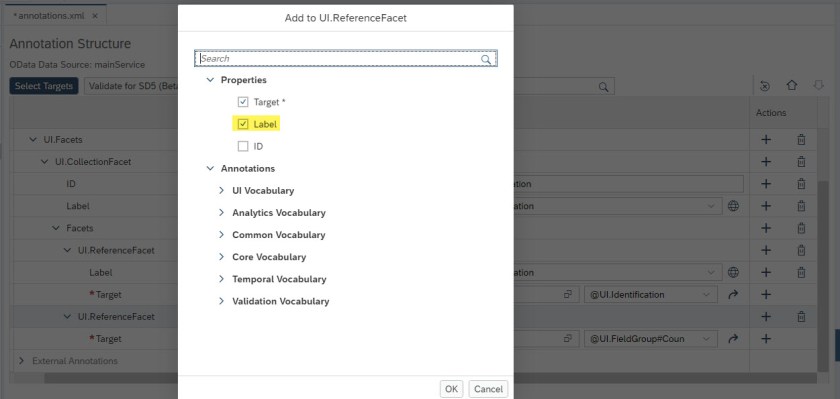
We have to add a Label to the reference facet. Select the ‘+’ as shown.
Select Label.
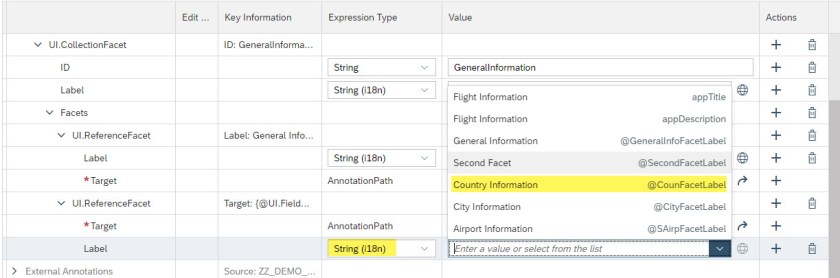
Assign a i18N element to the element that we created earlier .
Similarly repeat the steps to add two more reference facet[ fill the target and the label]
Finally it looks as below. Save the file.
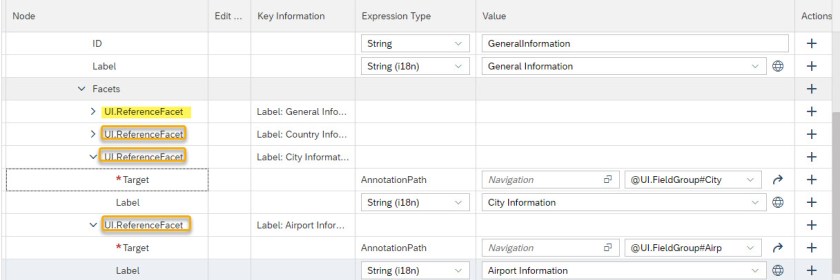
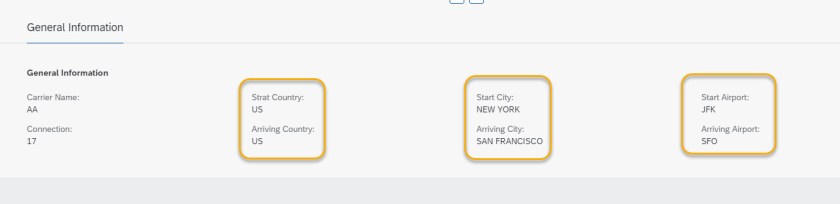
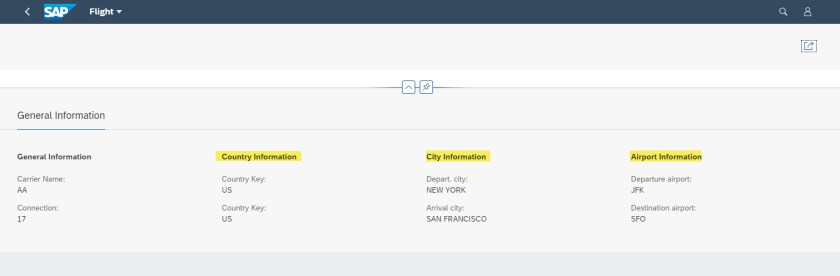
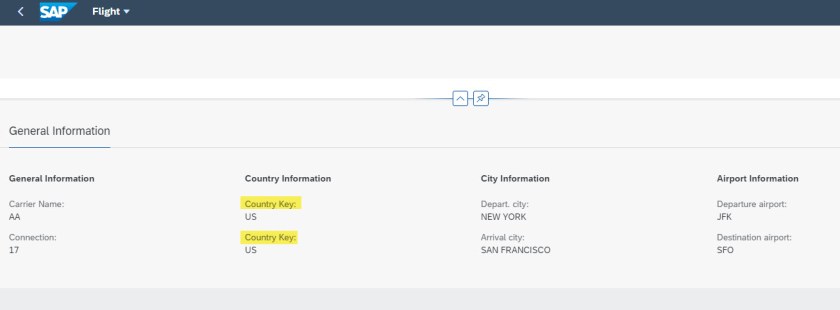
Run the app- and here we can see, we have 3 more field groups added to the object page.
If we see the list – the label from countryfr and countryto appears correctly as provided in the cds view annotation.
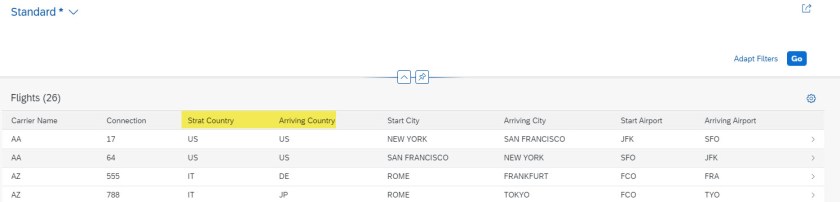
If we see the field group, we don’t have a proper label for the countryfr and countryto.
Now just add the label property in the fieldGroup for two field. Activate the cds view.
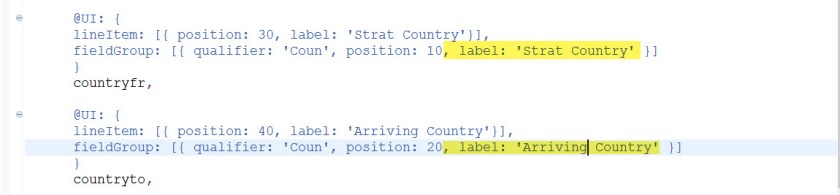
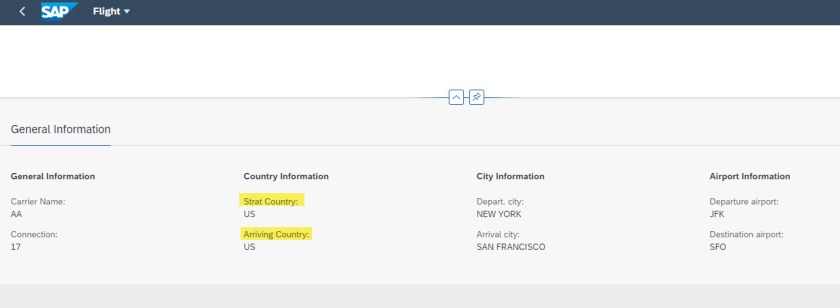
It looks all good finally-

One comment