 CDS View with UI Annotations to Build Fiori App with Fiori Elements
This post contains:
- creating a CDS view with UI Annotations with oData publish
- Creating a Fiori App (List Report Application)- that provides Search , list Display and then moving to detailed view when select a particular line item.
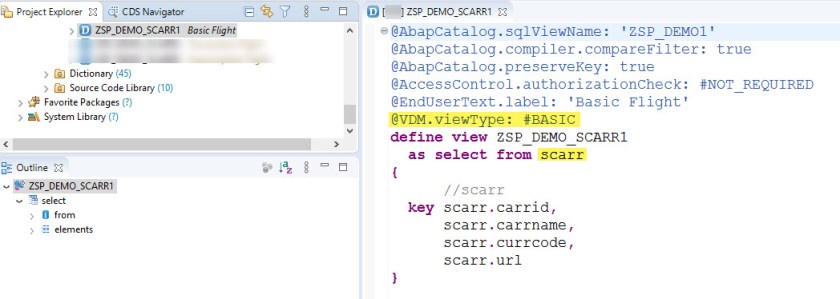
To start with a CDS view(BASIC) on SCARR table.
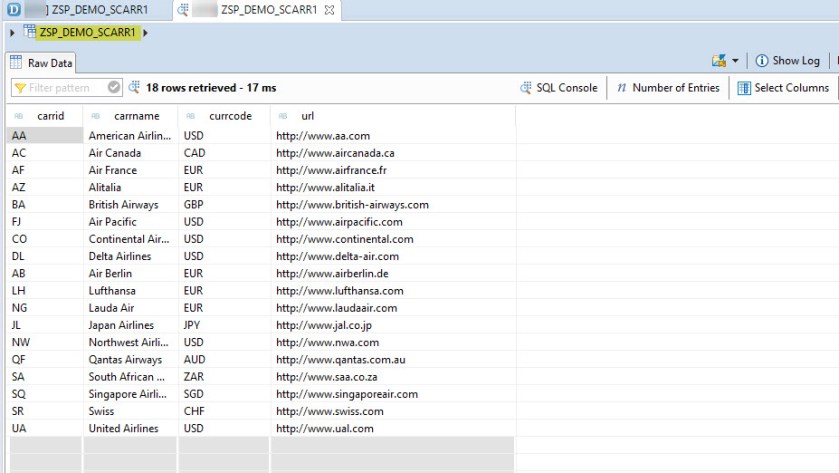
Data Preview of the CDS view.
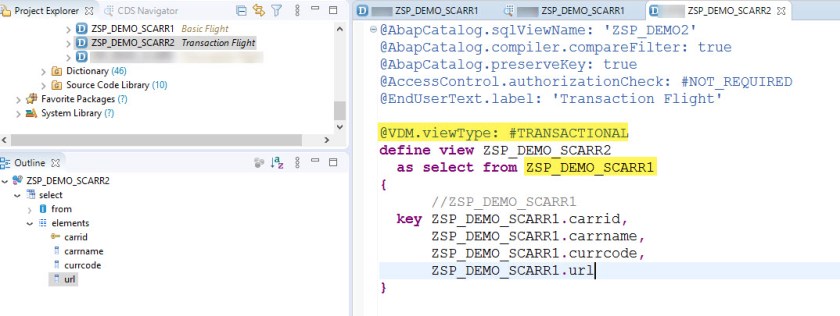
Let’s create next a CDS view(TRANSACTIONAL) on the basic view.
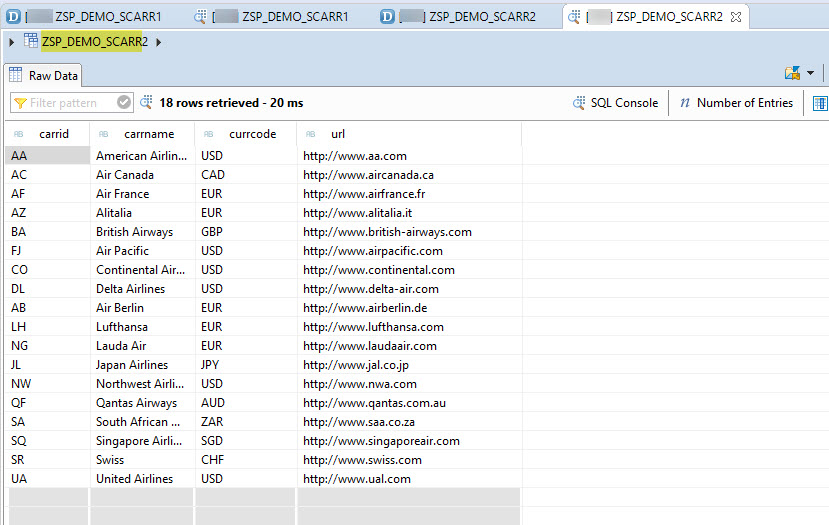
Data Preview.
Finally Create a CDS View(Consumption) on the transaction view.
Publish the oData for this consumption view as in next in our Fiori App we will refer to this view.
Make search enable.


Explanation provided in the commented section: The CDS View(consumption) code details
@AbapCatalog.sqlViewName: ‘ZSP_DEMO3’
@AbapCatalog.compiler.compareFilter: true
@AbapCatalog.preserveKey: true
@AccessControl.authorizationCheck: #NOT_REQUIRED
@EndUserText.label: ‘Consumption Flight’
@OData.publish: true — enable oData for consumption view
@UI: {
headerInfo: {
typeName: ‘Flight’,
typeNamePlural: ‘Flights’
}
}
@Search.searchable: true
@VDM.viewType: #CONSUMPTION
define view ZSP_DEMO_SCARR3
as select from ZSP_DEMO_SCARR2
{
@UI: {
facet: [
{ label: ‘Flight’, id: ‘FlightId’, position: 10, type: #COLLECTION },
{ parentId: ‘FlightId’, type: #FIELDGROUP_REFERENCE, targetQualifier: ‘FlightIdFG’ }
],
// fieldgroup used for grouping all fields with same qualifier to one group
fieldGroup: [{ qualifier: ‘FlightIdFG’, position: 10, label: ‘Flight ID’ }],
// Identification used for detailed view
identification: [{ position: 10, importance: #HIGH }],
// lienitem used for position in the list view
lineItem: [{ position: 10, label: ‘Flight ID’ }]
}
@Consumption.filter.hidden: true
@Search.defaultSearchElement: true // default search field carrid
key ZSP_DEMO_SCARR2.carrid,
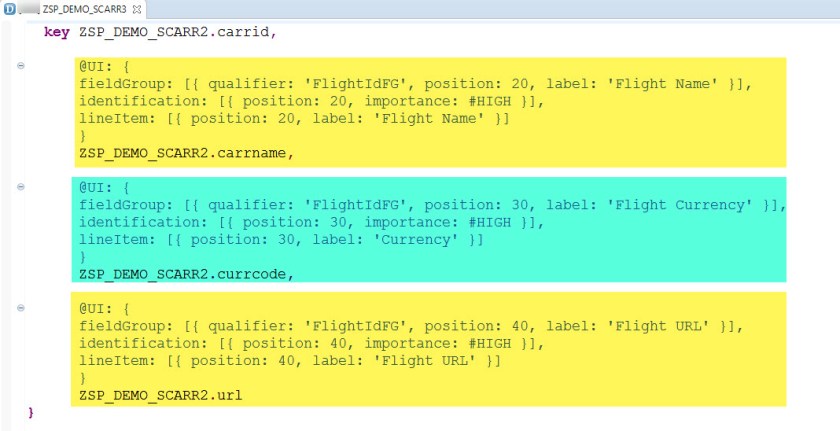
@UI: {
fieldGroup: [{ qualifier: ‘FlightIdFG’, position: 20, label: ‘Flight Name’ }],
identification: [{ position: 20, importance: #HIGH }],
lineItem: [{ position: 20, label: ‘Flight Name’ }]
}
ZSP_DEMO_SCARR2.carrname,
@UI: {
fieldGroup: [{ qualifier: ‘FlightIdFG’, position: 30, label: ‘Flight Currency’ }],
identification: [{ position: 30, importance: #HIGH }],
lineItem: [{ position: 30, label: ‘Currency’ }]
}
ZSP_DEMO_SCARR2.currcode,
@UI: {
fieldGroup: [{ qualifier: ‘FlightIdFG’, position: 40, label: ‘Flight URL’ }],
identification: [{ position: 40, importance: #HIGH }],
lineItem: [{ position: 40, label: ‘Flight URL’ }]
}
ZSP_DEMO_SCARR2.url
}
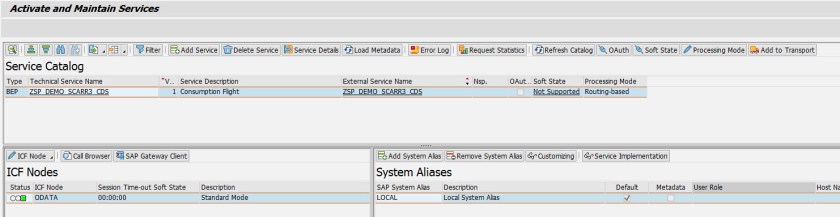
Activate the oData service in Tx- IWFND/MAINT_SERVICE

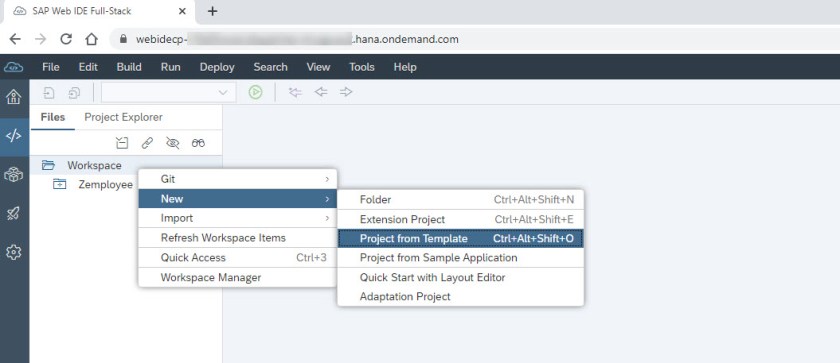
Let’s go to the webIDE ( prerequisite- the cloud connector must be established to teh backend system to consume the oData Service ).
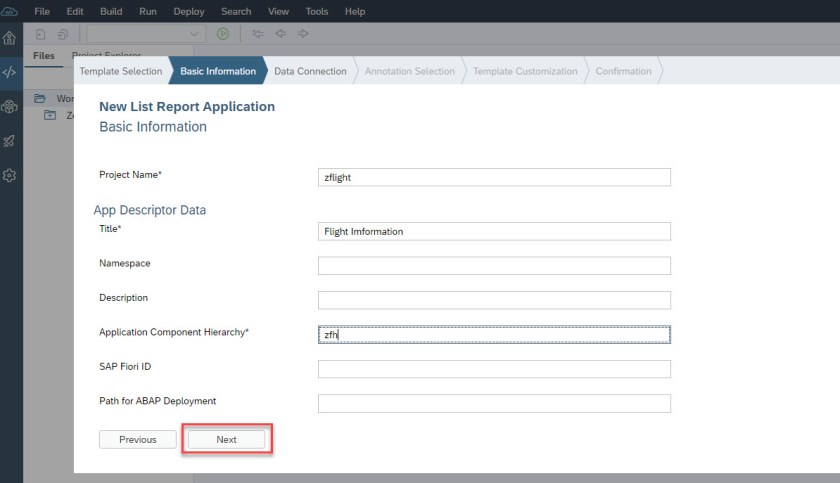
Create a new project from template.
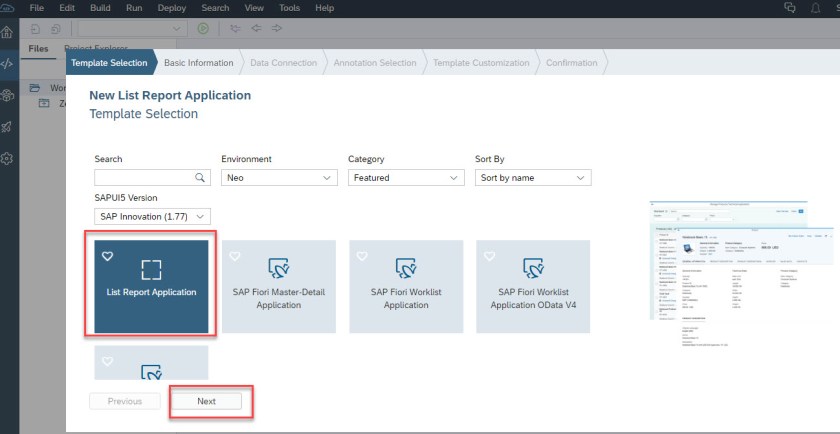
Select List Report Application
Provide details.
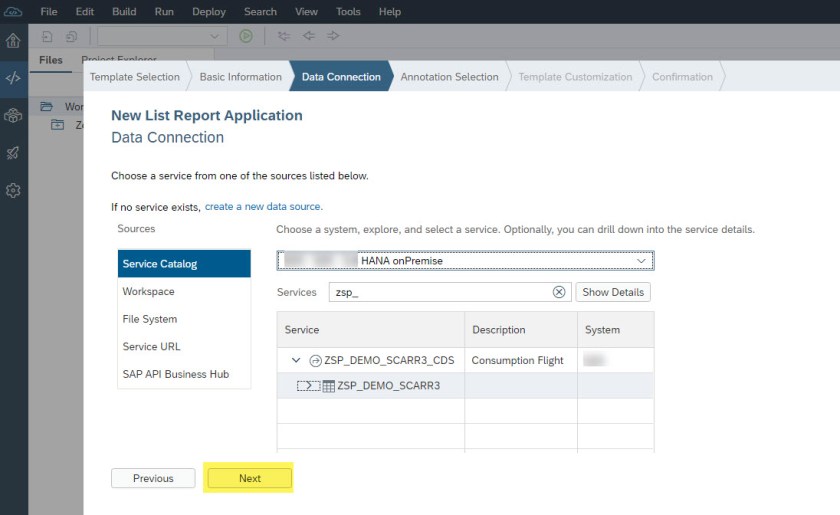
Select the oData service
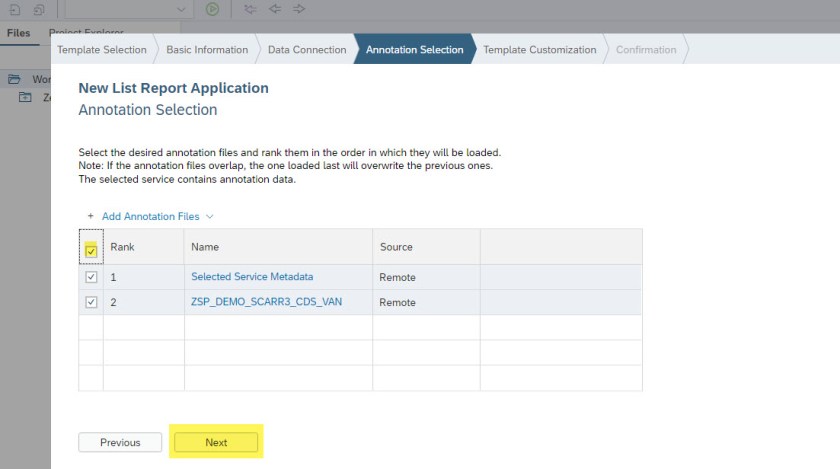
Select the annotation file
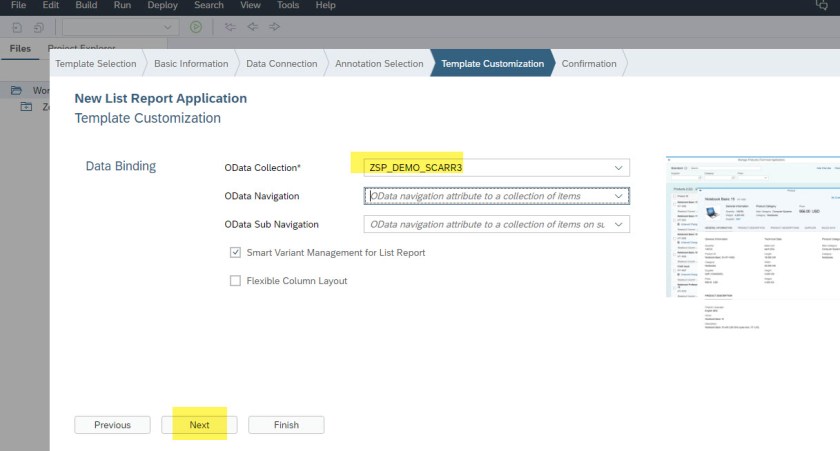
Here we have just one oData Collector and no navigation (as it is just one table).
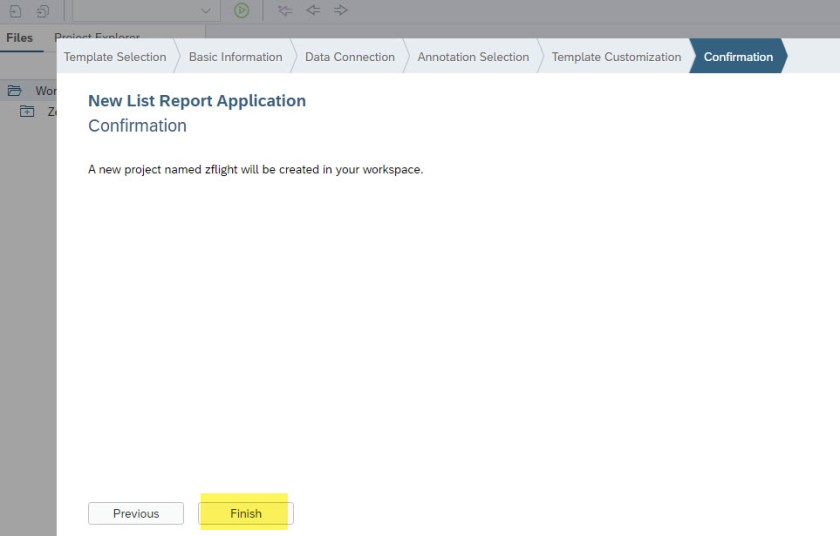
Finish.
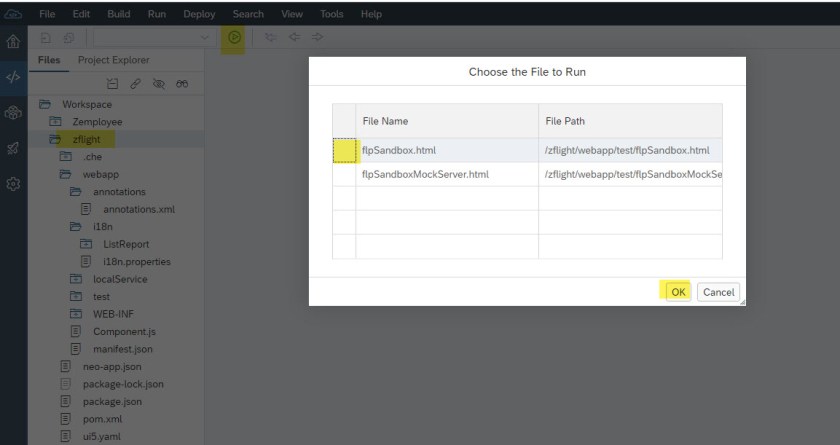
The project is created and now run and then select the first file.
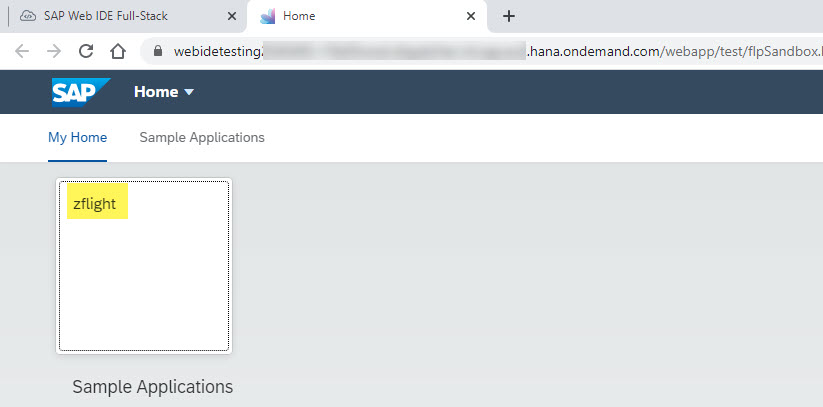
Select the app.
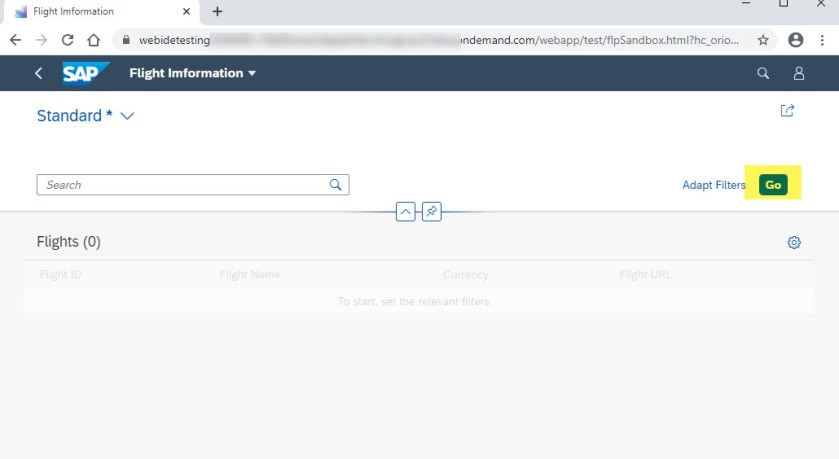
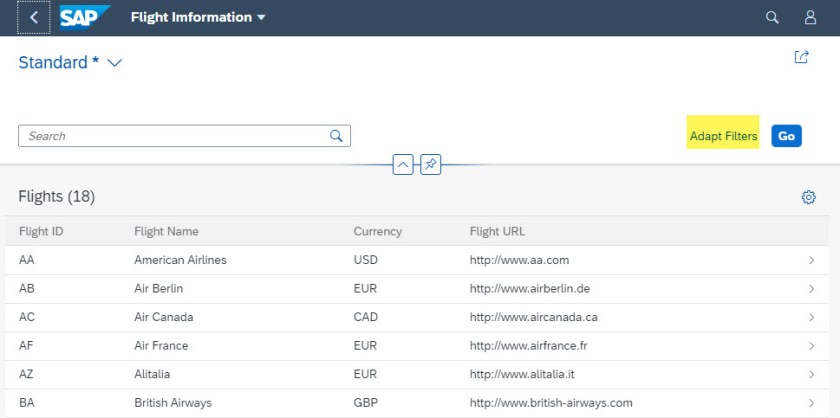
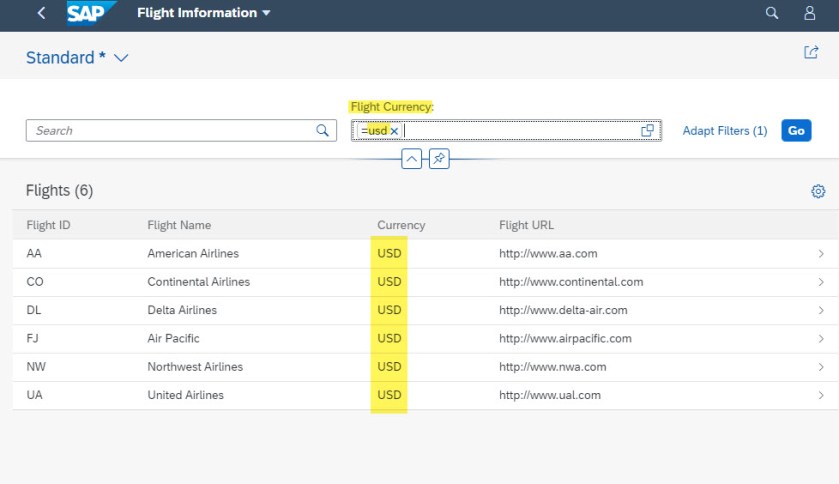
Here is our search and list view. Click on Go and then we can see all the records in the list view.
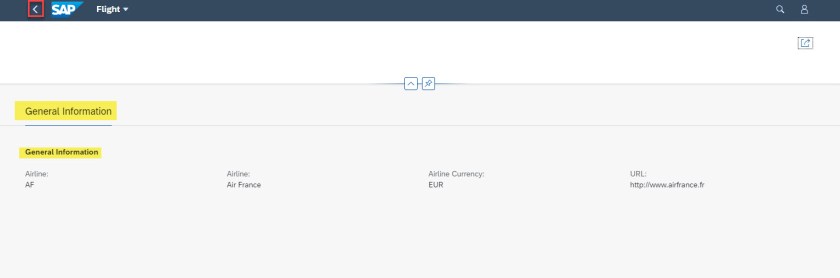
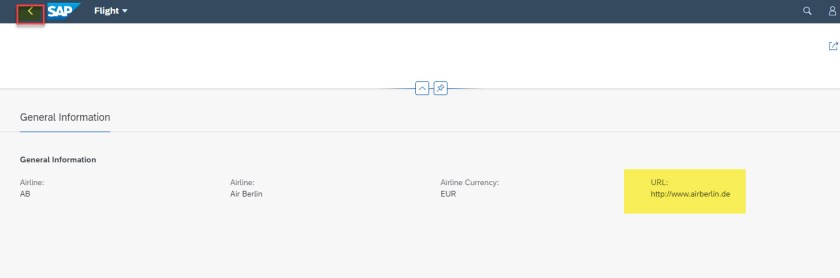
Select a line and then it navigates to the detailed view.
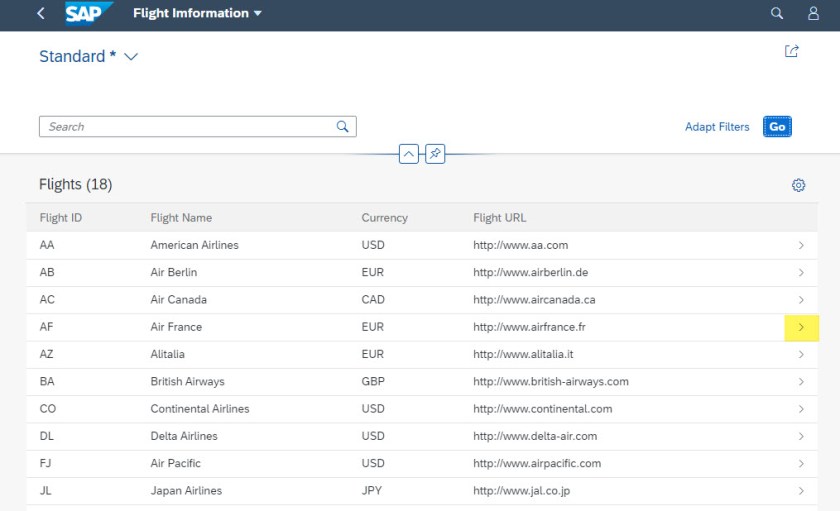
The list and the detailed screen contains all 4 fields of the table. Here one thing to be noted- the FACET(tab) is named as General Information which we have no specified any where in our CDS view. We will back to this later.
Go back.
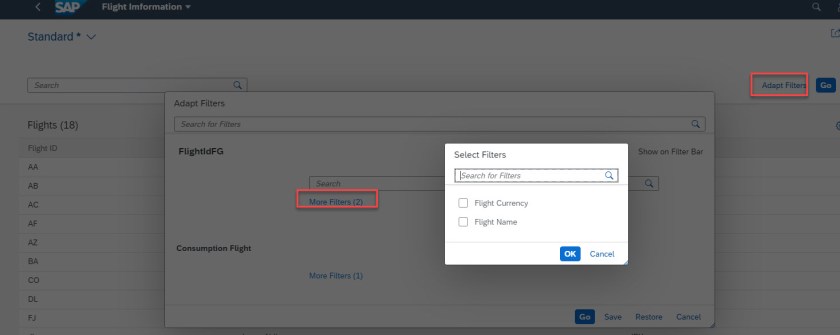
Now let’s see the Adapt Filter details.
Here it shows 3 more fields.
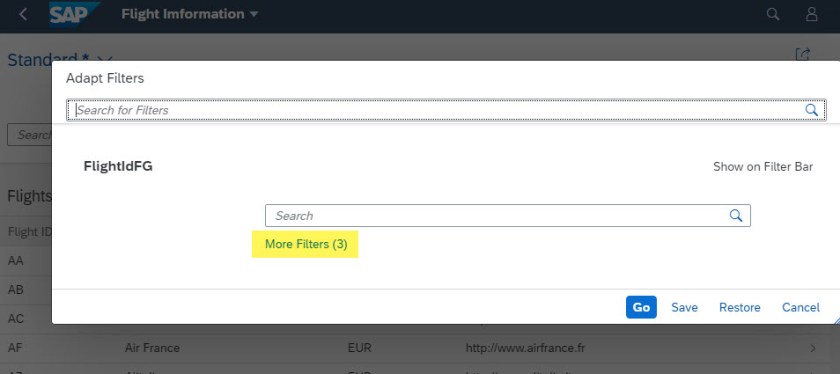
The default search field works on CARRID and we have 3 more fields in the select filters.
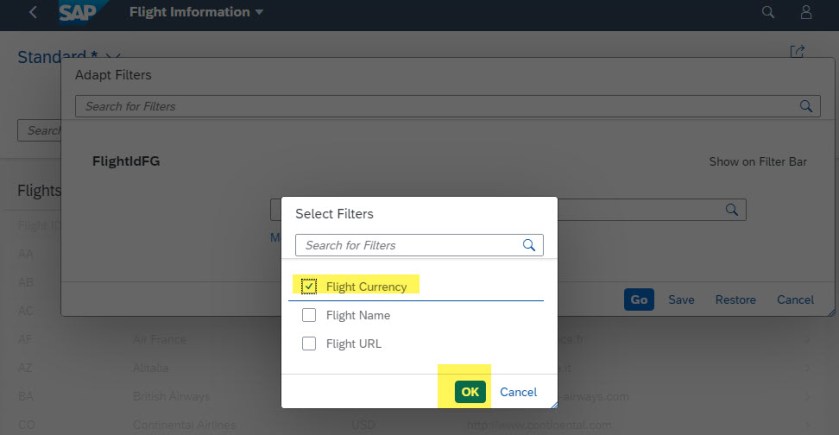
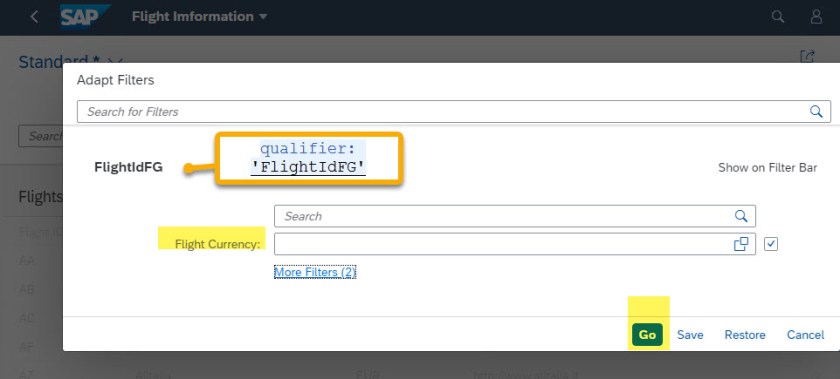
As we have a single qualifier and assigned to 3 fields. so all 3 fields appears under one filter group.
Here we have a small table with just 4 fields. Basically the list view contains lines and each line shows just the important information with less no. of columns and when user selects a line and go to the detailed view, it should show a lot more details of that line.
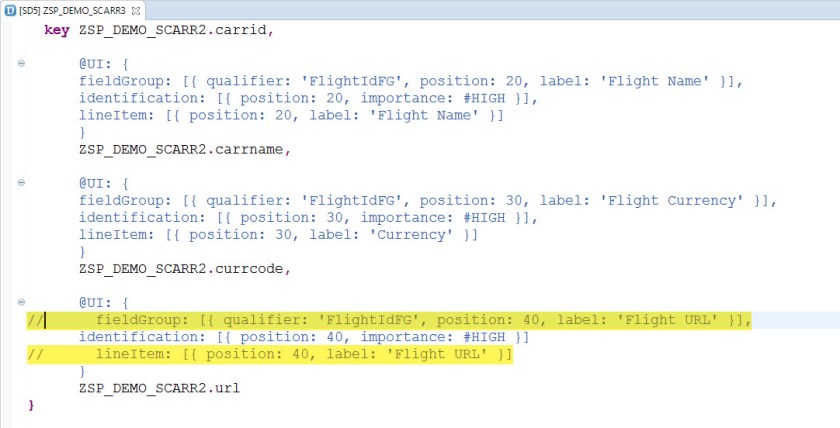
line item property of the UI – controls whether a field to be displayed in the list view or not. Here below in the consumption view, let’s comment out the line item for the URL field, which means URL field won’t be displayed in the list view and similarly the IDENTIFICATION controls the display in the detailed view.
Again commented the fieldgroup for URL field which means this would control the search filter property.
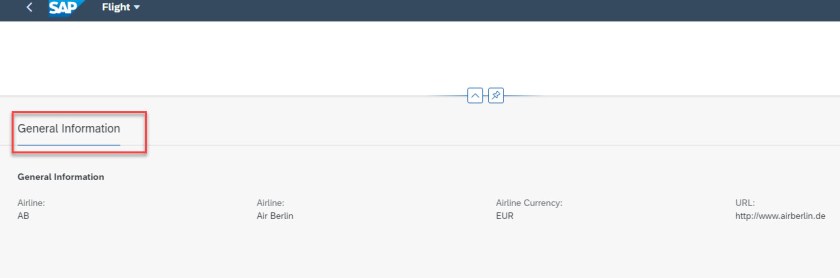
Let’s rerun the application[ may be close the app and rerun the app]. Here we can see the URL field is not appearing on the list view. Go to the details.

All 4 fields displayed. Go back.
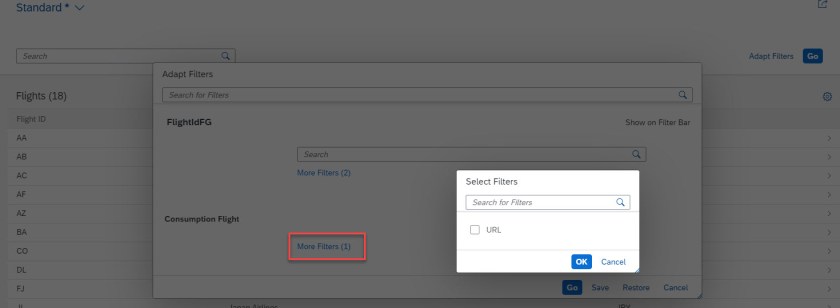
Now in the Adapt Filter, two fields group together under the identifier- FlightIDFG
In the details screen, the tab label- appears as General Information.
Open the project and the open the annotate XML file and here we refer to the i18n property. Open i18n file.
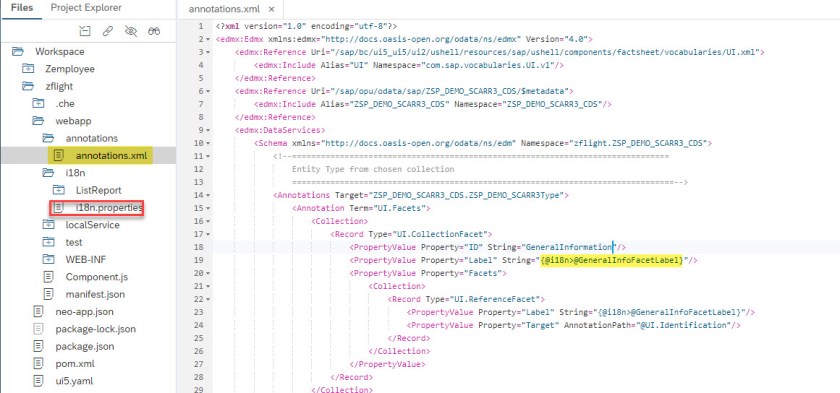
The detailed view- tab label comes from here.
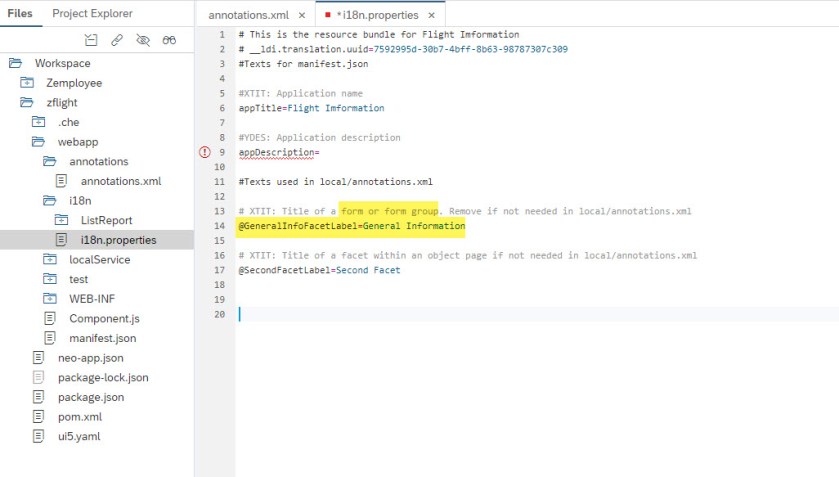
Add a new one and refer this in the annotation xml.
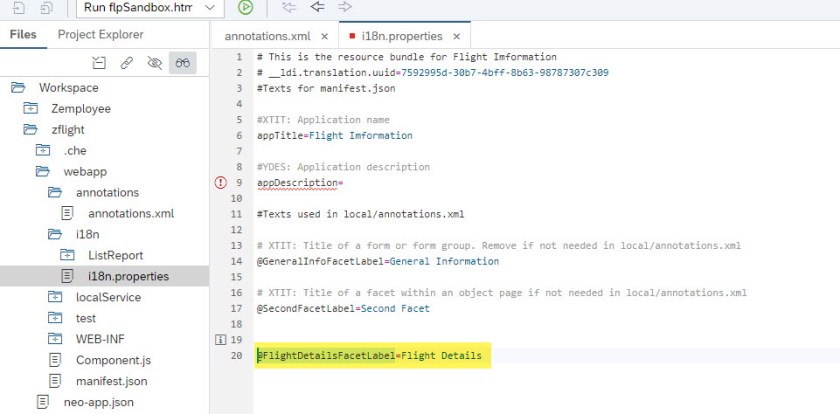

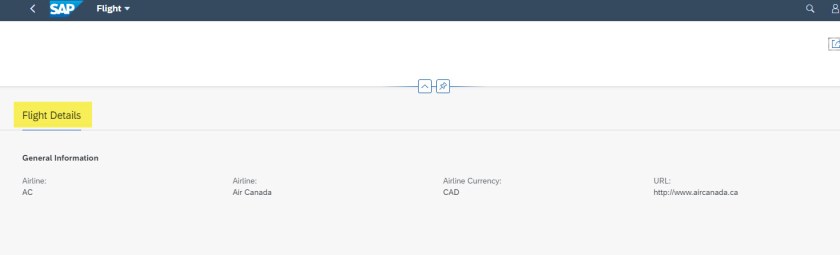
here the proper label appears in the Detailed view tab.

One comment