The post Simple GAF Application- Part 1 describes to create a simple two step GAF application.
Further, each GAF application should have confirmation screen which should be displayed when the application reached the final step and the final action button is clicked. The post describes how to create final action button and to create a confirmation screen and display it.
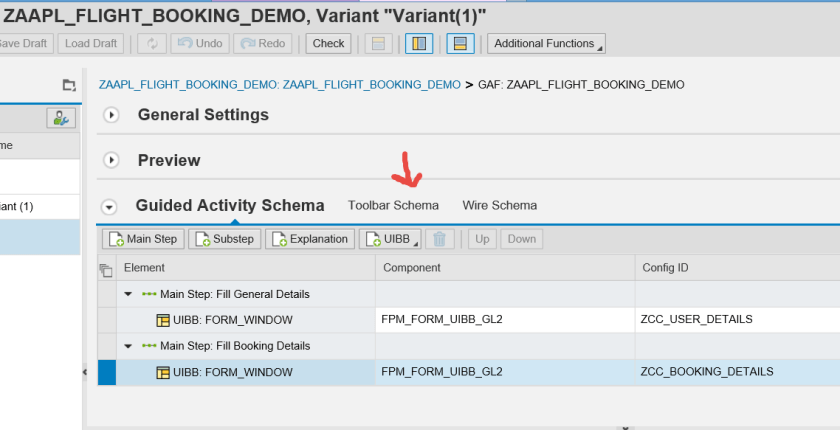
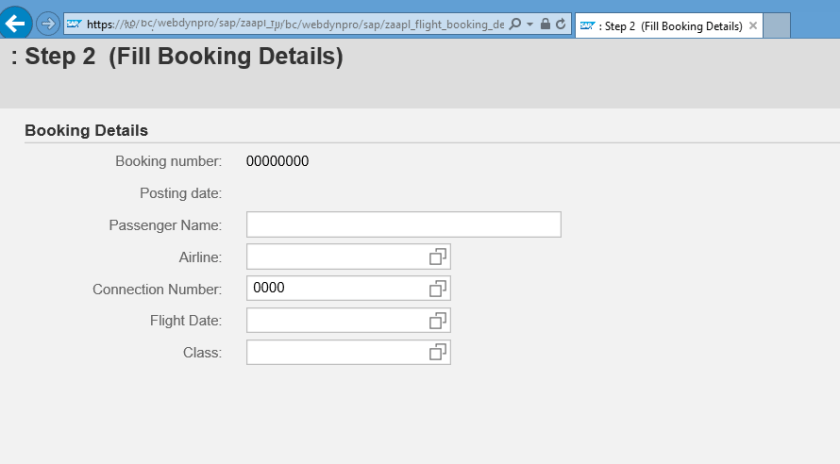
The application looks like below.


So here we have 2 main step. Now go to the Toolbar Schema.
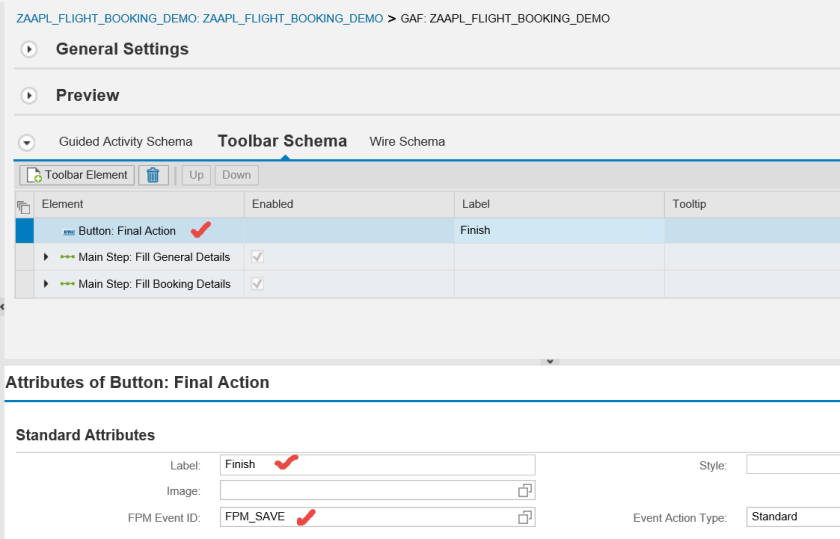
Click on Create Toolbar Element and add Final Action Button.

Provide button text as FINISH or SUBMIT & event id as FPM_SAVE. Save and test the application.
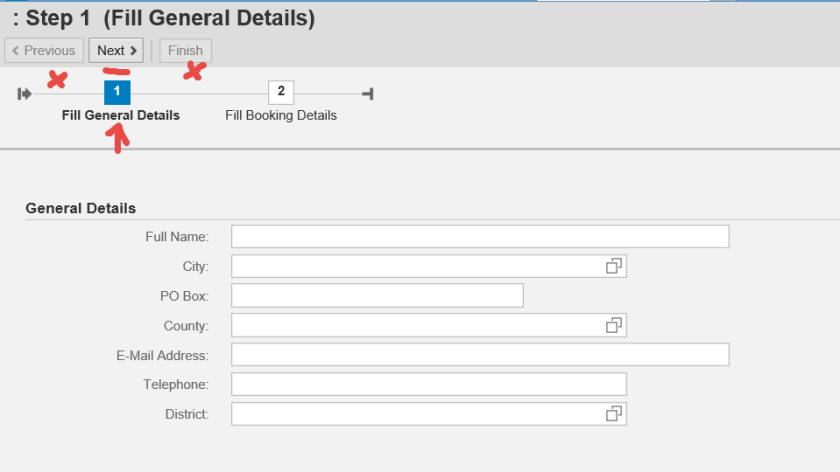
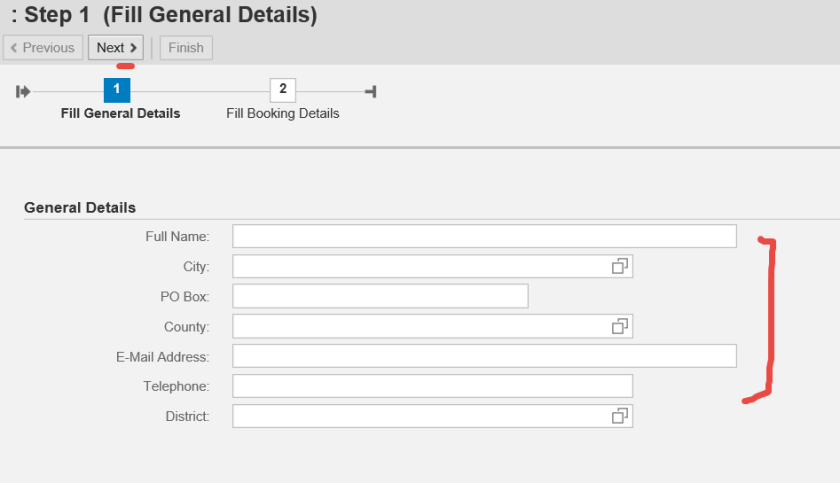
The application first step. As we are not on the final step, the final action button FINISH still disabled. Go to the next step.
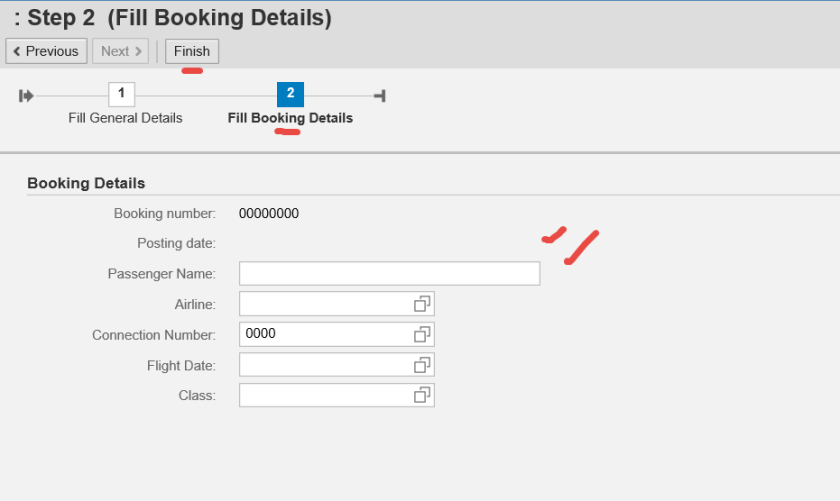
Well this step is the last step and the final action button FINISH is now enabled. Click on the FINISH button.
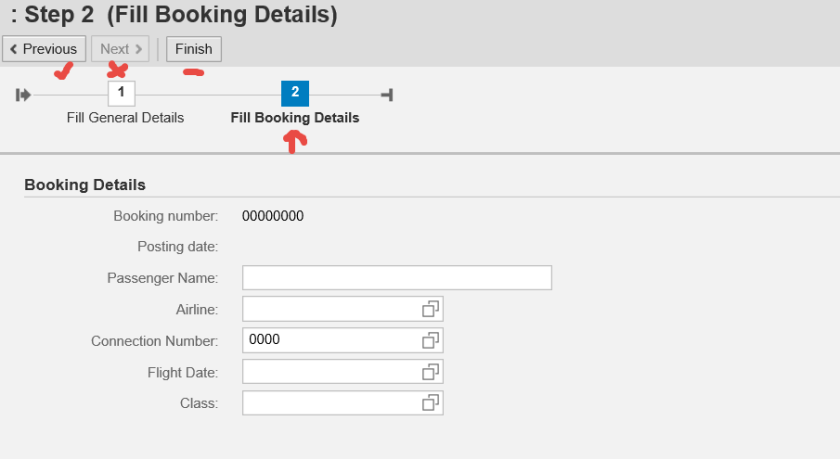
So some piece of code can be done to handle the finish button action “FPM_SAVE” and save the data and display the final message. Now after finish action, the application display the last step form UIBB without any button. In GAF application, normally after the final action, a confirmation page is displayed. So lets create a confirmation page.
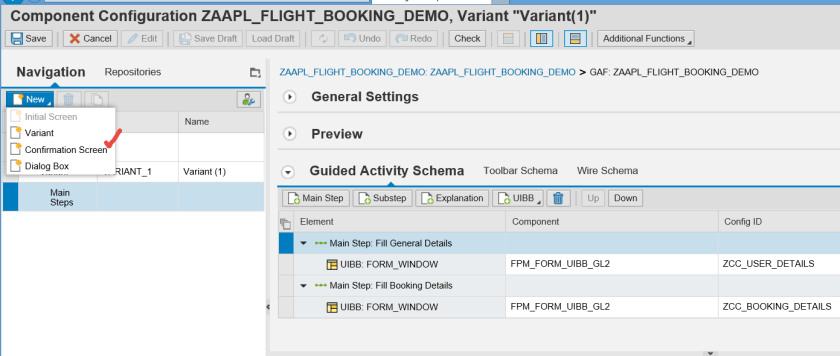
In the configuration, from the left side panel, create a confirmation screen.
It asks for component and its configuration. FPM provides component FPM_CONF_STEP to create confirmation screen.
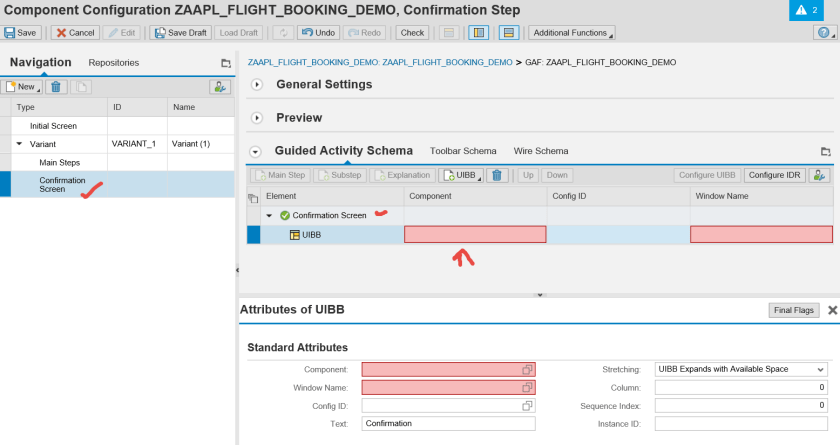
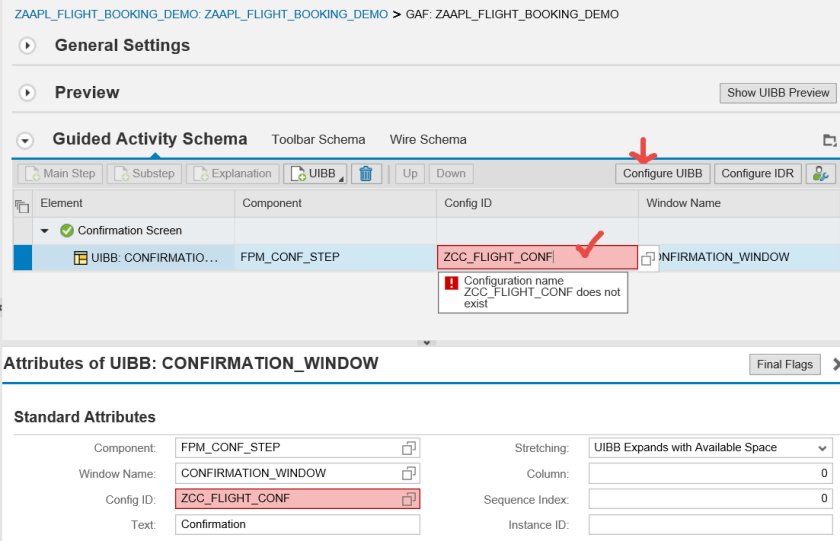
provide the component as FPM_CONF_STEP and choose window as ‘CONFIRMATION_WINDOW’.
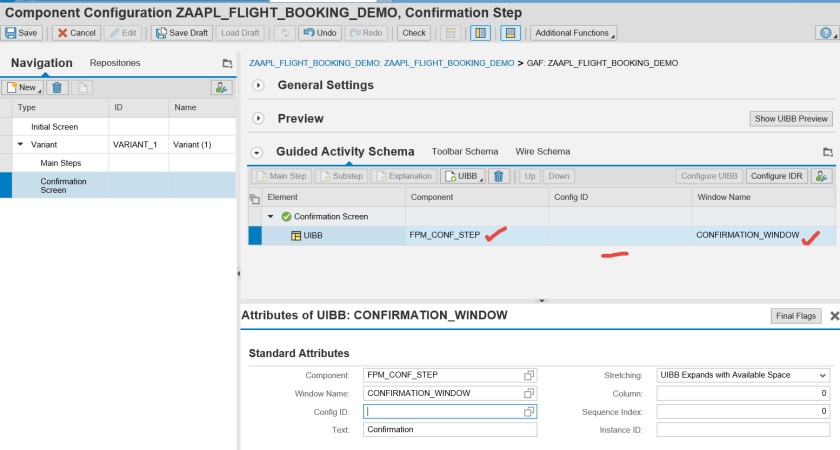
Create a configuration and press configure UIBB button.
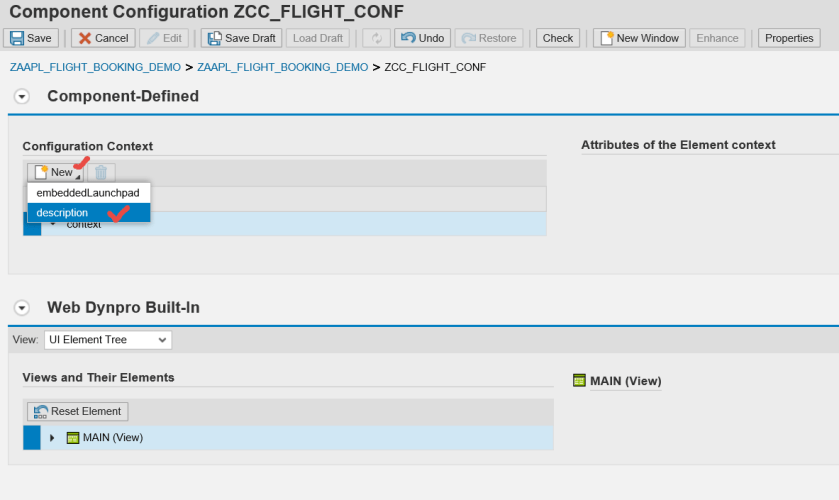
From NEW, select description option.
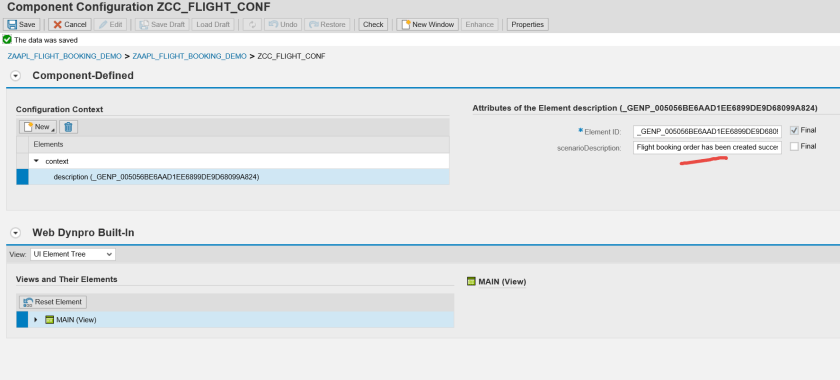
You can provide a description. Also we can attach a launchpad instance .
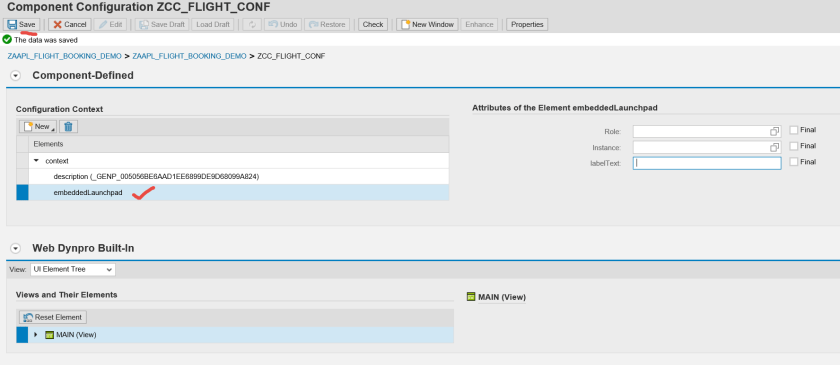
Choose CONTEXT and from NEW, click on embeed launchpad option.
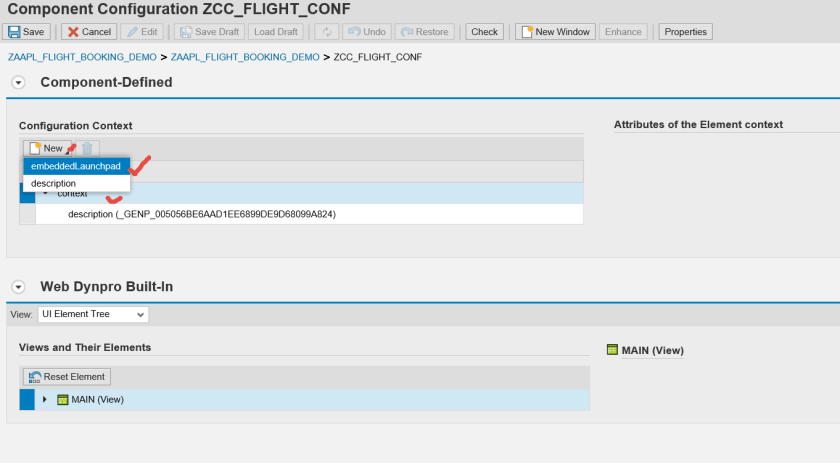
Here we can provide our launch pad role and instance . Launch Pad can be created from Tx- LPD_CUST. Just save it as we don;t have any launch pad details.
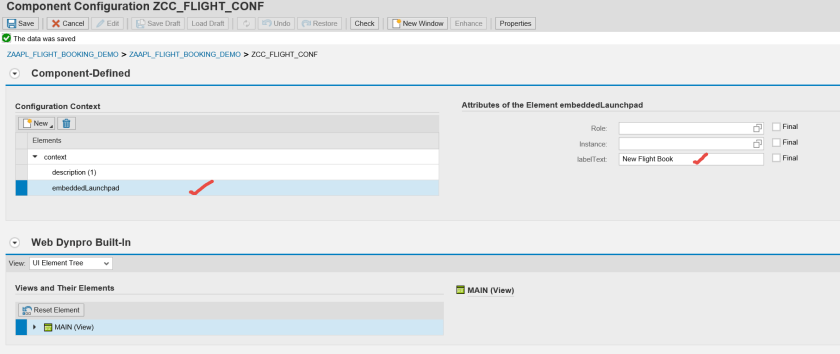
Just provide a text.
Test the application. Go to Next step.
Click on FINISH button.
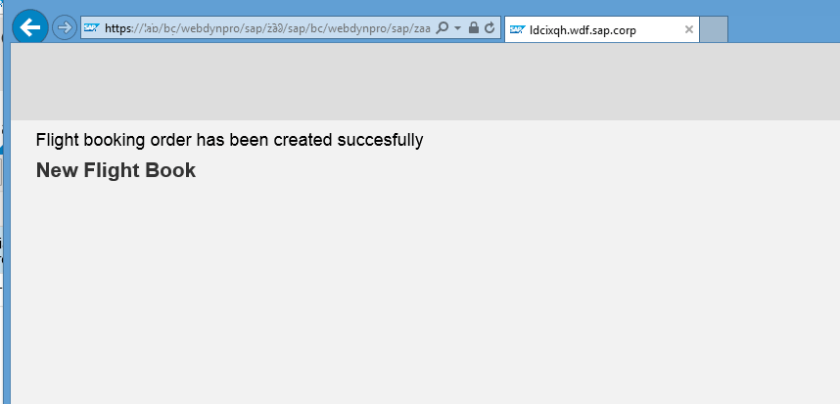
And here we have the confirmation screen appears.

One comment